
Let’s weave strength onto your wrist as a survival bracelet, not just an ornament but a potential lifeline, an unassuming but elegant companion that could one day turn into a savior in rope form. This is the call to craft your very own Single Color Baby Cobra Survival Bracelet that can bestow upon your wrist not just as a statement but also as a tool of preparedness and survival.
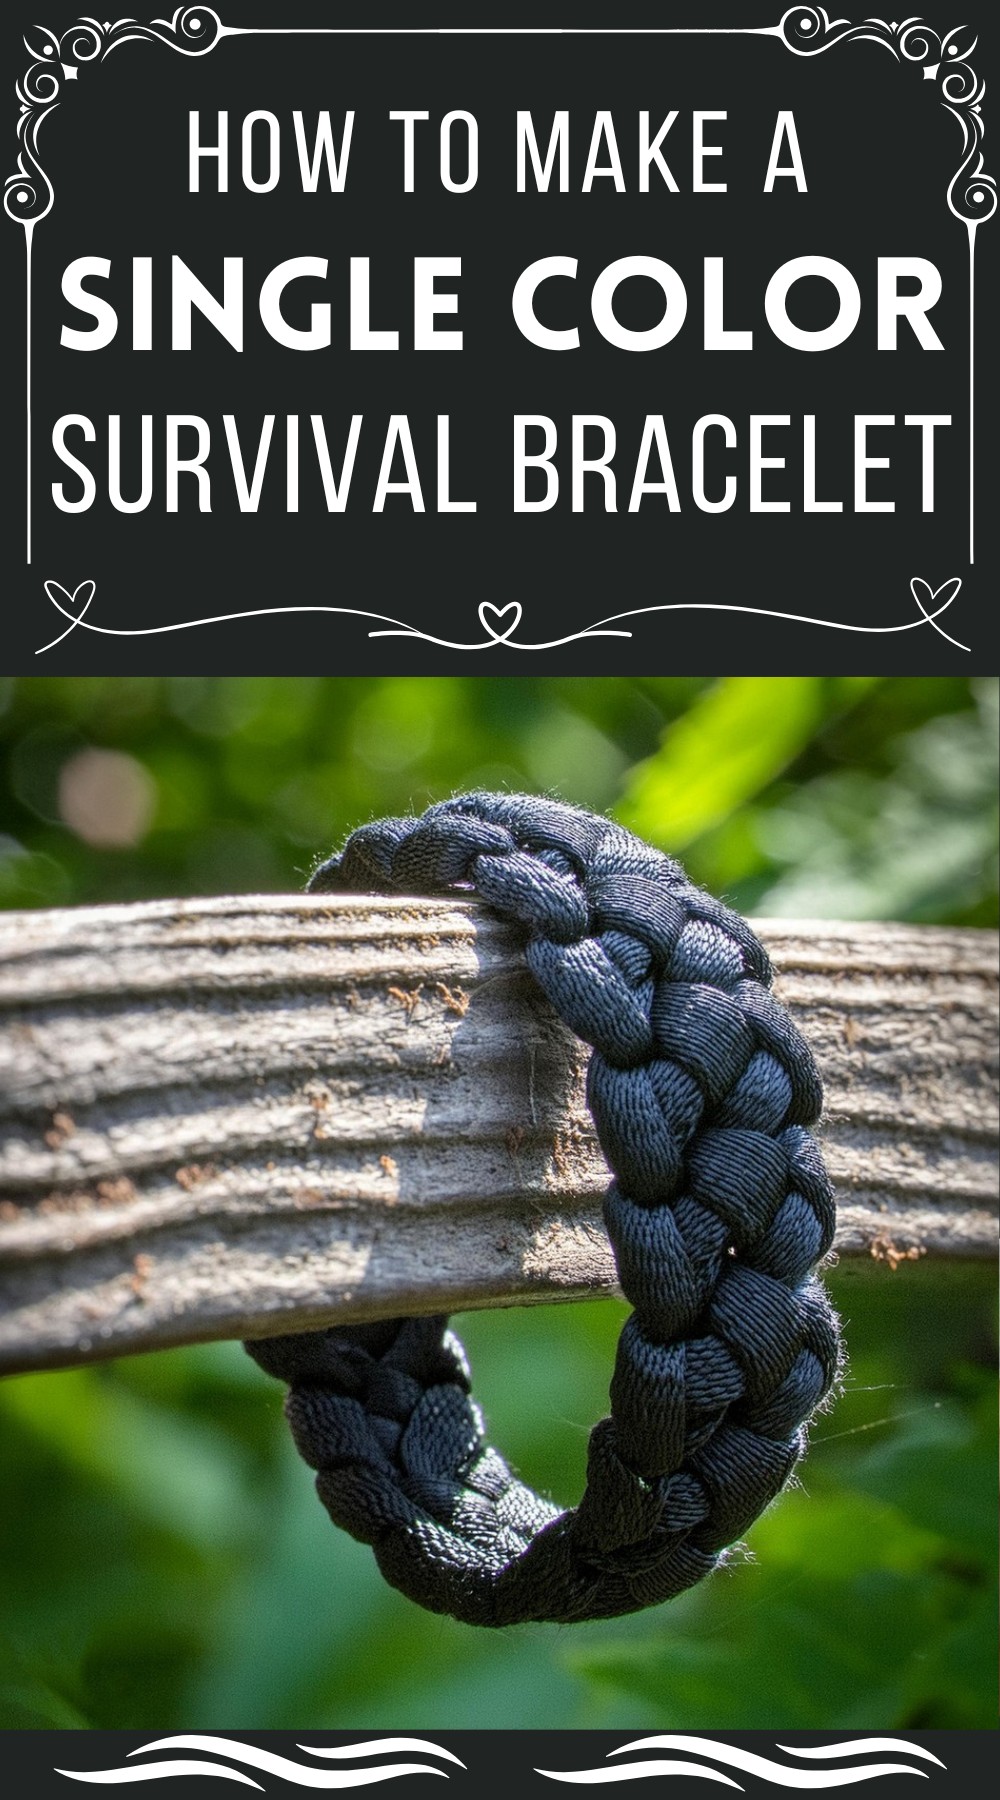
Single Color Survival Bracelet

Materials:
- Paracord (approximately 10 feet)
- A side-release buckle
- Lighter
Tools:
- Tape Measure or Ruler
- Scissors

Making Process
Sizing Up
- Determining Your Wrist Size: Snugly wrap a piece of string around your wrist and mark where the end meets the string.
- Measuring the String: Lay the string flat and measure the distance between your marks to find your wrist size.
Preparing the Paracord
- Trimming: If any inner strands or “guts” are sticking out, trim the end of the paracord slightly.
- Sealing the Ends: Use your lighter to melt the tips of the cord for a couple of seconds, then press them flat while still pliable to make later threading through the buckle easier.
Attaching Buckle
- Folding the Cord: Fold your length of paracord in half evenly.
- Threading the Cord: Slide both ends through the bottom slit of the buckle, ensuring the buckle curves inward.
- Securing to Buckle: Pull the ends through the loop formed on the other side of the cord to create a secure knot at the buckle.
Measuring for Bracelet Length
- Measuring: Measure the cord from the base of the female buckle to the middle of the male buckle, adding an extra inch to your wrist measurement for comfort.
Weaving the Braid
- First Half Hitch: Position the cords and use the left strand to create a loop underneath the two central cords.
- Completing the Knot: Guide the right strand underneath the left and over the central strands, then through the loop made by the left cord to tighten.
Repeating the Pattern
- Mirror the Knot: Similar to the first braid, but start with the right cord making a loop under the central strands, and the left cord will follow under, over, and through the loop to complete the braid.
Braiding to Completion
- Continue Alternating Braid: Keep alternating the braiding pattern from Steps 5 and 6 until you approach the end of the buckle.
Finishing the Knots
- Tighten the Braids: Once you reach the buckle, pull down the braids towards the female buckle section to tighten.
Locking the Final Braid
- Last Loop: Find the last diagonal braid and pull it to create a loop.
- Secure ends through Buckle: Thread the loose ends of the cord through the slit in the buckle from outside to in.
Tightening Up the End
- Tidy Loops: Secure the last diagonal braid with your thumb and pull the loose ends to tighten.
Final Touches
- Trimming Excess Cord: Cut the leftover cords, leaving a small amount of excess.
- Melting Ends: Melt the ends with the lighter and press them to seal and prevent fraying.

Whether it’s for the craft-loving outdoorsman or the style-savvy survivalist, creating this Single Color Survival Bracelet is an exercise in practicality and patience. Each step you’ve taken in this tutorial not only leaves you with a durable accessory but imbues a deeper understanding of survival craft. Enjoy your functional art piece!
Tips To Follow For Tying Knot In Making This Bracelet
Achieving the perfect Survival Bracelet lies in mastering the consistency of knot tension. As you weave, maintaining a balance in the pressure applied to the knots is crucial – they should be tight enough for durability yet not so tight that the bracelet lacks flexibility. Familiarize yourself with the cobra knot by practicing how to adjust its tightness. This will help you find the optimal tension that ensures the bracelet is both robust and comfortable.
Leave a Reply