
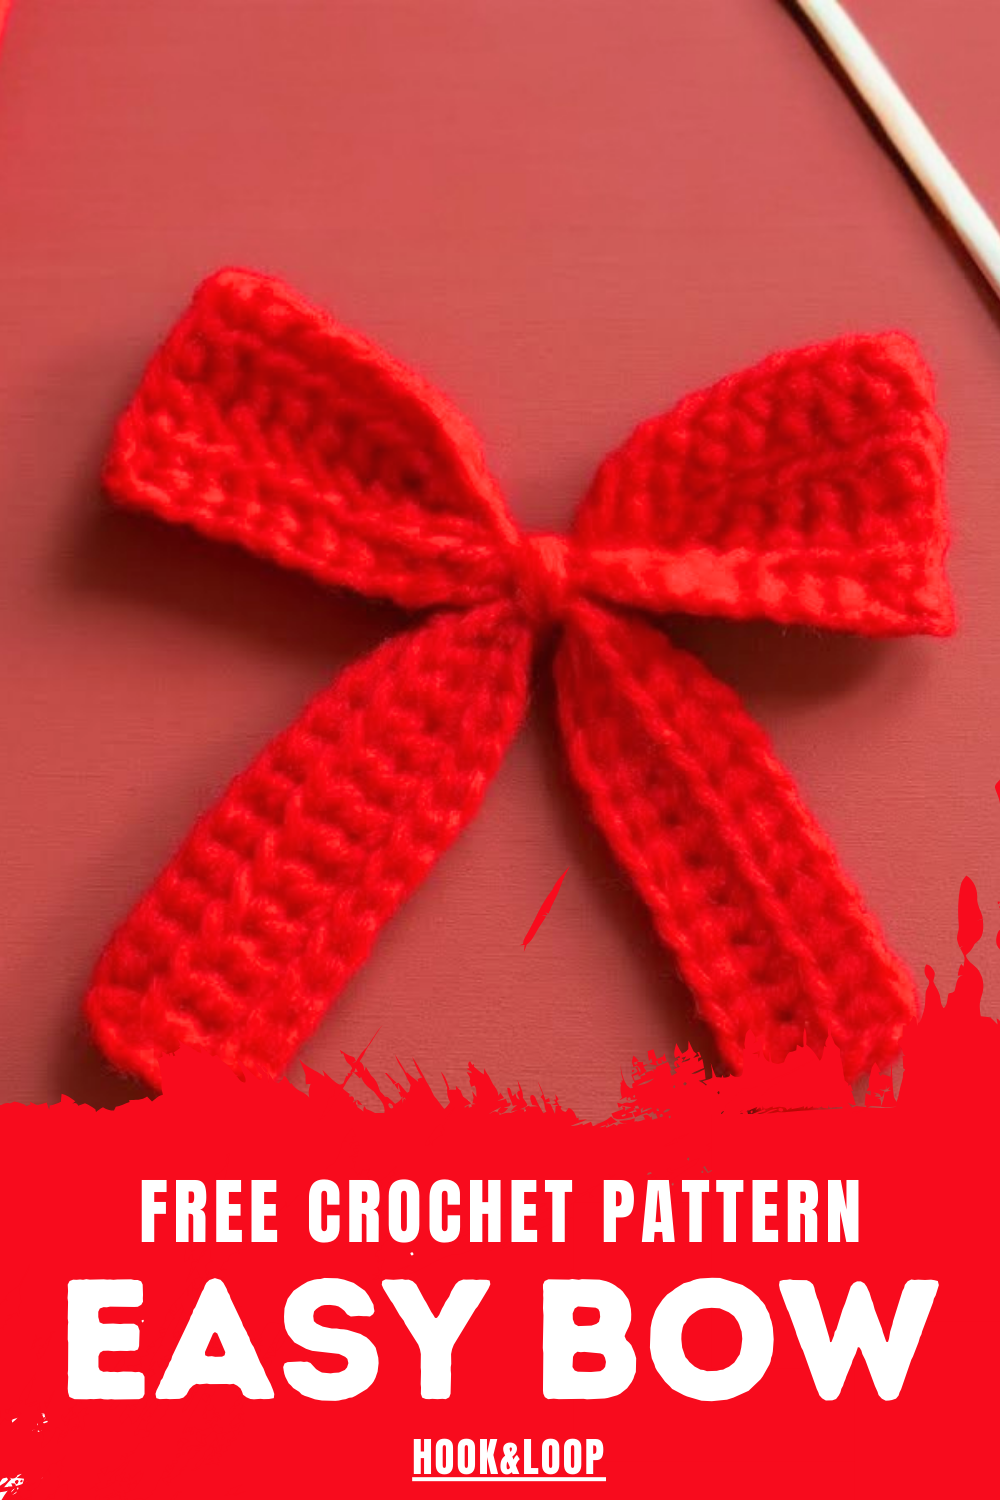
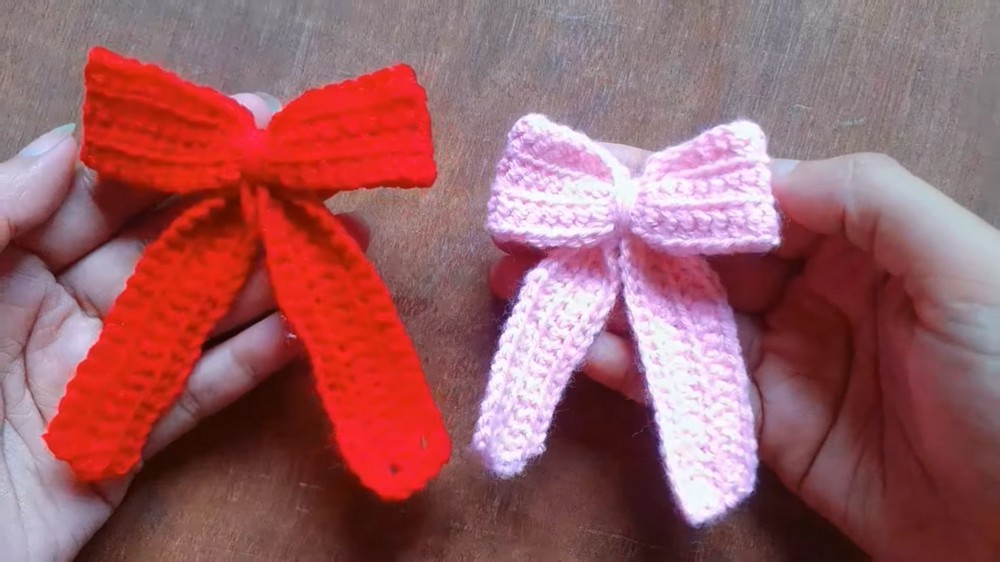
Learn how to make a cute crochet bow with this free and easy pattern. Perfect for decorating gifts, hair accessories, or adding charm to your favorite items.
A little handmade bow is a delightful and creative piece that adds a cute and stylish touch to many items. Crafted with just yarn and a crochet hook, it features soft, smooth loops that give it a charming and elegant look. This bow can be made in any size or color, making them perfect for decorating hair accessories, clothes, gift wrapping, or even home decor.
Free Crochet Bow Pattern for Beginners Step by Step Easy Tutorial
They are easy to make, making them suitable for beginners and fun for anyone who loves crocheting. While small in size, their versatility and beauty make them a unique way to add a personal and creative touch to everyday items. Whether for a special occasion or daily use, a crocheted bow adds a lovely detail that catches the eye and brings joy.

Pattern: Simple Crochet Bow
Finished Size
The size of your bow will depend on the yarn weight and hook size used. Following the recommendations below, the finished bow will measure approximately 5–6 inches wide and 2–3 inches tall.
Materials Needed
- Yarn: Cotton yarn is recommended for its sturdy and structured nature. You can use any color you prefer.
- Hook Size: 3 mm crochet hook
- Other Supplies:
- Tapestry needle (for sewing and weaving in ends)
- Scissors
Gauge
- Gauge is not critical for this project. However, try to maintain even and tight stitches to achieve a neat bow structure.
Abbreviations
| Abbreviation | Meaning |
|---|---|
| ch | Chain |
| sc | Single Crochet |
| sl st | Slip Stitch |
| YO | Yarn Over |
Special Techniques
- Slip Knot:
- Wrap the yarn around your finger to form a loop. Insert the tail through the loop and pull it gently to secure. Adjust the loop to fit your hook.
- Turning Chains:
- After completing a row, create one chain before turning your work. This turning chain ensures your stitches remain aligned.
- Single Crochet (sc):
- Insert your hook into the stitch, YO, and pull up a loop (two loops on the hook). YO again and pull through both loops to complete the stitch.
Instructions
Step 1: Create the Base Band
- Begin with a Slip Knot:
- Make a slip knot and place it on your hook to start.
- Chain Foundation Row:
- Work 40 chain stitches (ch 40). Ensure your chain is neither too loose nor too tight.
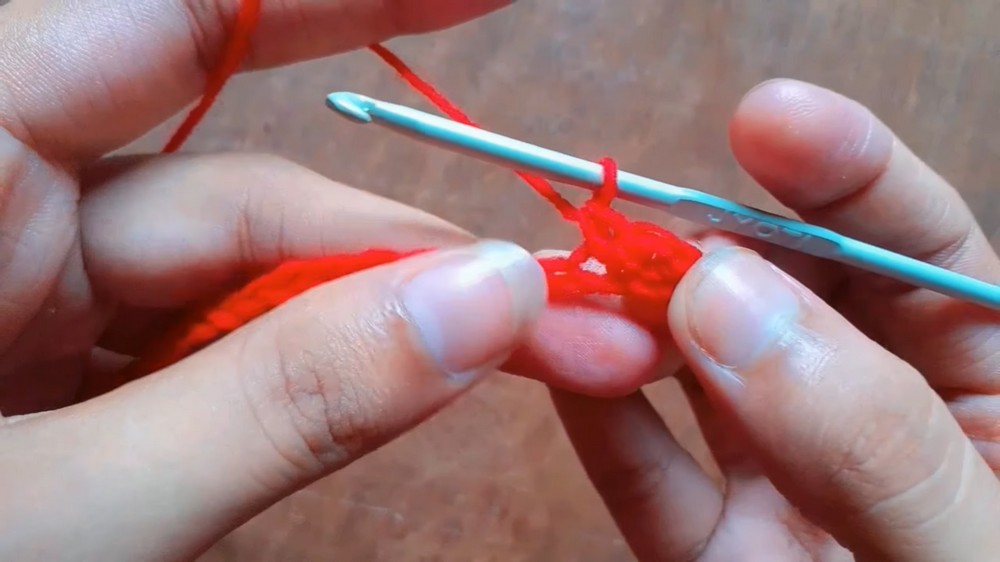
- Row 1:
- Skip the first chain, then work 1 sc into the second chain from the hook.
- Continue working 1 sc in each chain across the row (39 sc in total).
- At the end of the row, chain 1 (ch 1) and turn your work.
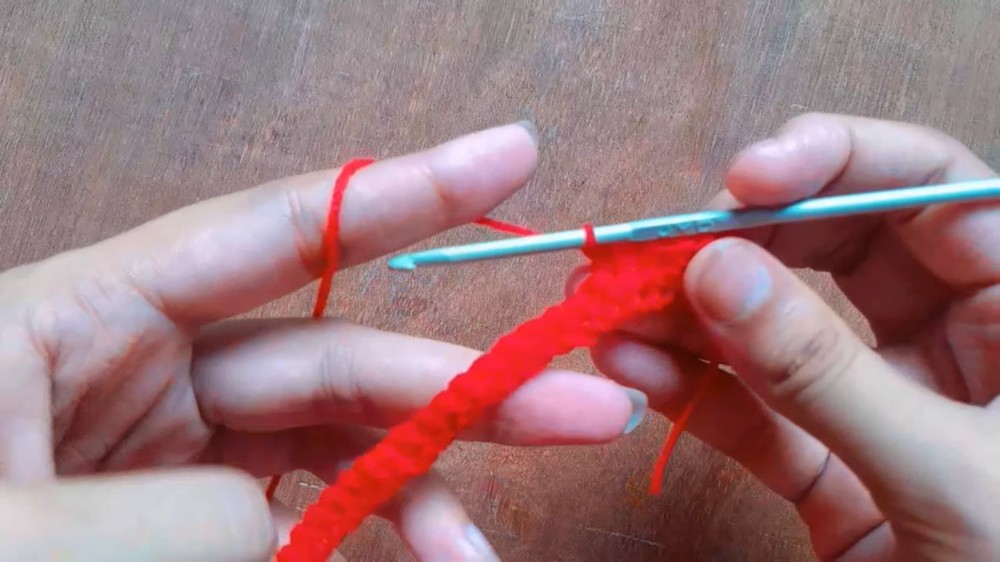
- Row 2:
- Work 1 sc in each stitch across the row (39 sc in total).
- Make sure not to skip the last stitch.
- At the end of the row, chain 1 (ch 1) and turn your work.
- Row 3:
- Repeat the pattern from Row 2 (1 sc in each stitch across the row).
- Fasten Off:
- After completing Row 3, leave a tail of approximately 30 cm and cut the yarn.
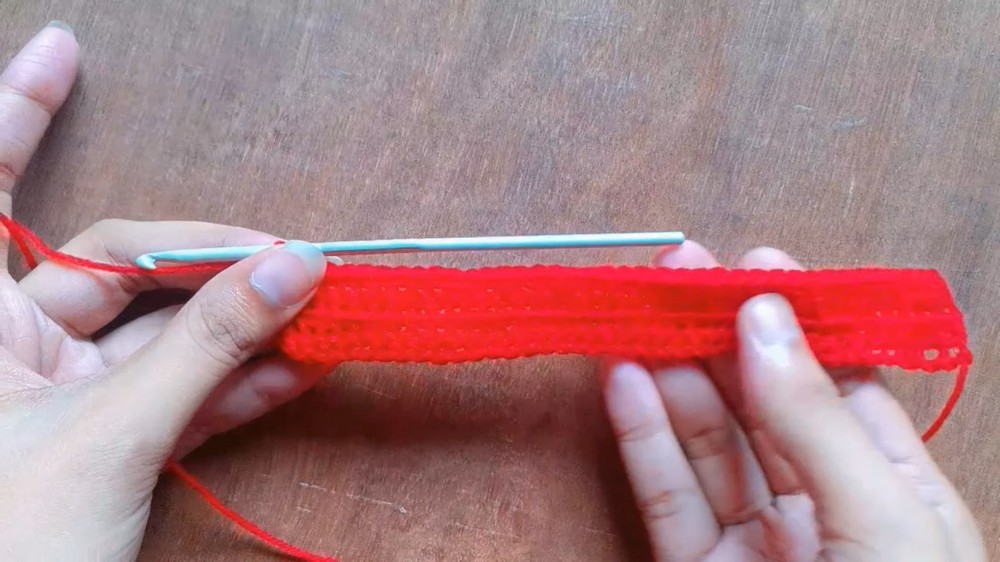
Tip: The extra yarn tail will be used to shape and tie the bow.
Step 2: Create the Second Band
- Repeat Step 1 (Rows 1–3) to create a second band for the center portion of the bow.
- Leave a shorter yarn tail (approximately 10 cm) for this piece.
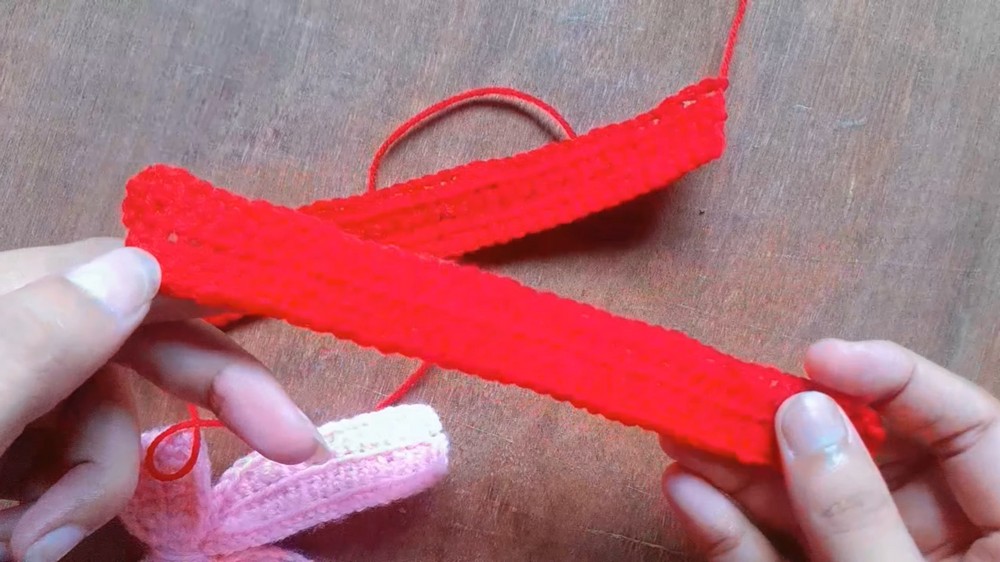
Step 3: Assemble the Bow
- Sew the Band’s Ends Together:
- Take the first band and use the longer yarn tail and a tapestry needle.
- Fold the band to align the two ends and sew them together to form a loop. Secure the stitches tightly.
- Shape the Bow:
- Pinch the middle of the loop together to form the bow shape.
- Use the same yarn tail (30 cm) to wrap around the center tightly. Wrap it at least two to four times to secure the shape.
- Tie a Knot:
- Secure the wrapped yarn with a knot at the back of the bow. Ensure it is tight so the bow maintains its shape.
- Attach the Second Band:
- Take the second band and wrap it around the center of the bow. The second band will cover the wrapped yarn, giving a neat and polished look.
- Use a tapestry needle and the yarn tail from the second band to sew the ends together at the back of the bow.
Step 4: Finishing
- Weave in Ends:
- Use a tapestry needle to hide all loose ends within the stitches of the bow.
- Trim any excess yarn for a clean finish.
- Optional:
- Add the bow to a hair clip, keychain, or headband. Sew or glue securely based on intended use.
Tips for a Perfect Bow
- Tension Matters: Ensure consistent tension throughout to keep the bow looking even.
- Sturdy Yarn: Opt for firm yarn like cotton to maintain structure.
- Customization: Experiment with different yarn colors, textures, or even stripes for a unique design.
Final Words
This crochet bow is simple yet elegant, making it perfect for accessories or decorative purposes. The step-by-step instructions ensure anyone can create it, regardless of skill level. Practice the single crochet stitch and turning chains if needed to build confidence before starting.
Once complete, this project can be used creatively on hair accessories, gift boxes, or as embellishments on clothes. For a personalized touch, try embellishing the bow with beads, sequins, or embroidery.
Leave a Reply