
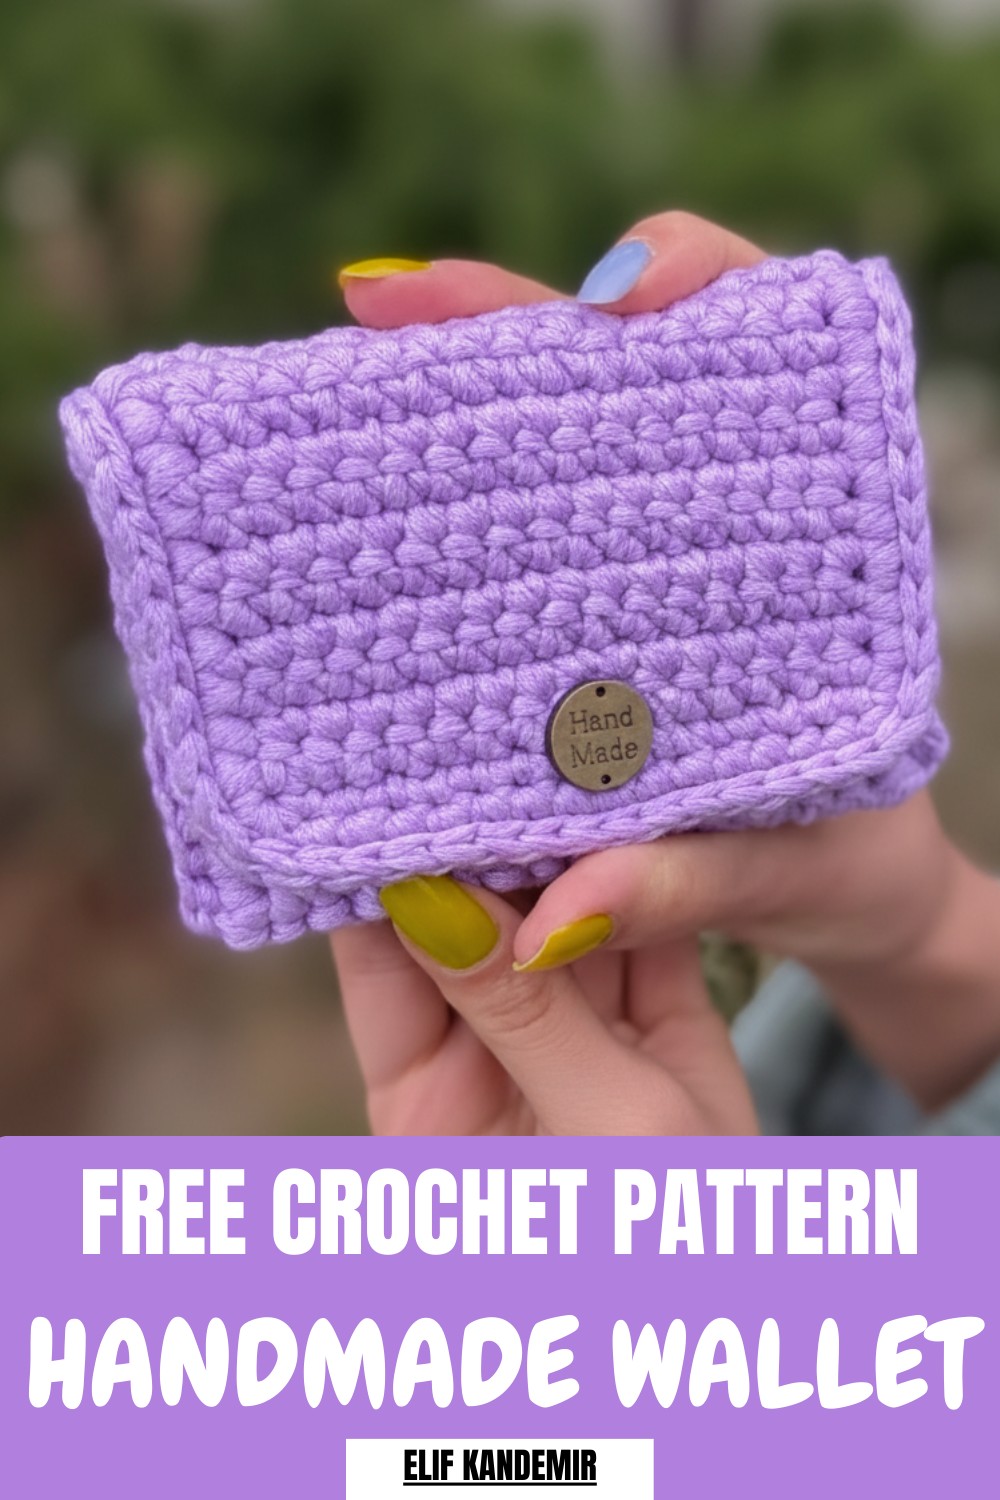
Personalize your accessories with this Free Crochet Wallet Pattern, that’s easy to make and handy for coins and cards everywhere you go.
People enjoy carrying something soft that feels special and keeps money safe. A bright color or gentle shade turns a small pouch into a happy little helper every day. With the crochet wallet pattern anyone can shape yarn into a beautiful piece that fits easily into a pocket or bag and makes holding cash and cards simple. This wallet shows off neat stitches and a smart shape that gives everything a place so nothing gets lost.
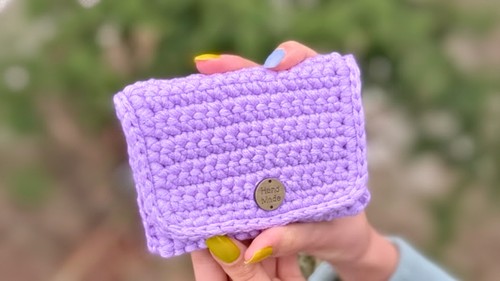
Easy Free Crochet Wallet Pattern for Everyday Use
Making one is easy and fun for all ages and brings a sense of pride because each wallet can be made unique in any color you like. It is strong enough to last with a button or zipper that keeps everything secure. Giving this hand-made wallet as a gift makes a friend smile and helps that person feel cared for no matter where they go. Small but mighty it turns simple yarn into comfort for each person’s daily life.
Simple Crochet Wallet Pattern
Materials
- Yarn:
- 2 skeins of fine weight yarn held together (or 1 strand of thicker yarn for sturdiness)
- Example: La Mia brand yarn, ~50 g each, in your color choice.
- Crochet Hook: 3.5 mm
- Yarn Needle: For sewing/seaming
- Scissors
- Optional:
- Magnetic snap, button, or other fastener
- Decorative patches, string, elastic, wooden or plastic decorative tags
- Stitch markers
Abbreviations
- ch: chain
- sc: single crochet
- st: stitch
- sl st: slip stitch
- rep: repeat
Special Notes
- Pattern is written in US crochet terminology.
- Yarn is held doubled for extra thickness and stability.
- The wallet is worked as a plain rectangle, folded and sewn to shape.
- You may adjust the initial chain and row count to modify your wallet’s finished size.
Instructions
Main Rectangle
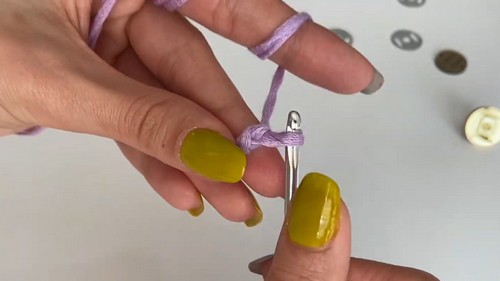
- Foundation:
- Hold two strands of yarn together and ch 17.
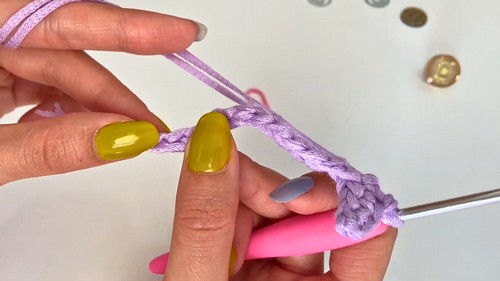
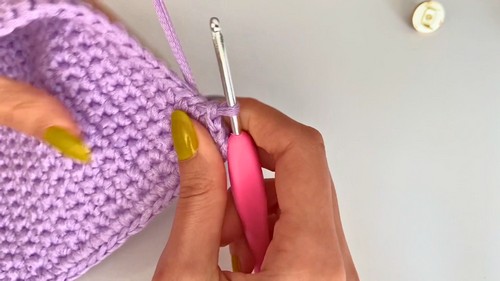
- Row 1:
- Working into the back bumps of the chain, sc in the 2nd ch from hook (not the first one), sc across each chain to the end.
- (Total: 16 sc)
- Turn:
- Ch 1, turn.
- Sc in each st across.
- Continue working sc in each st, always inserting into both loops unless otherwise specified.
- Rows 2 and onward:
- Repeat the previous row until your rectangle measures approx. 22 cm (about 8.5–9 inches) long or to your desired length.
- Note: You may count the number of rows as you go (sample worked approximately 37 rows, but you should measure to fit your needs).

Shaping and Sides
- Edging:
- At the end of the last row, ch 1 and turn your work.
- Work a round of sc evenly along all four sides for a neat edge:
- Sc across the row.
- When you reach a corner, ch 1, turn, and sc along the side (pick up the edge stitches).
- Continue this all around, adding a ch 1 at each corner.
- Join with a sl st to the first sc of the round. Fasten off.
Assembly
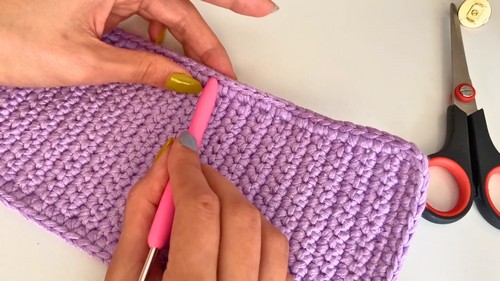
- Folding:
- With the right side facing out, fold the rectangle up from the bottom to form the “pocket” section, leaving the top flap for closure (about 1/3 for the flap, 2/3 for the pocket).
- Use stitch markers or clips to hold side edges together if needed.
- Seaming:
- Using your yarn needle and a strand of yarn, sew the sides of the wallet closed from the bottom fold up to the start of the flap.
- Use whipstitch or mattress stitch for a neat, sturdy seam.
- Be sure to align the stitches for a tidy finish.
- Tie off and securely weave in ends.
Finishing and Closure
- Closure:
- Attach your chosen fastener (magnetic snap, button, etc.) to the inside of the flap and corresponding spot on the front pocket.
- If preferred, add an elastic/loop closure or attach a string for a tie option.
- Decorations (optional):
- Sew or glue decorative patches, tags, or buttons to the front of the wallet for personalization.
- Final Touches:
- Weave in all remaining yarn ends with a yarn needle.
- If desired, steam or block wallet gently to help shape.
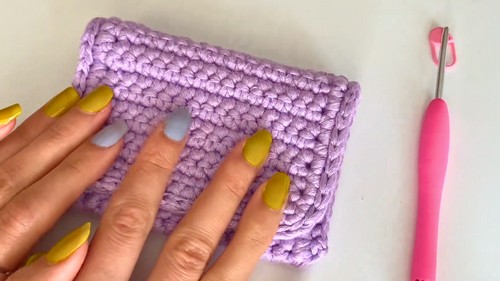
Conclusion
You now have a sturdy, handmade wallet perfect for cards or small essentials. Feel free to customize the size, color, or decorations to match your preferences.
Pattern Corrections & Tips
- Stitch count: Always ensure you are working the correct number of stitches across each row—consistency yields neat edges.
- Size: Adjust the starting chain for width and the number of rows for wallet height.
- Edges: Work additional single crochet rows around the entire piece for a firmer structure.
- Fastener: Attach closure securely to withstand regular use.
- Stability: Holding two yarn strands together adds durability; alternatively, use thicker yarn or line with fabric for more refinement.
- Finishing: Neatly weave in all ends, and do not over-tighten your seam stitches to maintain proper stretch and form.
Leave a Reply