
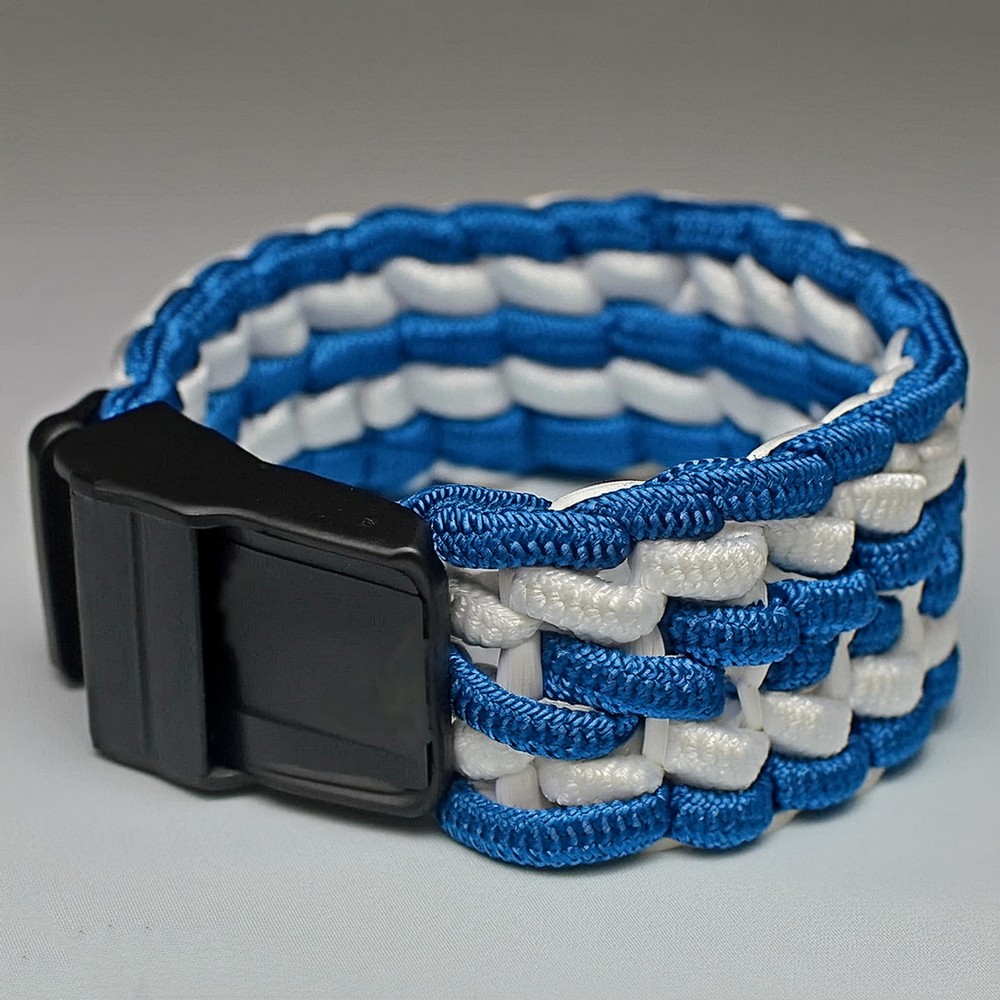
If you’re looking to infuse a bit of DIY magic into your accessories with something that stands out, you’re in the right place. This step-by-step guide is designed to walk you through creating a wide paracord bracelet – a stylish piece that boasts the charm of being handmade by you. You can go with the combination of blue and white colored paracord and the buckle to make fun additions to your handmade accessories with minimal effort.

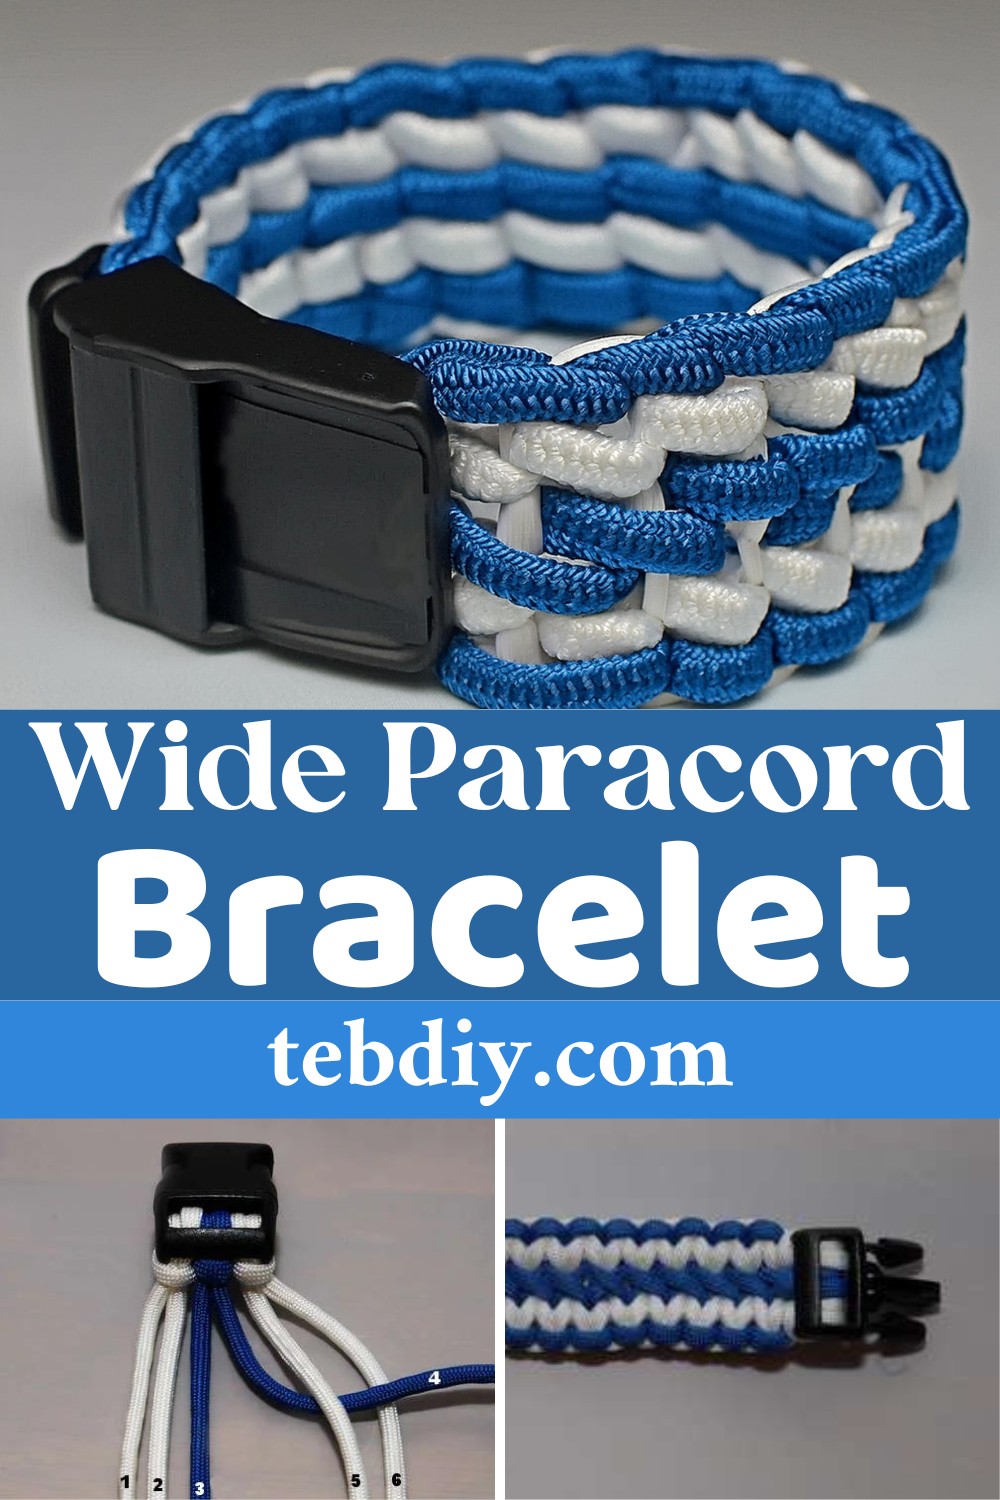
Wide Paracord Bracelet
Materials
- Paracord (Two contrasting colors)
- Side release buckle (1″ size recommended)
Tools
- Scissors
- Lighter
- Measuring tape
(Note: The project does not specifically mention the tools, but based on the making process, it is evident that these tools are needed)
Step-by-Step Making Process
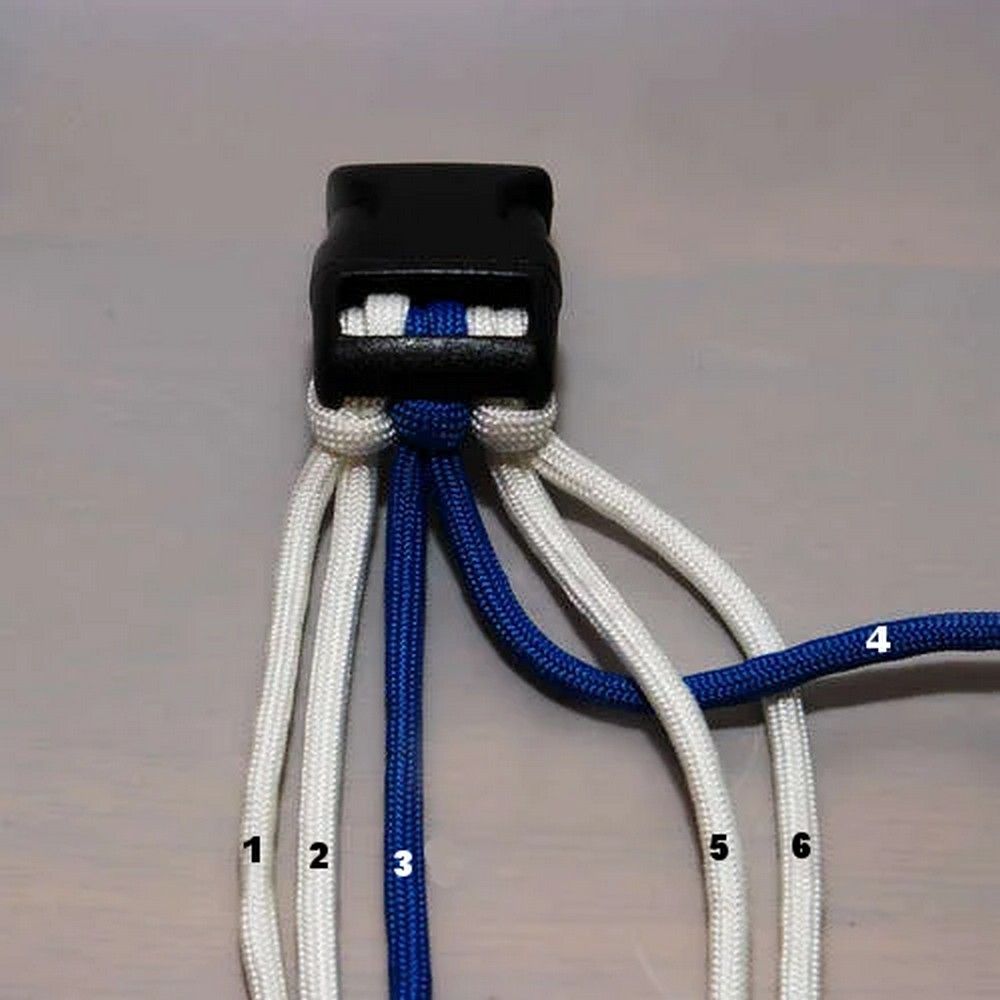
Preparations: First, choose your Paracord colors to create that striking contrast. A tip to remember is to choose a larger 1″ buckle for the smooth-making process. To get the needed length for your paracord, measure your wrist where you want the bracelet to fit and multiply it by 12. It’s better to have extra than to fall short. Attach the paracord strings onto the buckle using a cow hitch knot. Maintain the same pattern.
Knotting the Core: Start weaving your bracelet. Take the fourth string, under the fifth, and over the sixth cord end. Snug up the half knot. Then, do the same with the sixth cord, but go over the fifth and then under the fourth cord. Tighten the half knot adjacent to the earlier knots.
Repeat knots: Repeat this knotting process with cord 1, 2, and 3. Continue in the same pattern until you reach the end of your bracelet.
Join the Lanes: You will start connecting the separately knotted lanes at this stage by crossing cord 4 over cord 3. This will bring your lanes together. Remember to maintain the same pattern of crossing for uniformity.
Attach the Other End of the Buckle: Attaching the other buckle end is crucial. Use a cow hitch to attach cords 2 and 5 to the buckle. While knotting, double back on these ends so that they stay secure.
Finishing Touches: Almost there! Towards the end, test the bracelet on the intended wearer to check if it’s loose or tight. It’s easier to adjust at this stage than after finishing. Once you’re happy with the fit, cut off the excess cord and melt the ends together.
Leave a Reply