
Let’s explore the idea of transforming used pallets, often discarded as waste, into stylish and functional DIY pallet Adirondack chair captures the essence of creativity, eco-friendliness, and cost-effectiveness. Whether you’re an avid maker, a lover of eco-friendly solutions, or simply seeking a unique addition to your backyard, this project is an exciting challenge waiting to unfold.
DIY Pallet Adirondack Chair Project
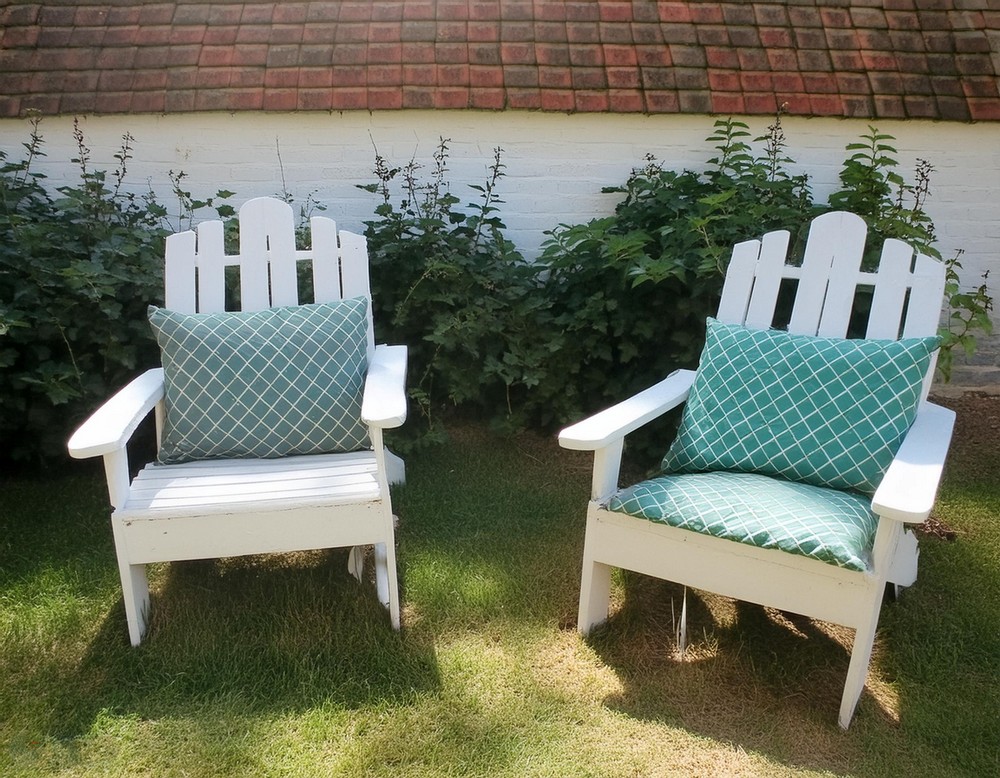
With just a few tools and materials, you can create a comfortable, rustic chair that’s perfect for lazy afternoons in the garden or a cozy campfire gathering. So, follow the detailed process, ensuring every step of creating your pallet Adirondack chair is clearly outlined and attainable.
Materials Needed:
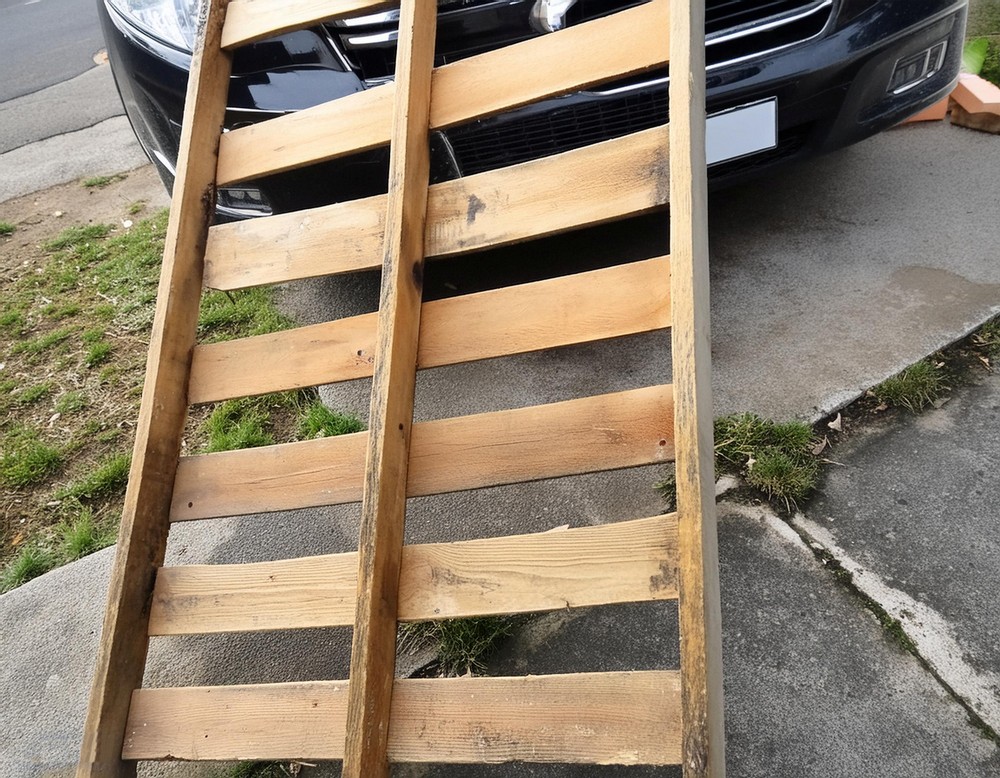
- Pallets: A single 42″x60″ pallet constructed from 1x6s and 2x4s.
- Screws: 1 1/2″ drywall screws for assembly.
Tools Required:
- Circular Saw: For making cuts on the wood.
- Cordless Drill: To drive the screws and assemble the chair.
- Pry Bar and Hammer: For dismantling the pallet.
- Sandpaper/Sanding Block: To smooth out all wood pieces before and after assembly.
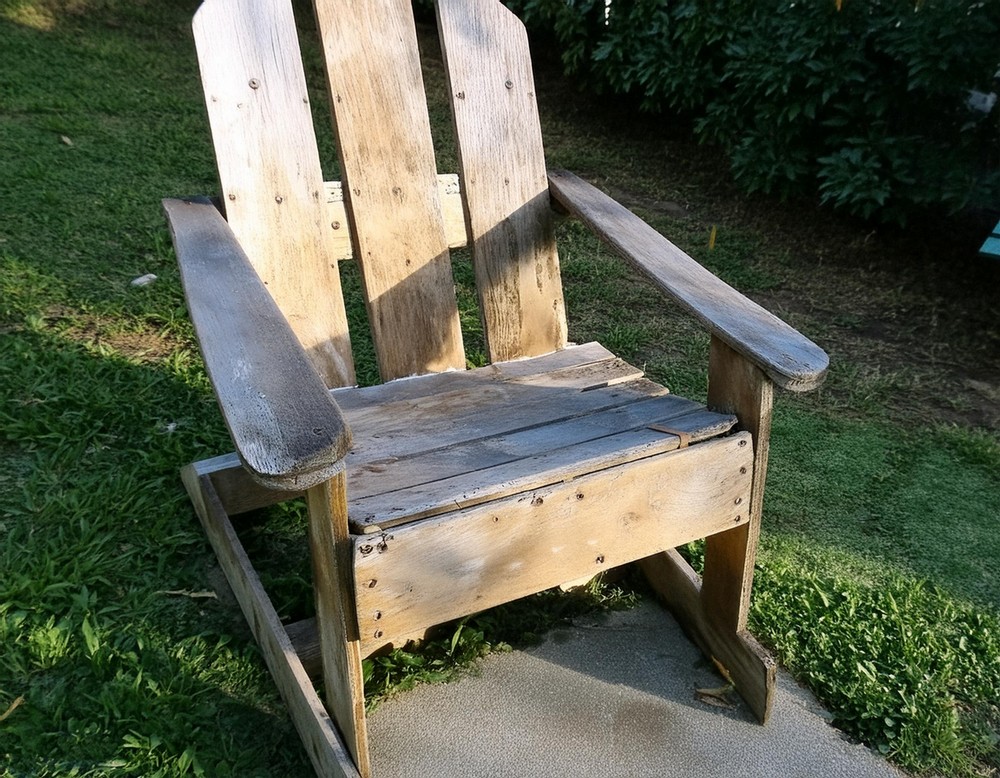
Creating Your Chair Step-by-Step Guide
Preparing the Pallet
Start by dismantling your pallet, a task achievable within half an hour with a pry bar and hammer. Exercise care to avoid breaking the boards and remove all nails once the boards are separated. You’ll find variation in board quality — keep even the less perfect ones, as you can repurpose most parts.
Organizing Your Materials
Spread out all the boards from your deconstructed pallets, selecting the best-fit pieces for each part of the chair. Remember, no piece is too damaged to find a role in your creation. Gather your screws, tools, and prepare for the build.
Shaping the Rails
The rail cuts are crucial for the chair’s foundation. Cut two 1″x6″ boards to 33 3/4″ long, marking for a 15-degree angle cut at one end for each. For an alternative and simpler cut, reduce one corner of each piece for stability without affecting the overall look much. Sand the pieces post-cutting for a smooth finish.
Assembling the Seat
Cut additional 1″x6″ boards for the seat, with a frontal piece and evenly spaced subsequent boards screwed to the rails. Pay attention to spacing between boards for water runoff, and ensure the legs match the intended seat angle for comfort and aesthetics.
Constructing the Back
Measure and cut two 2x4s for the sides of the backrest and three 1″x6″s for the back slats to fit between the seat’s runners. Affix these together, ensuring your chair back will provide the needed support and comfort. Sand as needed.
Adding Front Legs
Prepare two 2x4s for the front legs, incorporating a 15-degree angle cut for a balanced sit. The precise placement of these legs directly impacts the chair’s stability and comfort, so adjust as necessary before final assembly.
Securing the Back to the Seat
Fasten the backrest to the seat ensuring a 90-degree angle for proper seating posture. This step brings the structure of your Adirondack chair together, merging form and function.
Attaching the Arms
Measure and cut 2x4s for the arms of your chair, extending from the front leg backward. Adding a center brace across the back can enhance the chair’s durability and sturdiness, though it’s optional.
Reinforcing with Braces
(Optional) For additional structural support, add braces underneath the arms by cutting squares of 2×4 and securing them at each corner.
Finishing Touches
At this stage, you can choose to sand down any rough patches and apply paint or sealant to protect your chair from the elements, or leave the wood in its natural, rustic state.
Creating this Adirondack chair from repurposed pallets offers a rewarding experience that marries environmental stewardship with personal accomplishment. Not only do you end up with a unique piece of furniture imbued with your own effort and creativity, but you also contribute to a culture of sustainable living.
Leave a Reply