
Build a stylish Palm Springs-inspired kitty scratch house that keeps your pet happy and your living room looking adorable. A fun, creative project for cat lovers!
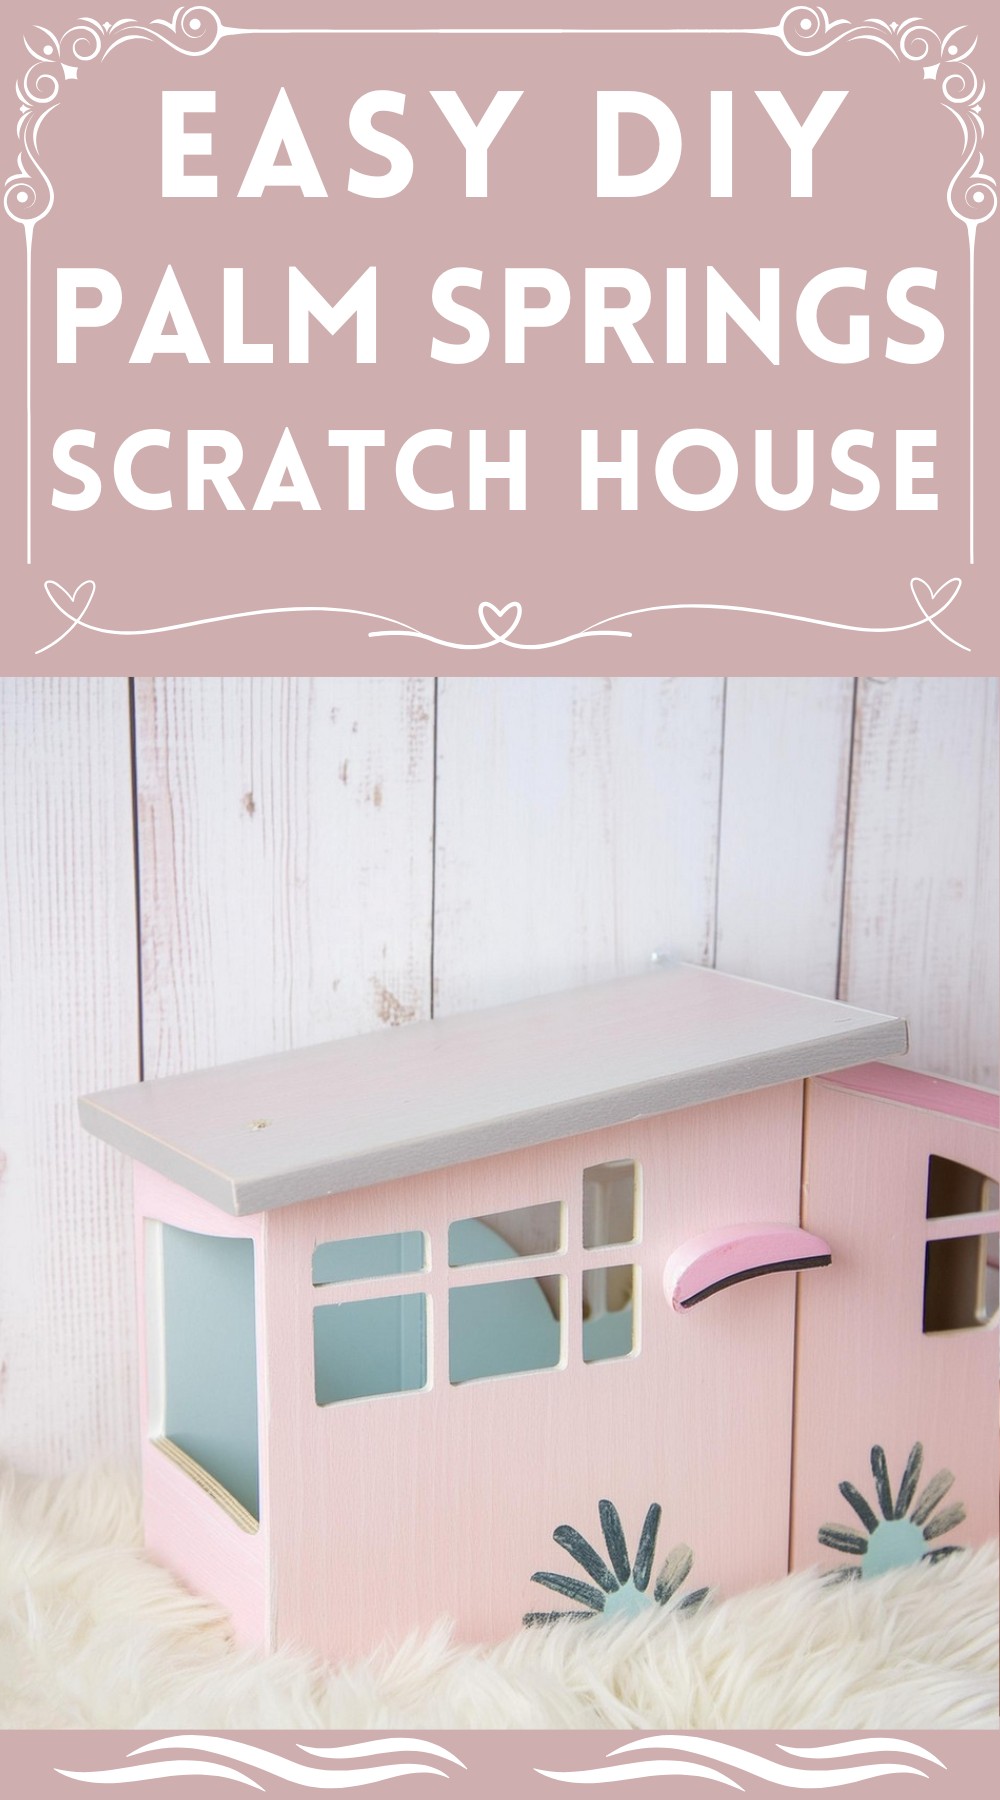
Palm Springs Scratch House
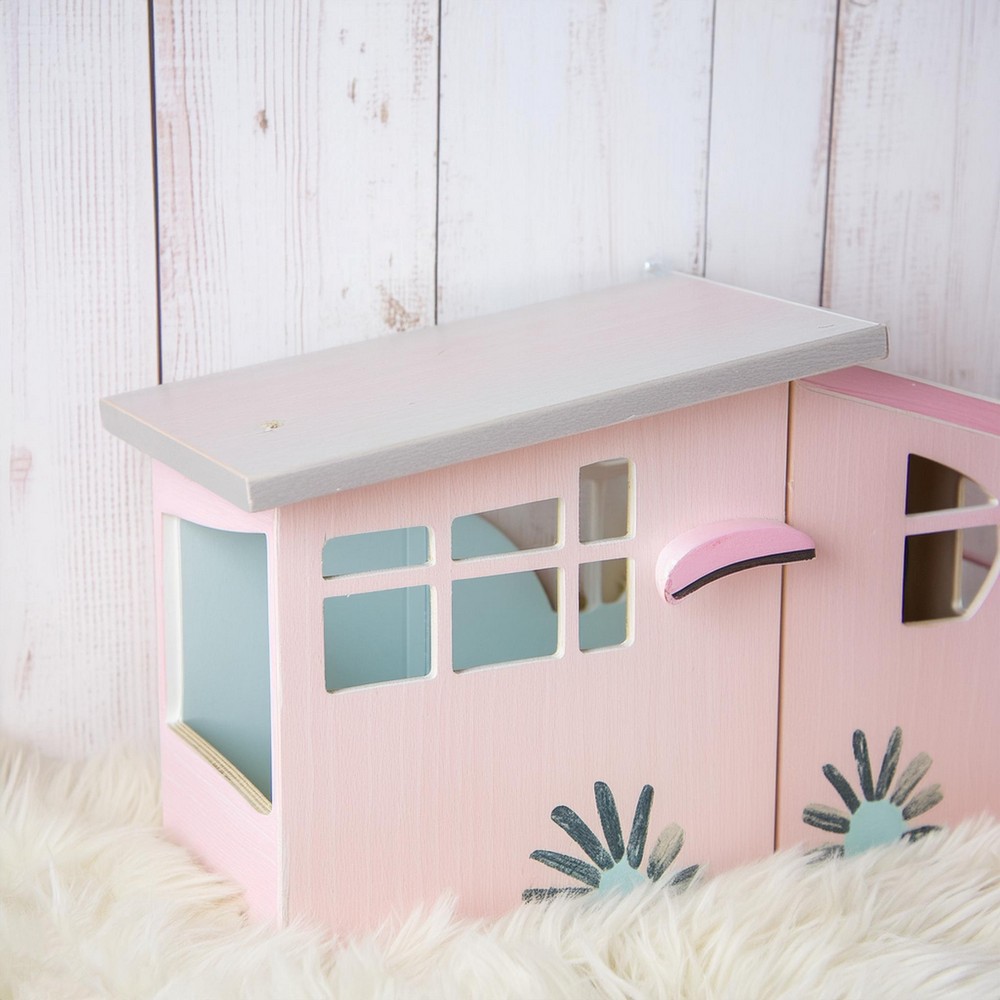
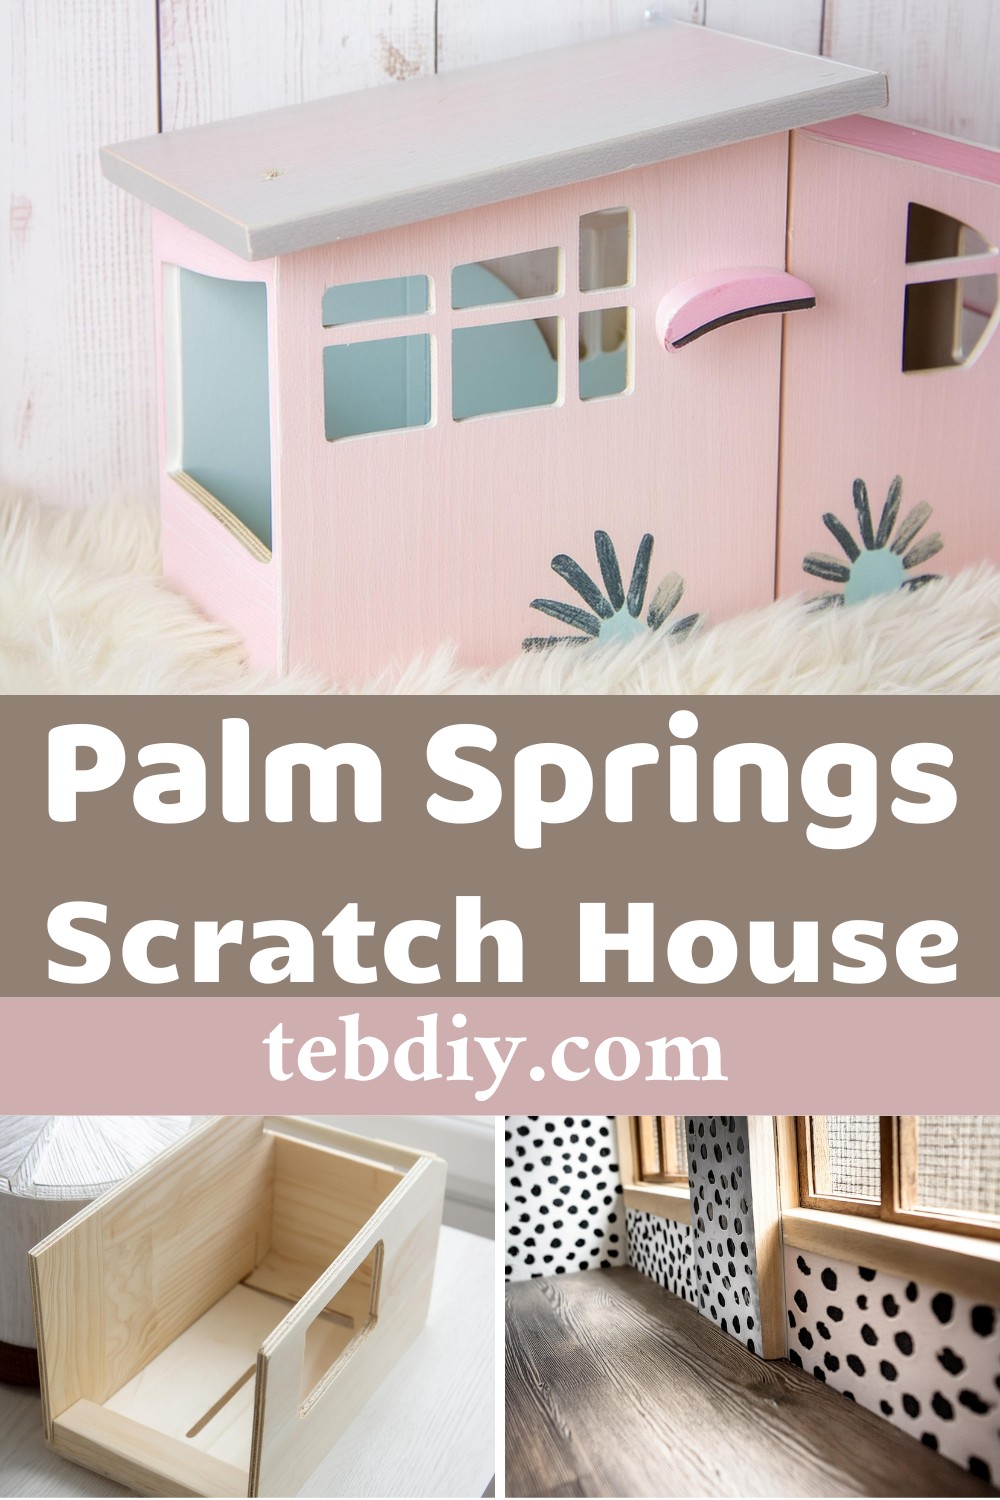
It satisfies your cat’s instinct to scratch, acting as an outlet to keep your furniture intact. Inspired by the iconic Palm Springs architectural vibe, this kitty scratch house boasts a slightly asymmetrical ranch design, making it a unique and stylish addition to any living space. Enhancing its charming appearance, the scratch house includes handcrafted window frames and a door made from balsa wood, meticulously painted to match the house’s overall aesthetic.
A tiny globe light fixture, crafted from a painted wooden craft ball and metal wire, adorns the entrance, adding a warm and inviting glow. It is both an attractive and practical piece, providing a delightful nook for your cat and a conversation starter for your guests.
Materials:
- ½” thick plywood sheets
- Craft paper (for template)
- Removable wallpaper (optional)
- Scratching pad insert
- Balsa wood
- Metal wire
- Small wooden ball
Tools:
- Jig saw
- Ruler
- Clamps
- Wood glue
- Nails and hammer
- X-Acto knife and cutting mat
- Hot glue gun
- Paint (your choice of color for the house)
Step-by-Step Guide
Planning Your Design: Choose a slightly asymmetrical ranch style for your kitty scratch house for that quintessential Palm Springs vibe. Take measurements of your cat’s current scratch house to gauge the minimum size needed for comfort and fit, then sketch out your design on craft paper, incorporating a 9.5″ tall and 7.5″ wide side opening and ensuring the floor accommodates a 9.5 x 17.75″ cardboard scratching insert.
Cutting the Pieces: Using your plan, measure and cut the plywood into the following pieces with a jig saw:
- A: 19″ long back wall, 12″ at its highest peak to 9.5″ at the lower peaks
- B: Front wall (mirrored to A) with window cutouts
- C: 9.5” x 9.5″ sidewall
- D: 9.5″ x 17.75″ bottom piece
- E: 9.5″ x 1.75″ piece for keeping the scratcher in place
For straight cuts, clamp a ruler to the wood as a guide for your saw.
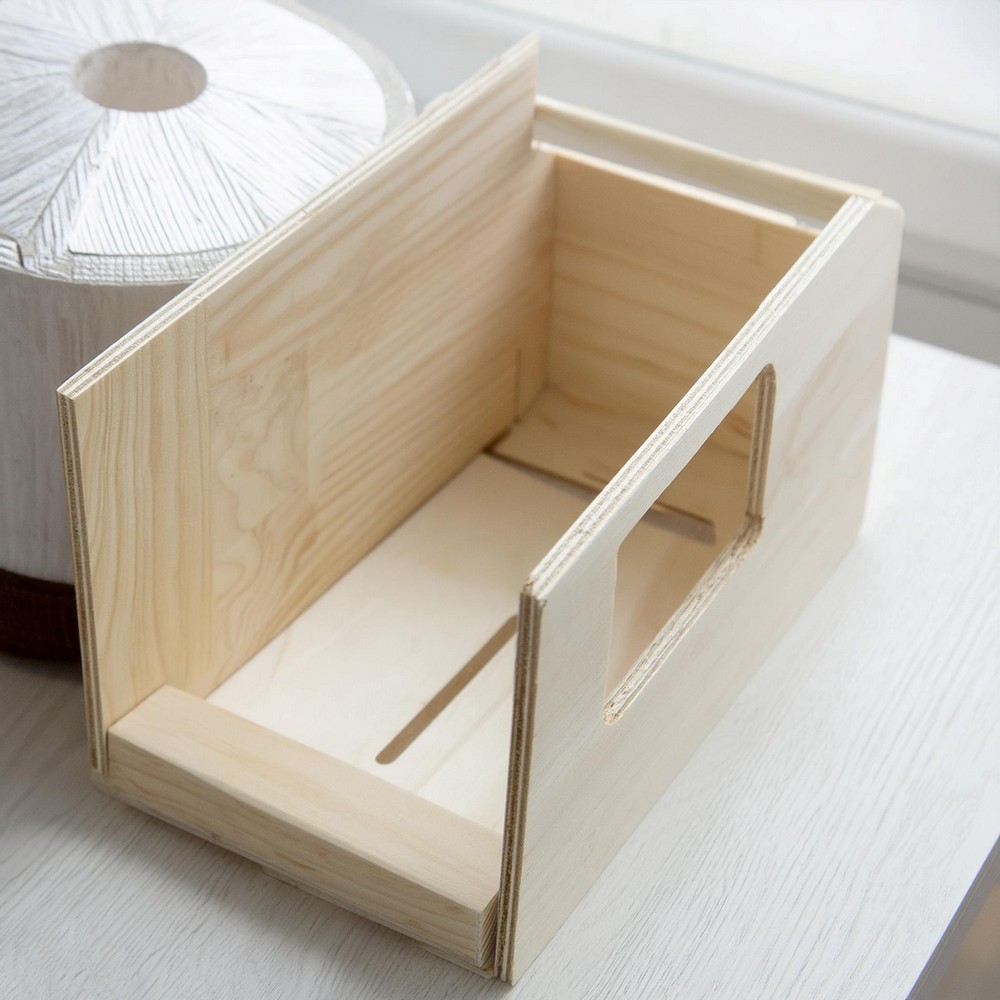
Assembly: First, dry-fit the pieces to ensure they align correctly. Then, using wood glue and clamps, secure the pieces together. Once the glue has set, reinforce the structure with nails.
Continue…
Adding Details: Create a recessed doorway by cutting out a strip from the front piece and placing a slightly wider piece behind it. This not only adds depth but also enhances the overall aesthetics of the kitty house.
Constructing the Roof: Challenge your craftsmanship by constructing a slightly asymmetrical roof. This step might require a few attempts to get the angles right, but the unique character it adds is worth the extra effort.
Interior Decoration: Before attaching the roof, consider lining the inside with removable wallpaper for a polished look. Remember, it’s easier to do this before the roof is fully secured.
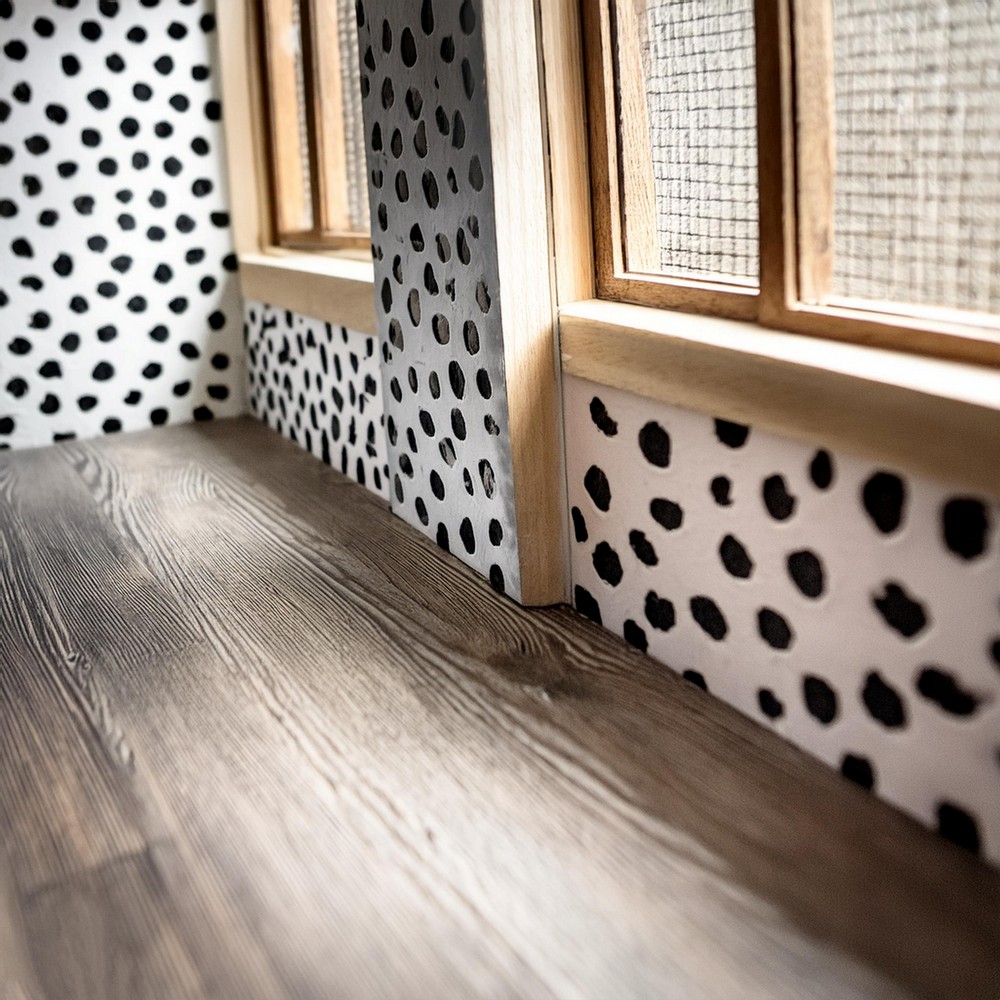
Painting and Finishing Touches: Paint the house in your chosen colors. As the paint dries, craft some window frames and a door from balsa wood. Once dry, attach these elements to the house. Fashion a globe light from a painted wooden ball and metal wire, securing it above the doorway for an adorable detail. Add painted pin heads as doorknobs for a realistic touch.
Landscaping: Craft some balsa wood agave plants to place by the front door, adding to the Palm Springs aesthetic.
Inserting the Scratching Pad: Cut a notch into the scratching pad to fit around the recessed entryway, then place it inside the house. Your kitty’s new scratch-and-rest station is ready for use!
Finishing Thoughts: As you watch your cat stretch, scratch, and snooze in their new stylish abode, you’ll appreciate not only the functionality but also the splash of character it adds to your living space.
Leave a Reply