
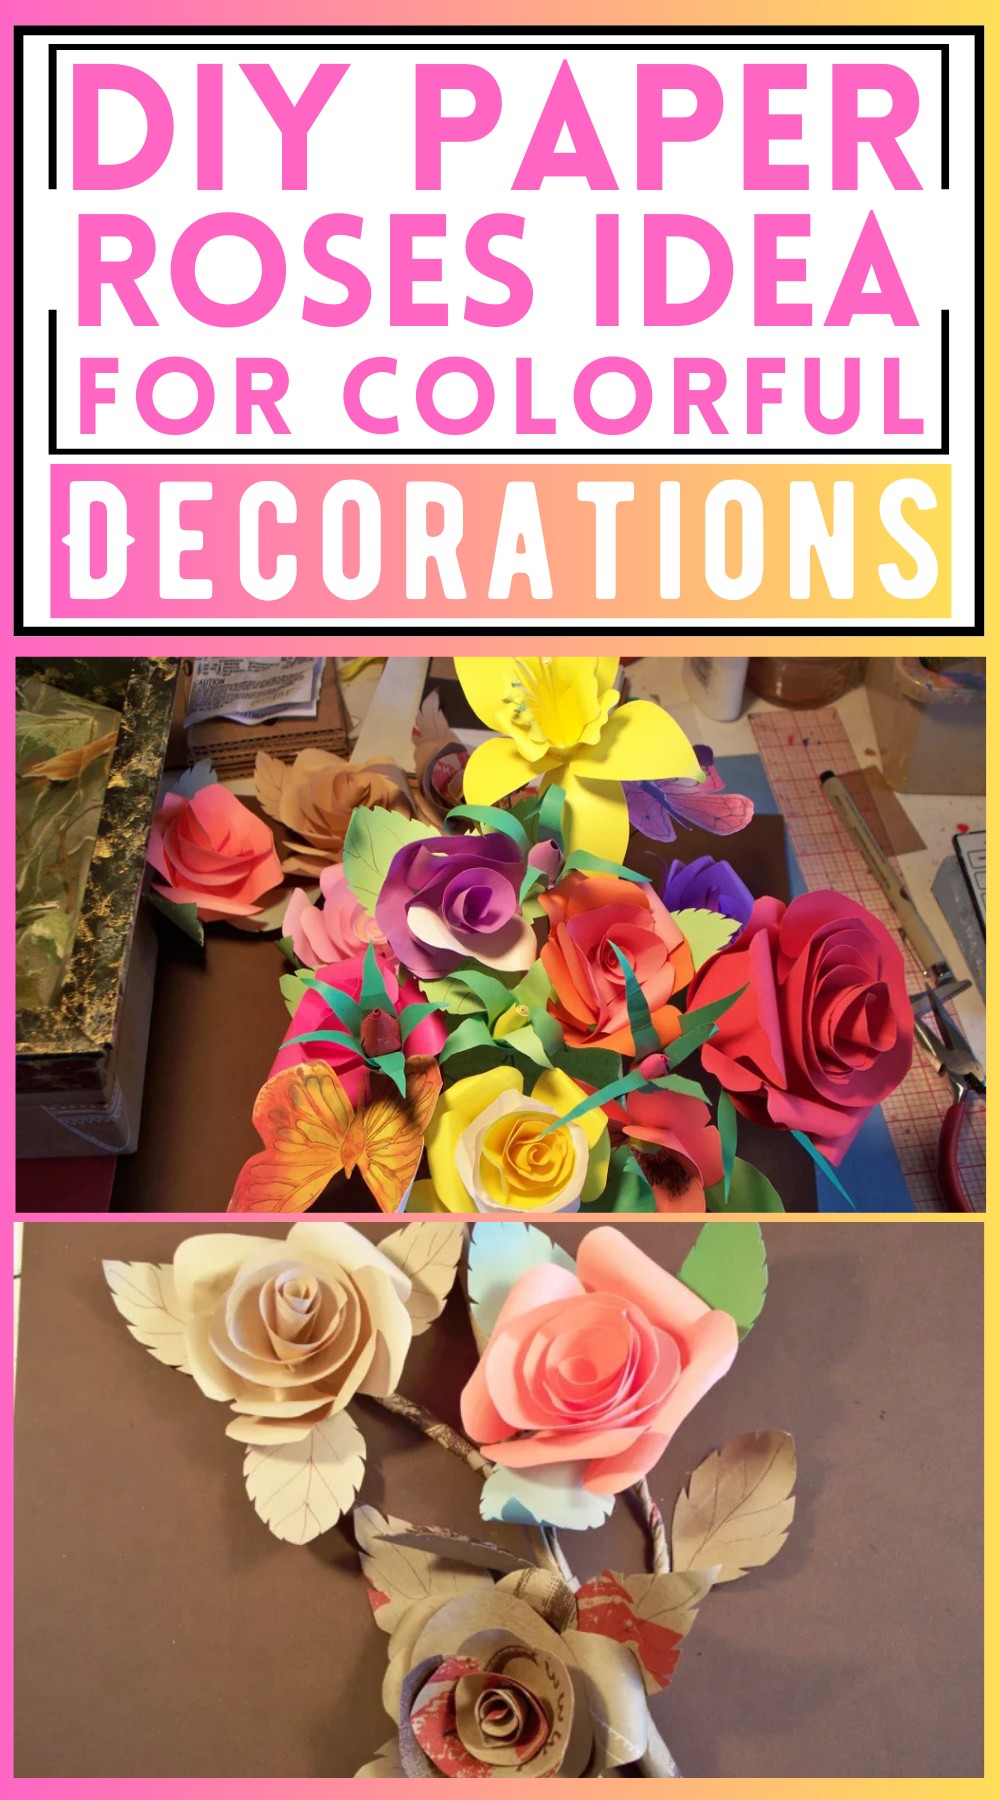
People really like paper roses because they look like real roses but last much longer. Making your own paper roses, which is a do-it-yourself (DIY) project, can be a fun way to create beautiful decorations that don’t wilt. This DIY paper craft lets you pick your favourite colours and sizes for the roses, and you can use them to decorate your home or give them as gifts that show your care and creativity. Making paper roses is a great way to spend your time, and it can make you feel proud when you see how pretty they look. Get ready to learn this art with us!
How to Make Paper Roses
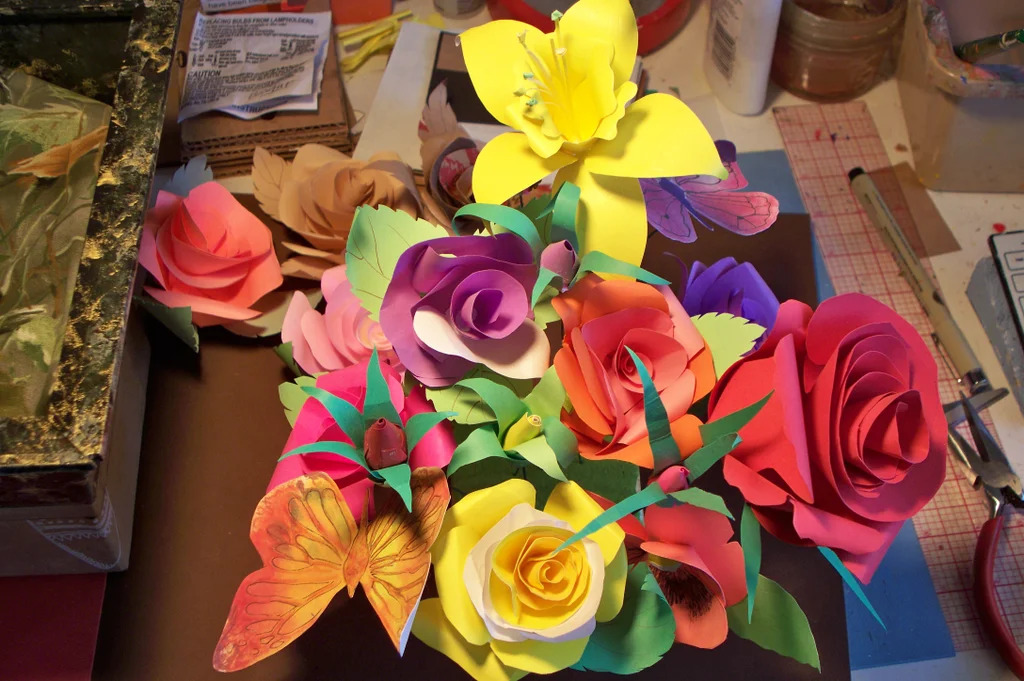
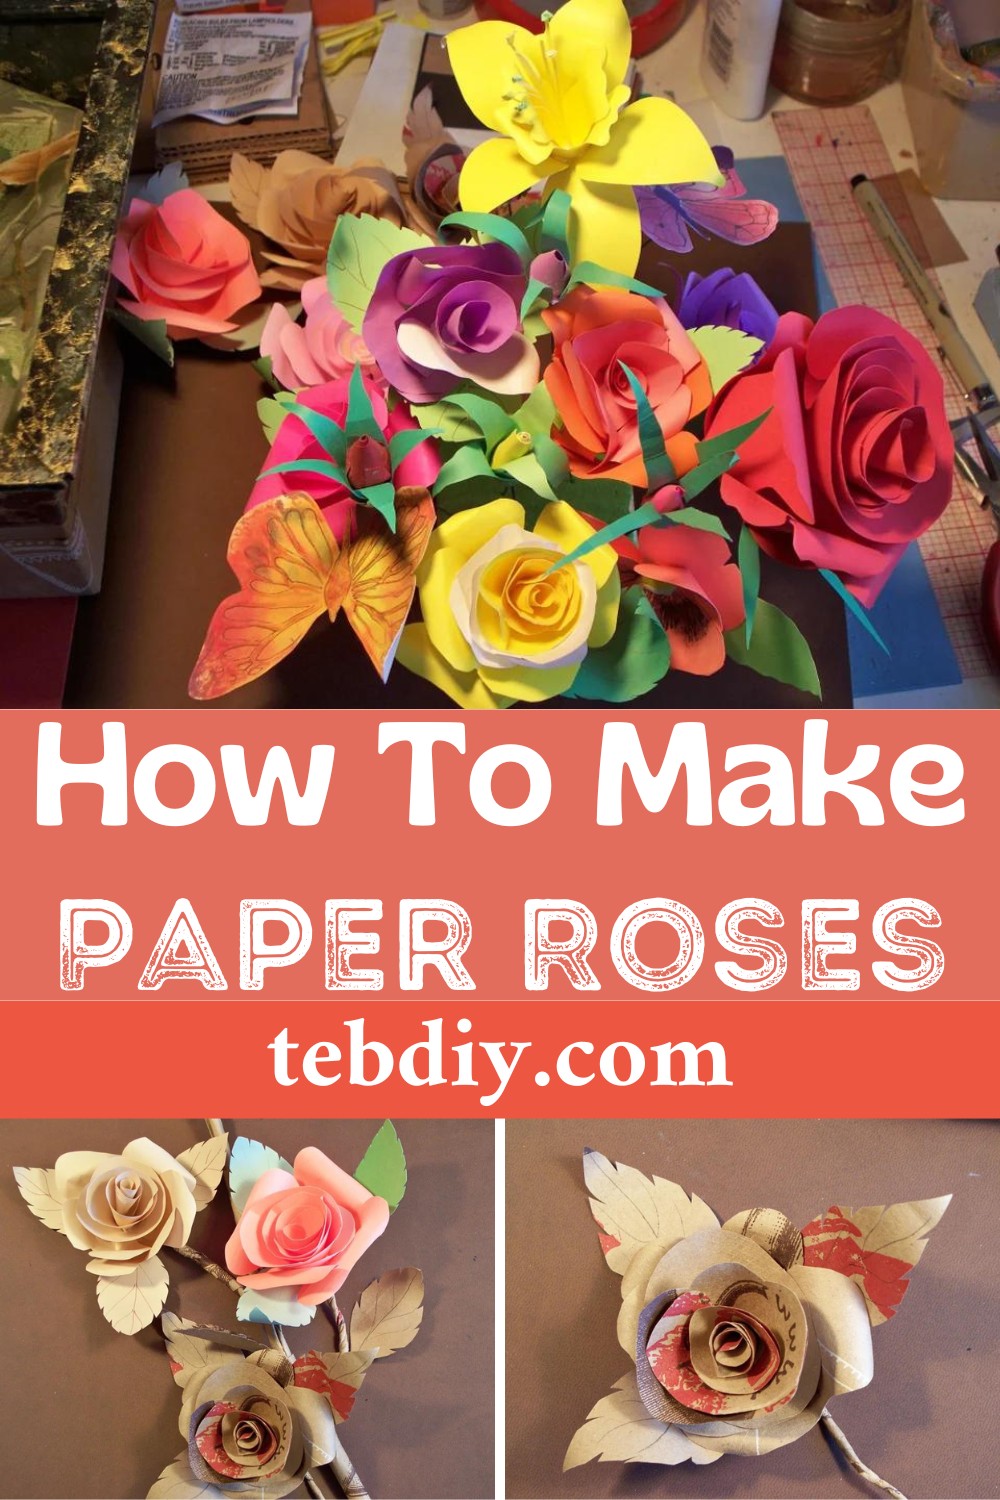
The DIY Paper Roses project invites you to create beautiful, unique roses from paper. These roses, resembling the real ones, are crafted from simple household materials like paper, glue, and scissors. The process involves easy step-by-step instructions in this kids-friendly craft, from drawing and cutting to folding and glueing. Besides their charming appearance, these roses are sustainable and cost-effective, being made from recyclable materials. They offer an intriguing blend of simplicity, creativity, and usefulness, perfect for decorations or heartfelt gifts. Follow the guide, and thank me later!
Making The Paper Roses
Materials and Tools Needed
- Paper (Options include watercolour paper, cardstock, coloured bond paper, or kraft paper. Tissue paper is not recommended.)
- Scissors
- Glue
- Pen or Marker (for drawing)
- Clamps (optional, but helpful)
Step-by-step Process
Step 1: Gather Supplies and Tools
Make sure you have all the necessary supplies and tools mentioned above.
Step 2: Draw Various Parts on Paper
- For beginners, start by drawing the design on the paper using the pictures shown as a guide.
- You will need to draw:
- 2 or 3 leaves
- 3 outer petals
- 4 inner petals
- Ensure you maintain the size relationships between the parts as you draw them.
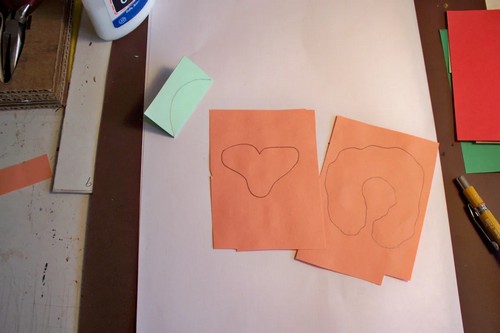
Step 3: Cut Petals and Leaves for Your Rose
- Based on your drawings, cut out the leaves, outer petals, and inner petals.
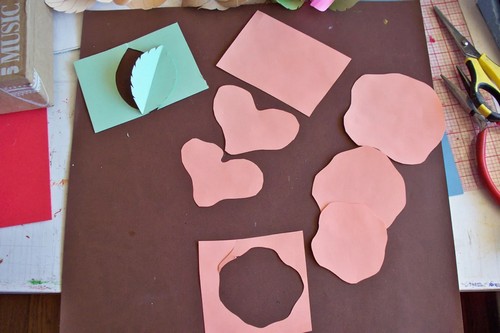
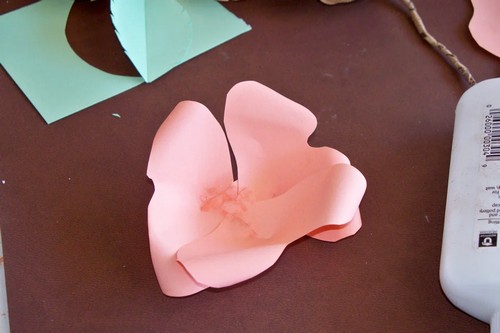
Step 4: Fold and Burnish Outer Petals
- This step involves preparing the outer petals by folding them to give them a natural curvature and then burnishing (rubbing) them to help them hold their shape.
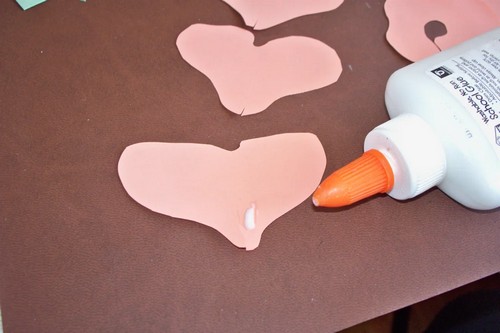
Step 5: Glue Outer Petals Together
- Arrange and glue the three outer petals together to form the base of the rose.
Step 6: Proceed to Inner Petals
- Create cone shapes from 3 or 4 concentric circles of paper, which will serve as the inner petals. Ensure you have varying sizes for a natural look.
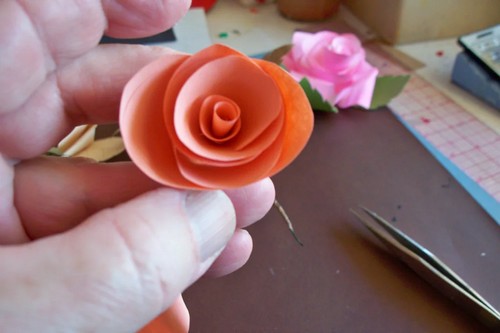
Step 7: Glue Inner Petals to Outer Petal Base
- After forming the cones, glue them atop the base of the outer petals, starting from the most miniature cone to the largest to mimic the bloom of a rose.
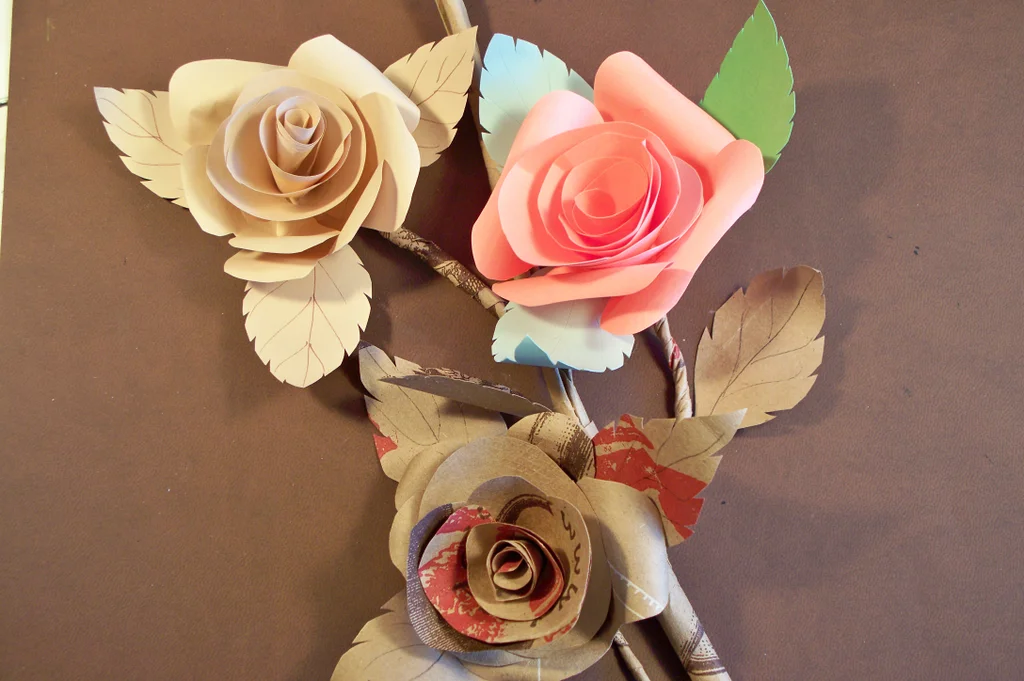
Step 8: Add Leaves
- Attach two or three leaves at the bottom of your rose. For extra detail, you can make serrated edges on the leaves by cutting small notches along their borders.
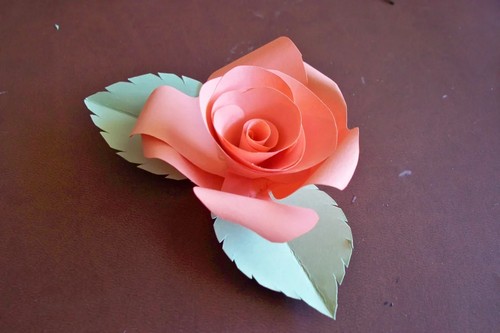
Step 9: Arrange Rose or Roses As Desired
- Let your creativity bloom by arranging the rose or roses in various ways. Your finished product can serve as a standalone decoration or part of a larger bouquet.
Conclusion
Paper roses are a fabulous way to beautify your space or serve as thoughtful, handmade gifts. Following these steps, you can transform simple paper into stunning roses that never wilt. Enjoy the process and personalize your creations to suit your style or occasion.
Leave a Reply