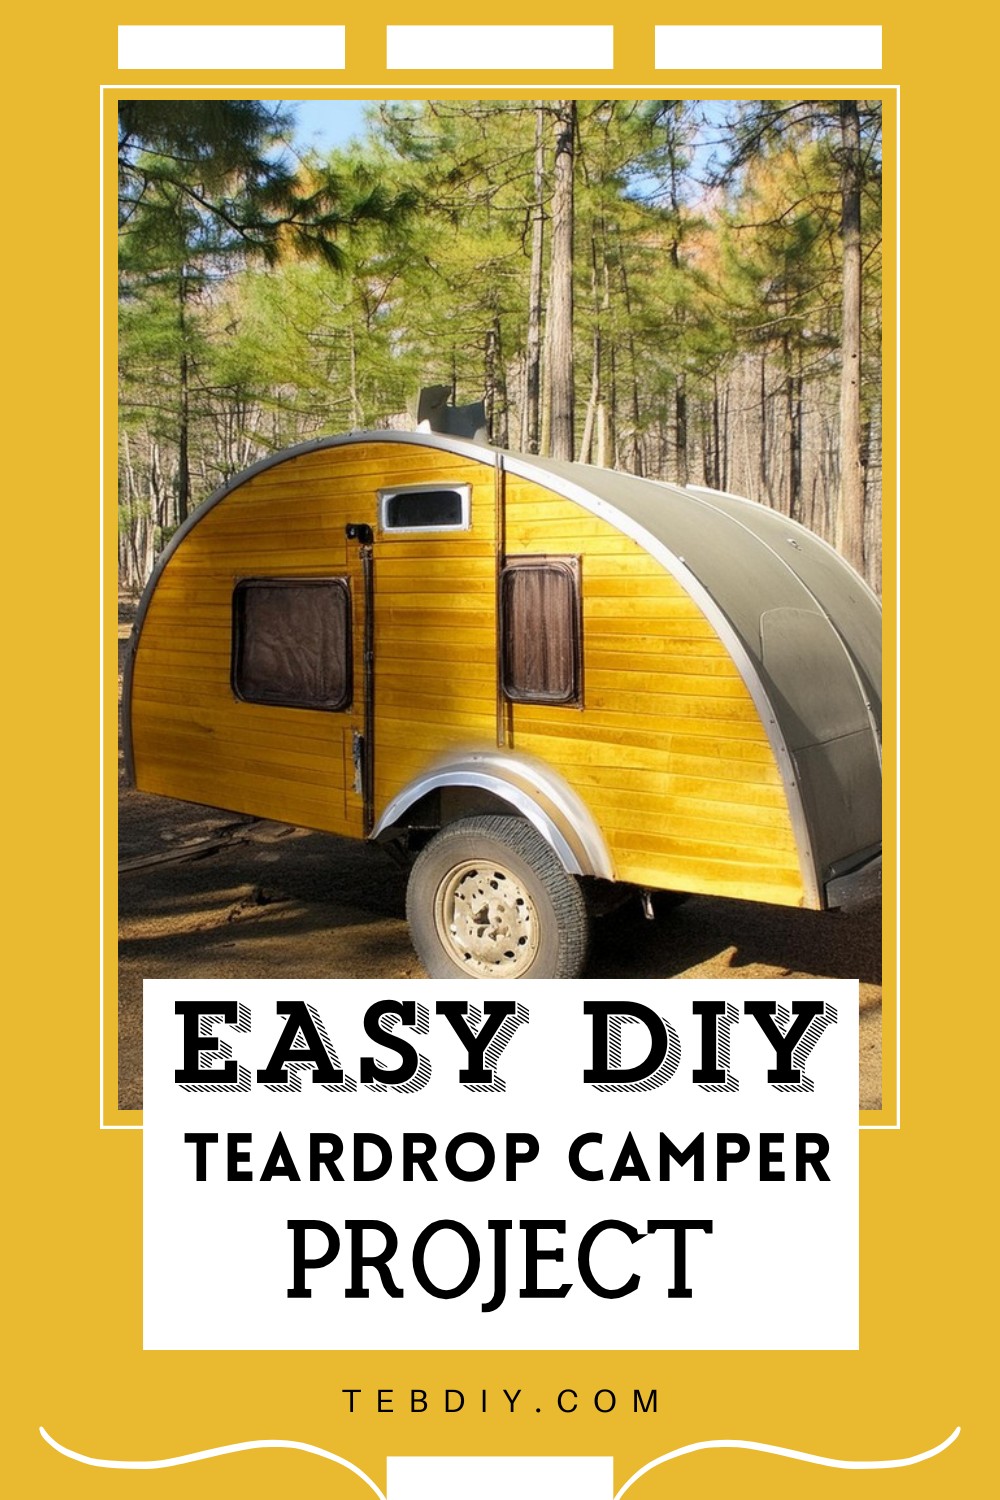
Imagine being away from the everyday hustle and bustle, hitting the open road with a slice of vintage charm trailing behind your vehicle. This DIY Teardrop Camper isn’t just any trailer, it’s an emblem of adventure and craftsmanship—a teardrop camper that catches the eye and invites whispers of longing from fellow travelers. Made with your own hands, it not only offers the sweet promise of escapades but also stands as a testament to your skills and dedication. The allure of a teardrop camper is undeniable, with its nostalgic silhouette and the satisfaction of creating something genuinely unique. So, who wouldn’t feel the pull to delve into such a fulfilling project?

DIY Teardrop Camper Project

Materials List:
- Plywood (for walls, interior, shelves, and doors)
- Fur lumber (for wall structure)
- Birch plywood (for interior walls and counter top)
- Oak wood (for trim, outlet cover, and door)
- Insulation material
- Rustoleum paint
- Carpenters glue
- Screws and brads
- Stainless steel piano hinges
- Aluminum teardrop camper hinge
- Galvanized metal (for galley crate fronts)
- Fenders (purchased from Tractor Supply)
- Wheels (13-inch preferred)
- Heavy-duty drawer slides (for cooler compartment)
- Gas struts (for galley door)
- Battery box materials
- Electrical wiring and components (outlets, lights, switches)
- Mason jar (for exterior light)
Tools Required:
- Jigsaw
- Sander
- Brad gun
- Scroll saw
- Forstner bits
- Wrenches, pliers, and various hand tools
- Router (optional for trim details)

Step-by-Step Creation Process:
Frame Welding
- Start by laying out and welding the metal frame that will form the foundation of your camper. This will support the entire structure, so precision is key.
Suspension
- Carefully position springs, shackles, and the axle—sourced from local suppliers for easy maintenance and replacement.
Painting the Frame
- Apply a coat of primer and then paint the frame with a durable Rustoleum paint to protect it from the elements.
Plywood Structure
- Cut out the teardrop shape panels with a jigsaw from plywood, sand the edges for smoothness and ready the walls for later stages.
Galley Layout
- Design the galley to be functional, accommodating cooking gear and a cooler in an efficient layout.
Cutting Door Holes
- Precision is paramount when measuring and cutting door openings to ensure alignment. Preserve the cutouts to make matching doors for a seamless appearance.
Wall Structure
- Assemble the structural framework of the walls, taking care to notch the edges for the ribs.

Inner Walls
- Install the inner walls with their supports, then fit in the birch plywood to delineate the living and galley spaces.
Interior Shelf
- Design an interior shelf to provide additional storage and a place for your in-camper entertainment.
Ribs
- Place fur pieces between the notches for added strength and attachment points for the ribs.
Interior Plywood
- Carefully slide the interior plywood into place, bending it to conform to the teardrop contour. Patience is necessary to avoid breakage.
Outlet Cover
- Fashion custom outlet covers from oak using a scroll saw for a bespoke finish.
Power Plug Installation
- Incorporate a male power plug so you can easily connect to an external power source while camping.
Wiring
- Run the necessary wiring for both household and 12V DC systems through the walls, preparing for switches and outlets.
Insulation
- Fit insulation within the walls to ensure a cozy, condensation-free environment inside the camper.
Exterior Plywood
- Affix the outer plywood to the walls, starting at the bottom and gradually bending towards the top, remembering to glue as you progress.
Roof Vent
- Cut an opening and install a roof vent to help manage airflow and interior climate.
Building the Side Doors
- Utilize the preserved plywood sections to build matching doors, framed with oak for extra durability.
Installing the Side Doors
- Mount the doors using high-quality hinges and seal with polyurethane to weatherproof.
Galley Door Structure
- Cut out the galley door from plywood, inserting structural ribs and corner gussets for reinforcement.
Galley Door Interior
- Insulate and finish the interior of the galley door, ensuring shape retention with temporary bracing.
Installing the Galley Door
- Fit the finished galley door onto the camper, attaching it securely and fitting gas struts to hold it open.
Wheels and Fenders
- Prepare and paint fenders, then mount them and the wheels for a rolling structure.
Battery Box
- Build a compartment to house the battery securely, keeping it accessible yet unobtrusive.
Trim and Finishing
- Carefully install oak trim around the exteriors for a polished look and mount any external lighting or accessories.
Galley Baskets
- Assemble crates for organized storage in the galley, custom-fitted for your belongings.
Home Stretch
- Finalize the installation of all amenities such as the cooler drawer slide, ensuring functionality and ease of use.

Finishing Touches
- Add personal touches to the cabin’s interior and refine any exterior details for a complete look.
Model A Trailer Hitch
- If pulling with a classic car, customize the trailer hitch to suit its specifications.
Pulled by the Ford
- Admire your handiwork hitched to your vehicle, making final adjustments as necessary.
Camping
- Head out and experience the joy of camping with your custom-built teardrop camper.
Camping Group
- Enjoy the company of fellow DIY camper enthusiasts, sharing tips and making memories.
More Camping
- Continue the adventure, exploring new locations and seasons with your teardrop camper.

Leave a Reply