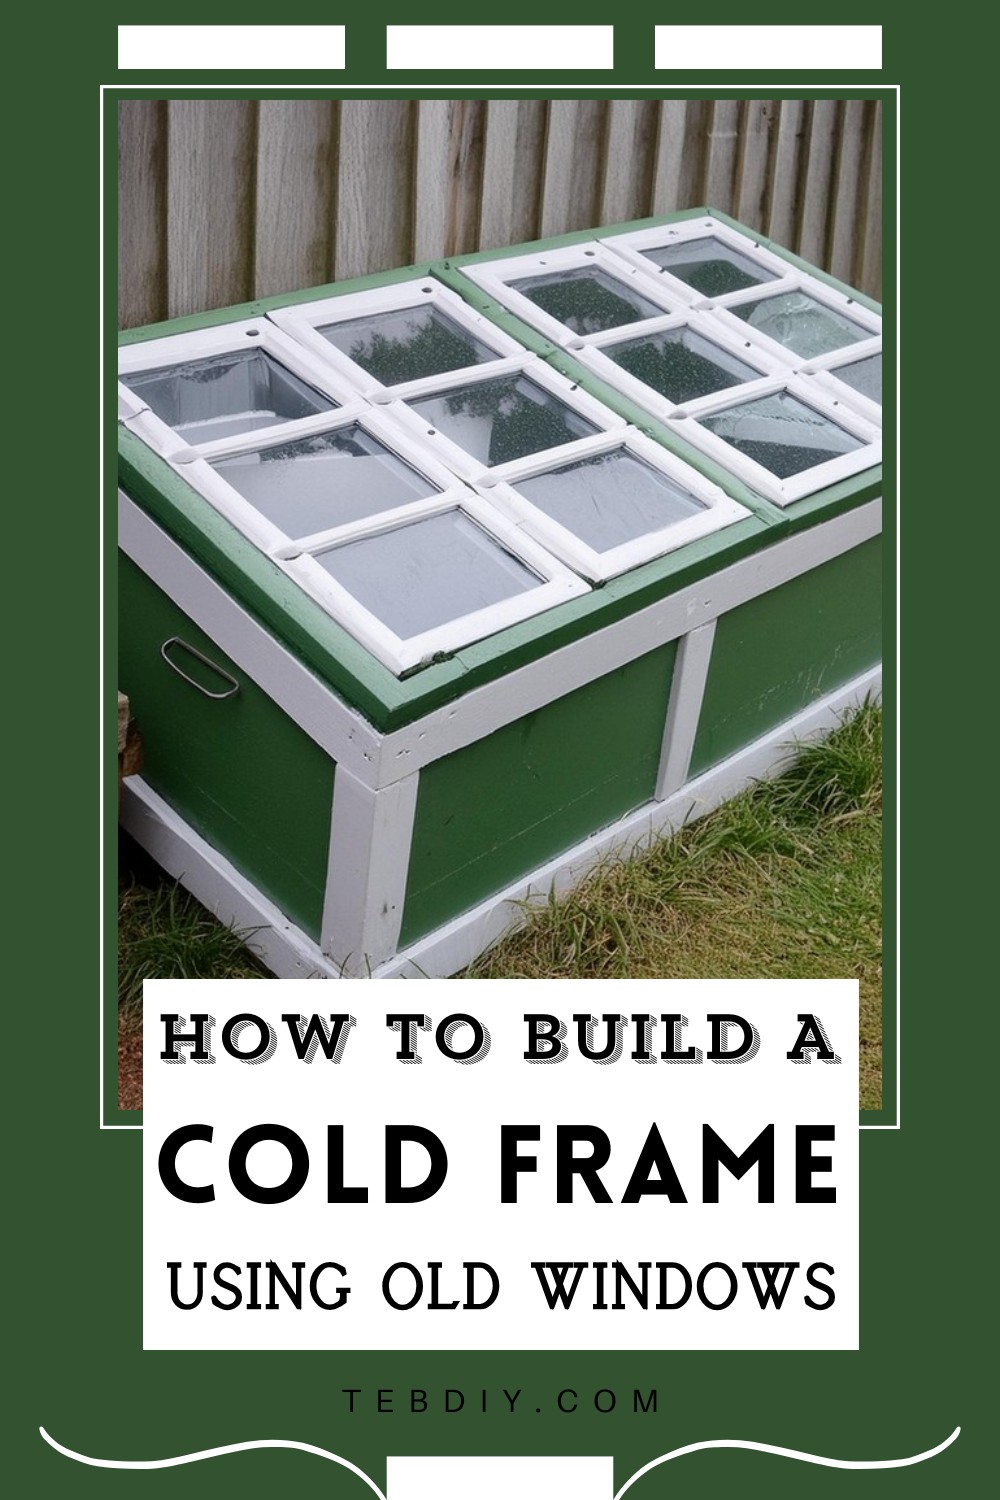
If the thought of repurposing brings a spark to your eye and gardening is a passion close to your heart, then this project is a perfect blend of both worlds for you. You can easily utilize those old, yet sturdy windows you replaced last summer and giving them a new lease on life as a protective haven for your plants. The concept of this cold frame, essentially is a mini-greenhouse, that not only safeguards your plant buddies from the unpredictable elements and uninvited critters but also extends your growing season, opening a world of possibilities for what you can cultivate. What’s even more appealing is the simplicity of this weekend project, requiring nothing more than some basic tools, a touch of ingenuity, and a sprinkle of elbow grease.

How To Build A Cold Frame Using Old Windows

Materials and Tools Needed
Tools:
- Hand-held drill (cordless or corded)
- Miter saw (powered preferred, but a hand saw and miter box will do)
- Jigsaw, circular saw, or table saw for cutting plywood
- Screwdriver
- Tape Measure
- Marking tool
- Paintbrush
Materials:
- Two to four old windows (with at least one common dimension)
- 2×2 lumber (quantity varies)
- 2×3 lumber (quantity varies)
- 2×4 lumber (quantity varies)
- Inexpensive plywood (1/8″ or 1/4″ thick)
- Exterior wood screws (deck screws)
- Exterior wood-sealing paint
- Galvanized or brass hinges (if existing window hinges are unusable)
- Sturdy exterior-grade handles
- Latex sealant
- Common heating vent (optional)

Steps To Create Your Garden Cold Frame
The Basic Plan
First things first, you need to conceptualize your cold frame based on the dimensions of your windows since that will dictate the overall size and shape of the frame. You can opt for a low-profile frame sufficient for sprouting plants or a taller one to accommodate more mature plants. It’s essential to consider the frame’s height, ensuring it’s not too cumbersome to work over. Lastly, decide whether the top will be flat or angled—which helps with water drainage.
Window Preparation
Start by giving your windows a thorough cleaning. Remove all old caulk, wash them down, and sand any old paint to prepare the surface for a new coat. Decide how you want to arrange the windows. They can be attached via hinges at the back or sides, or you can forgo the hinges and simply add handles to lift the frames off if necessary.
Crafting the Window Frame
Construct a sturdy frame to support the weight of the windows using 2×2 and 2×3 lumber. Ensure there’s a small gap around the edges for wood expansion and that the pieces overlap at corners for extra strength. The 2x3s will act as a ledge for the windows to rest on. It’s crucial to test the windows’ fit within this frame before moving forward.

Calculating Dimensions for the Bottom Half
To achieve a sloped top for water runoff, you will need to engage in a bit of mathematics or get creative with propping to visualize the sloping angle. Measure the window frame’s depth and use this along with your chosen angle or rise to calculate the bottom frame’s dimensions. Consider what you plan to grow when deciding the height of your frame, keeping in mind working comfort.
Building the Side Walls
Based on your calculations and measurements from the previous step, construct the side frames using 2×4 lumber for robust support. Accuracy in cutting the lumber to reflect your slope angle is key here, ensuring a snug fit.
Assembling the Front and Back
The rectangular frames for the front and back are simpler in design. Measure and cut pieces of 2×3 lumber to create these, taking into account the height differences for the sloping design. Once done, use clamps and screws to secure all pieces together, ensuring structural integrity.
Fitting the Window Frame
After ensuring all is level and square, attach the prepared window frame to the cold frame base. This step brings to fruition the functional aspect of your cold frame, where it starts taking shape, ready for its role as a protector of plants.

Conclusion
With these steps, you’ve given new life to old windows and crafted a sanctuary for your plants to thrive in. Not only does this project provide a practical solution to extend your gardening season, but it also adds an element of charm and history to your garden space. So, take a moment to admire your work—a perfect blend of sustainability, gardening, and DIY prowess. Happy gardening!

Leave a Reply