
Say goodbye to summer boredom with the DIY 4-in-1 Activity Table a parent’s best friend! This DIY wooden table is not just another project; it’s a dynamic playground that transforms from a chalkboard to a Lego surface, includes storage for toys, and even has a spot for drawing paper. Crafted at a weekend, this table promises endless hours of fun and creativity for the kids, flipping effortlessly for a fresh play space. Not only will it keep the young ones engaged, but it’s also a breeze to move or store away. Perfect for playful creativity and practical enough for any family room.
DIY 4-in-1 Activity Table

Materials Needed:
- 3/4″ Birch Veneer Plywood (for the base)
- 1×2 and 1×3 Lumber (for the structure and trim)
- 2′ x 4′ Sheet of Plywood (tabletop)
- Casters (for mobility of crates)
- Crates (for storage)
- Iron-on Veneer Edge Banding (to cover exposed plywood edges)
- Chalkboard Paint
- Closet Rod Sockets (to hold a roll of drawing paper)
- 3/4″ Dowel (for the drawing paper)
- Lego Base Plates
- Wood Glue, 1 1/4″ Brad Nails, and 1 1/4″ Pocket Screws
- Paint of Choice
Tools Required:
- Circular Saw or Table Saw
- Kreg Jig (for drilling pocket holes)
- Brad Nailer
- Clamps
- Paint Brushes
- Sanding Equipment
- Drill
Step-By-Step Building

Preparing the Base:
- Cutting the Plywood: Begin by sizing the plywood pieces for the base using a circular or table saw. Aim for precision to ensure the pieces fit well together.
- Drilling Pocket Holes: With your Kreg Jig, drill 3/4″ pocket holes into each end of the bottom and middle shelves to prepare them for joining.
- Assembly of Shelves: Align the 1×2 pieces with the bottom of the shelves. Secure them using wood glue and 1 1/4″ brad nails. This will form the foundation of your table structure.
- Vertical Supports: Attach the front and back vertical pieces to the shelves, using wood glue and 1 1/4″ pocket screws for a strong bond.
- Adding the Middle Shelf: Install the middle shelf in position, maintaining a 7 1/4″ gap from the bottom of this shelf to the top of the 1×2 on the bottom shelf. It’s crucial to ensure everything is squared and aligned correctly during assembly.
Constructing the Tabletop:
- Fixing the Stretchers: Position the 1×3 stretchers flush with the top of the base pieces and attach them with 1 1/4″ pocket screws. These will not be glued, allowing for easy disassembly if needed.
- Attaching the Tabletop: Center the 2′ x 4′ sheet of plywood over the base and trim the 1×2s to size for the edges. Glue and secure these with 1 1/4″ brad nails.

Finishing Touches:
- Applying Veneer and Sanding: Apply the iron-on veneer edge banding to cover any exposed plywood edges for a neat finish. Sand the entire table to smooth out any rough spots.
- Adding Storage with Crates and Casters: Purchase crates and attach casters to them. These will slide under the table and are perfect for storing toys and art supplies.
- Painting: Paint the entire table with your chosen paint. For added functionality, paint one side with chalkboard paint.
- Installing Closet Rod Sockets: For the roll of drawing paper, install closet rod sockets on one table end, slide in a 3/4″ dowel, and your paper roll is set.
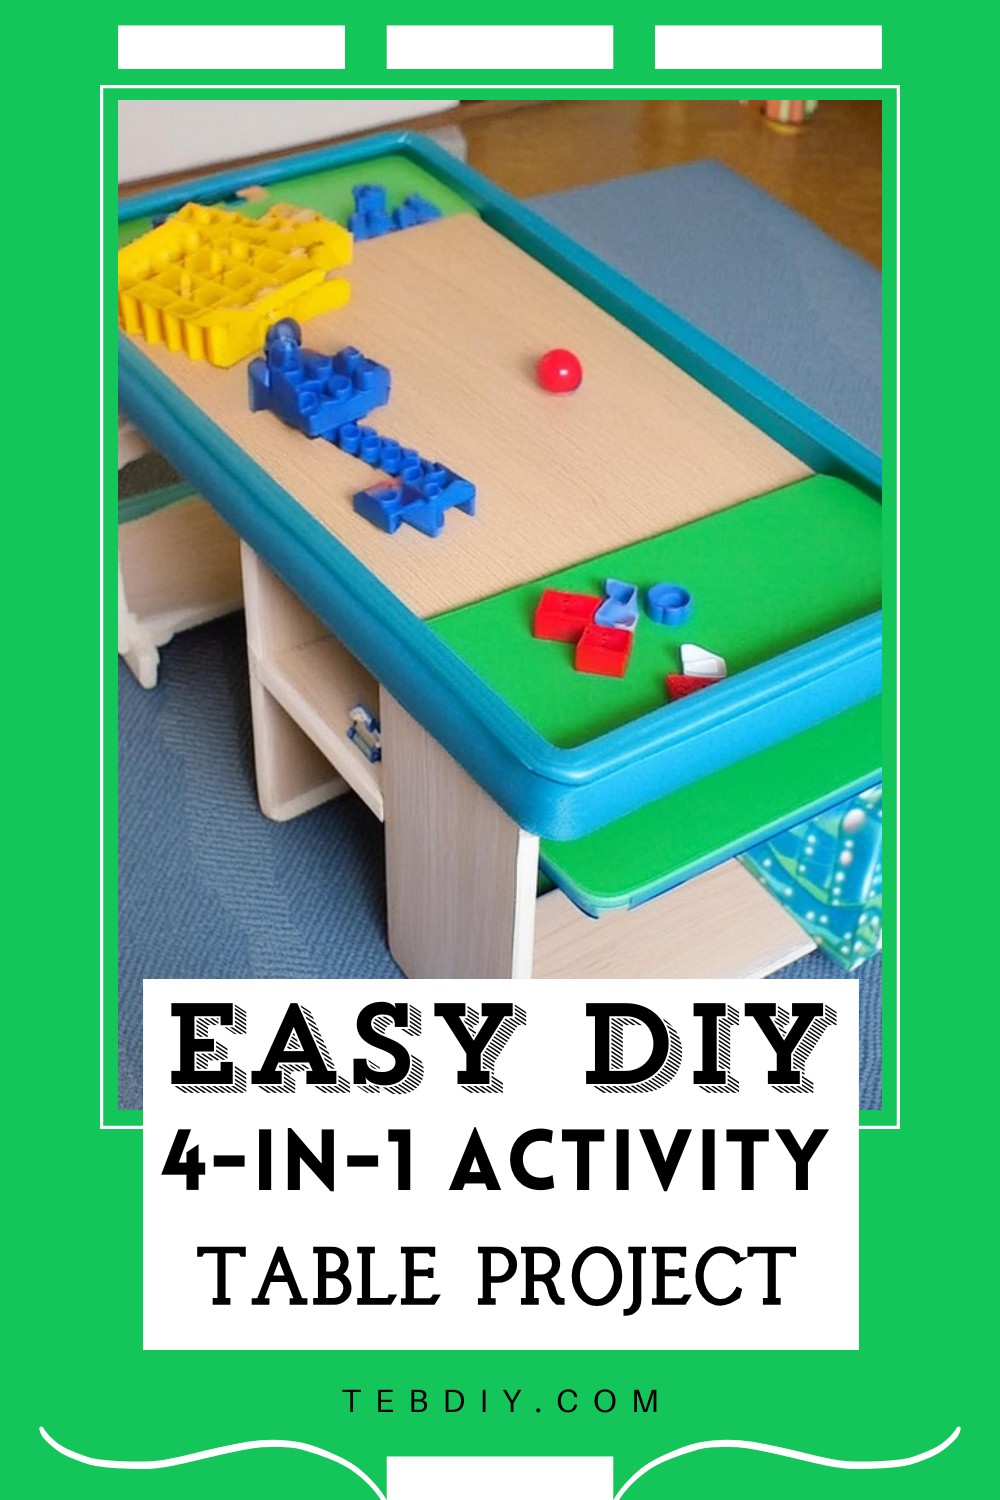
- Securing Lego Base Plates: On the opposite side of the chalkboard, glue down six Lego base plates. Using Lego bricks to keep them aligned ensures correct spacing.
- Shelf for Lego Storage: Add a shelf on one side to store Lego bricks, paper, and crayons. This keeps essentials within easy reach.

Conclusion:
And there you have it – your very own DIY 4-in-1 activity table that’s bound to be the centerpiece of summer fun. Not only does this project provide a multipurpose area for the kids to play and learn, but it also adds a handmade charm to your home décor. Embrace this project, and you’ll be crafting not just a table, but a treasure trove of memories.
Leave a Reply