
Paper airplanes are fun, easy-to-make toys that soar through the air using simple folds in paper. They can be made in all shapes and sizes, and each design has its unique flight style. The fastest paper airplanes usually have sharp points and sleek wings that cut through the air quickly. Making one of these speedy planes is a DIY Paper project we are providing that doesn’t take much time or fancy materials, just a sheet of paper and your hands. Following a few steps, you can create a paper airplane that flies super fast, impressing your friends and maybe even setting a new record for distance or speed in your neighborhood!
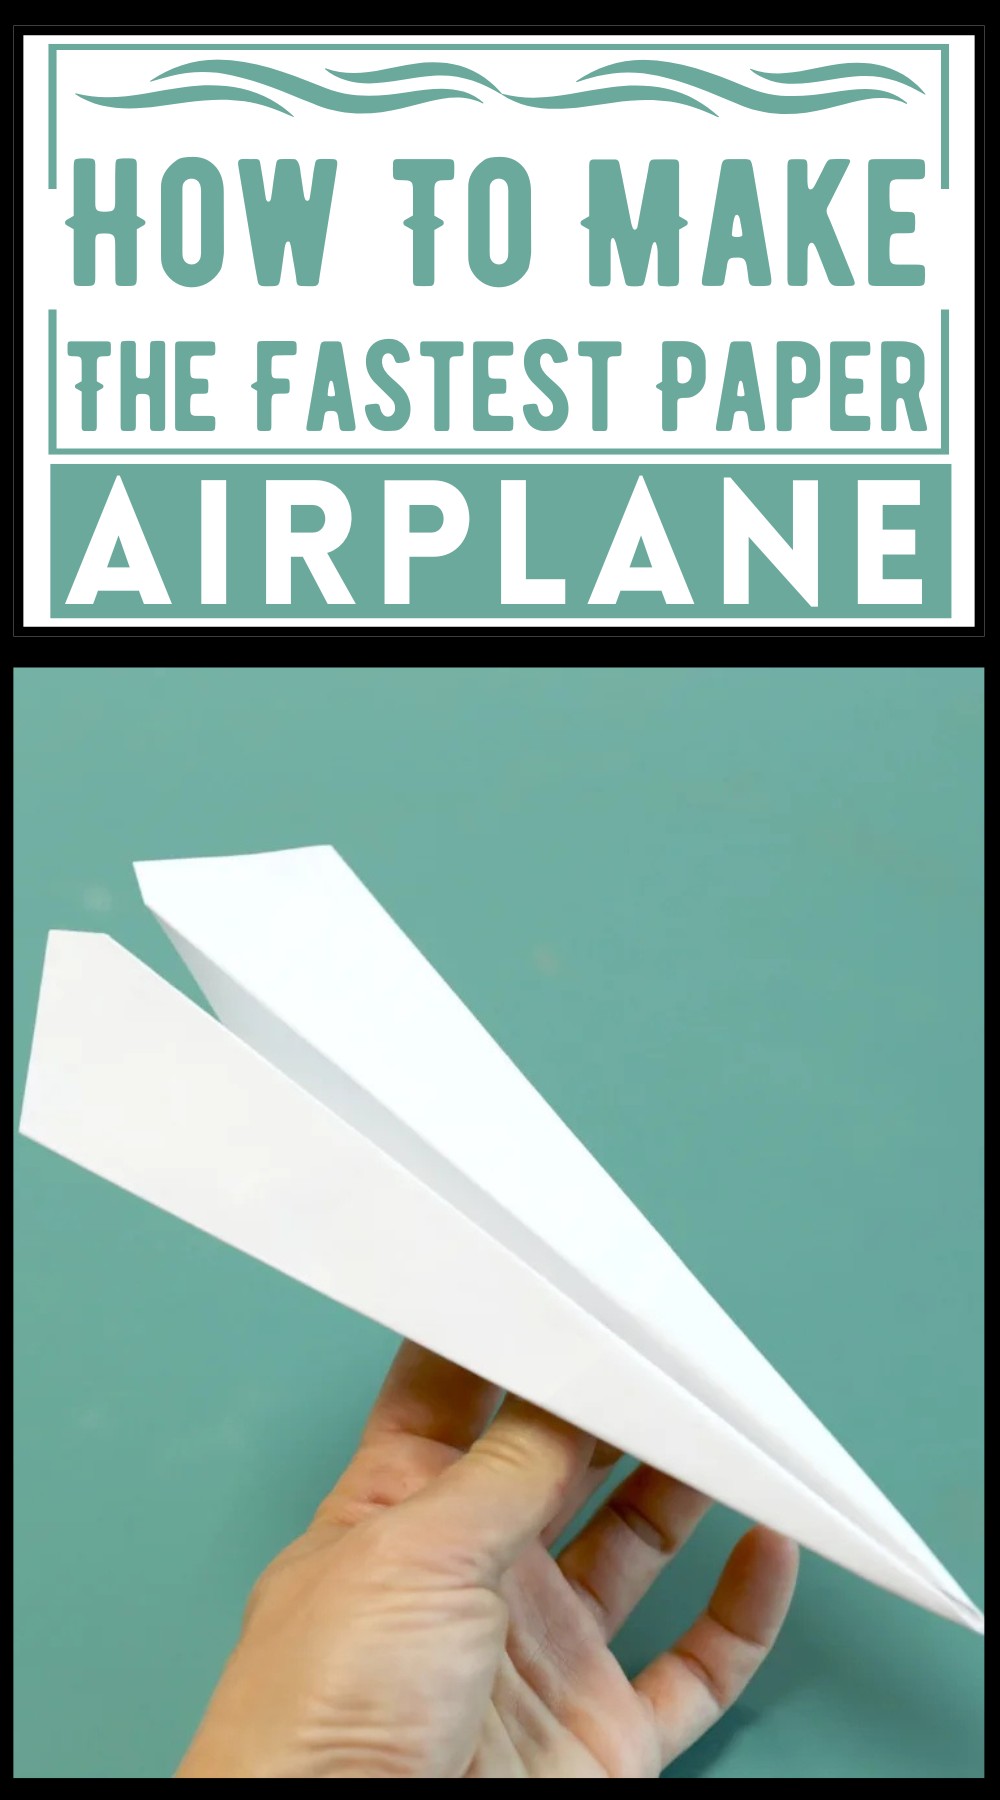
No matter your age, you can create a paper airplane using this simple guide. This hands-on activity simplifies the process into easy, manageable steps. It is user-friendly, meaning even someone with little to no experience can effortlessly follow these steps. This paper airplane design focuses on aesthetics, speed, and agility. Dominating the skies with its unmatched speed and smooth navigation, this paper airplane raises the bar in the world of child-friendly DIY crafts. Embark on this engaging journey of folding and launching the rapid flyer!
Making Your Fastest Paper Airplane
Step 1: Fold in Half
- Take an 8.5 x 11″ sheet of paper.
- Fold it in half down the center.
- Then reopen it so it lays flat.
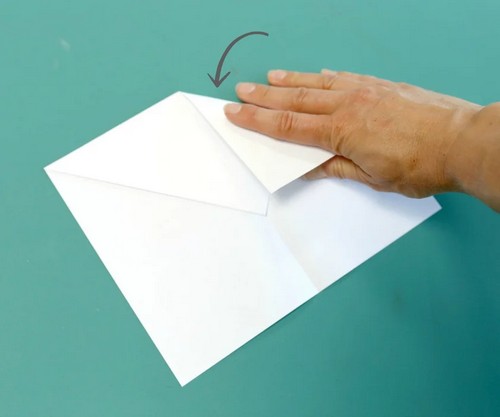
Step 2: Fold the Cockpit
- Fold the corners into the center line so that the flap corners meet at the center.
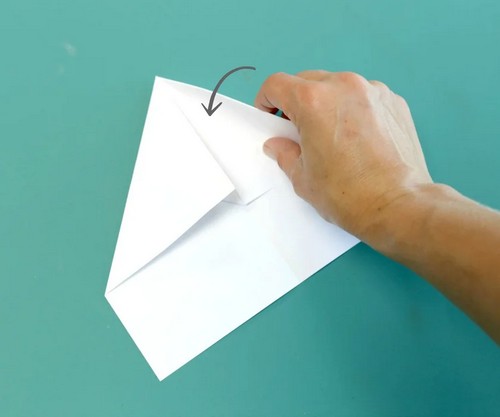
Step 3: Fold the Cockpit Down
- Bring the pointed part of the flap you just made down to the center fold line to sharpen the cockpit.
Step 4: Fold the 2nd Cockpit
- Make a second cockpit by folding the two flaps down in a similar manner to step 2.
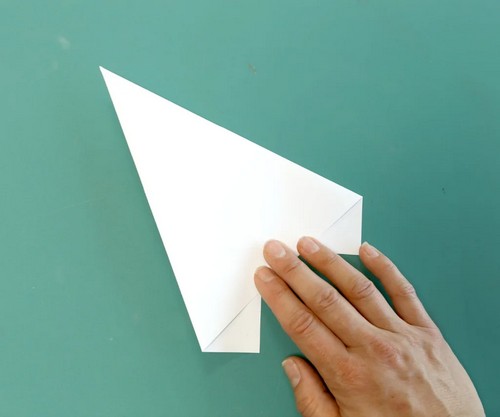
Step 5: Make the First Folds of the Wings
- Just as you did with the cockpit, fold two more flaps down to the center of the plane.
Step 6: The Second Folds of the Wings
- Flip the airplane over.
- Fold each side in to line up with the center fold of the plane.
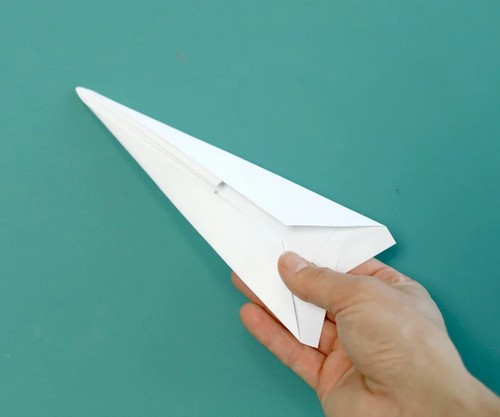
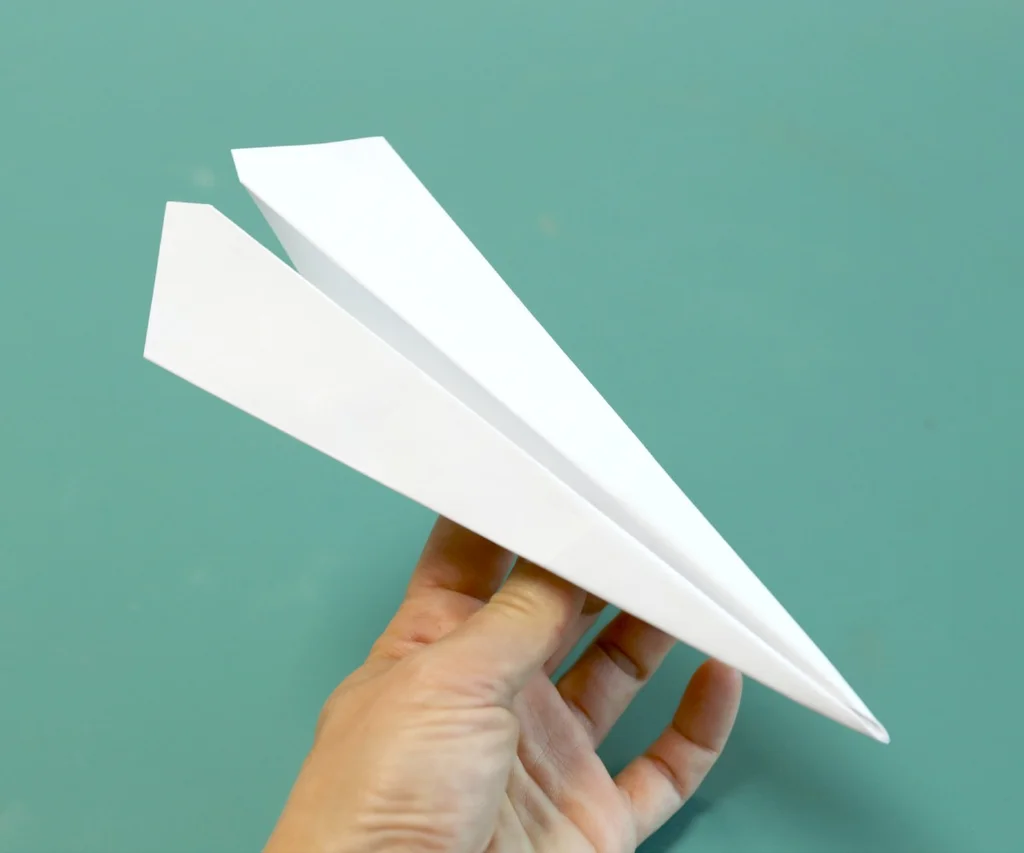
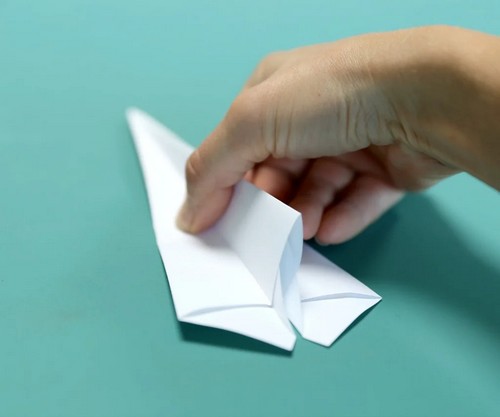
Step 7: Ready for Takeoff!
- Flip the plane over one last time.
- Open up the folds slightly to create the ‘body’ of the plane you can hold.
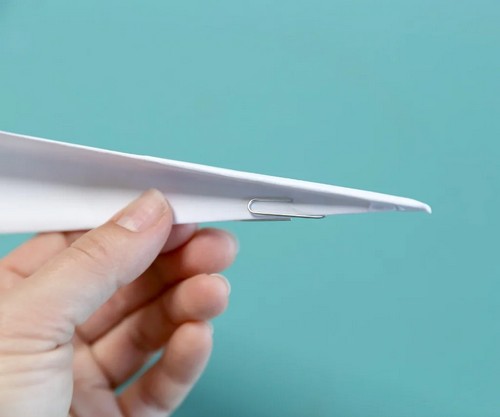
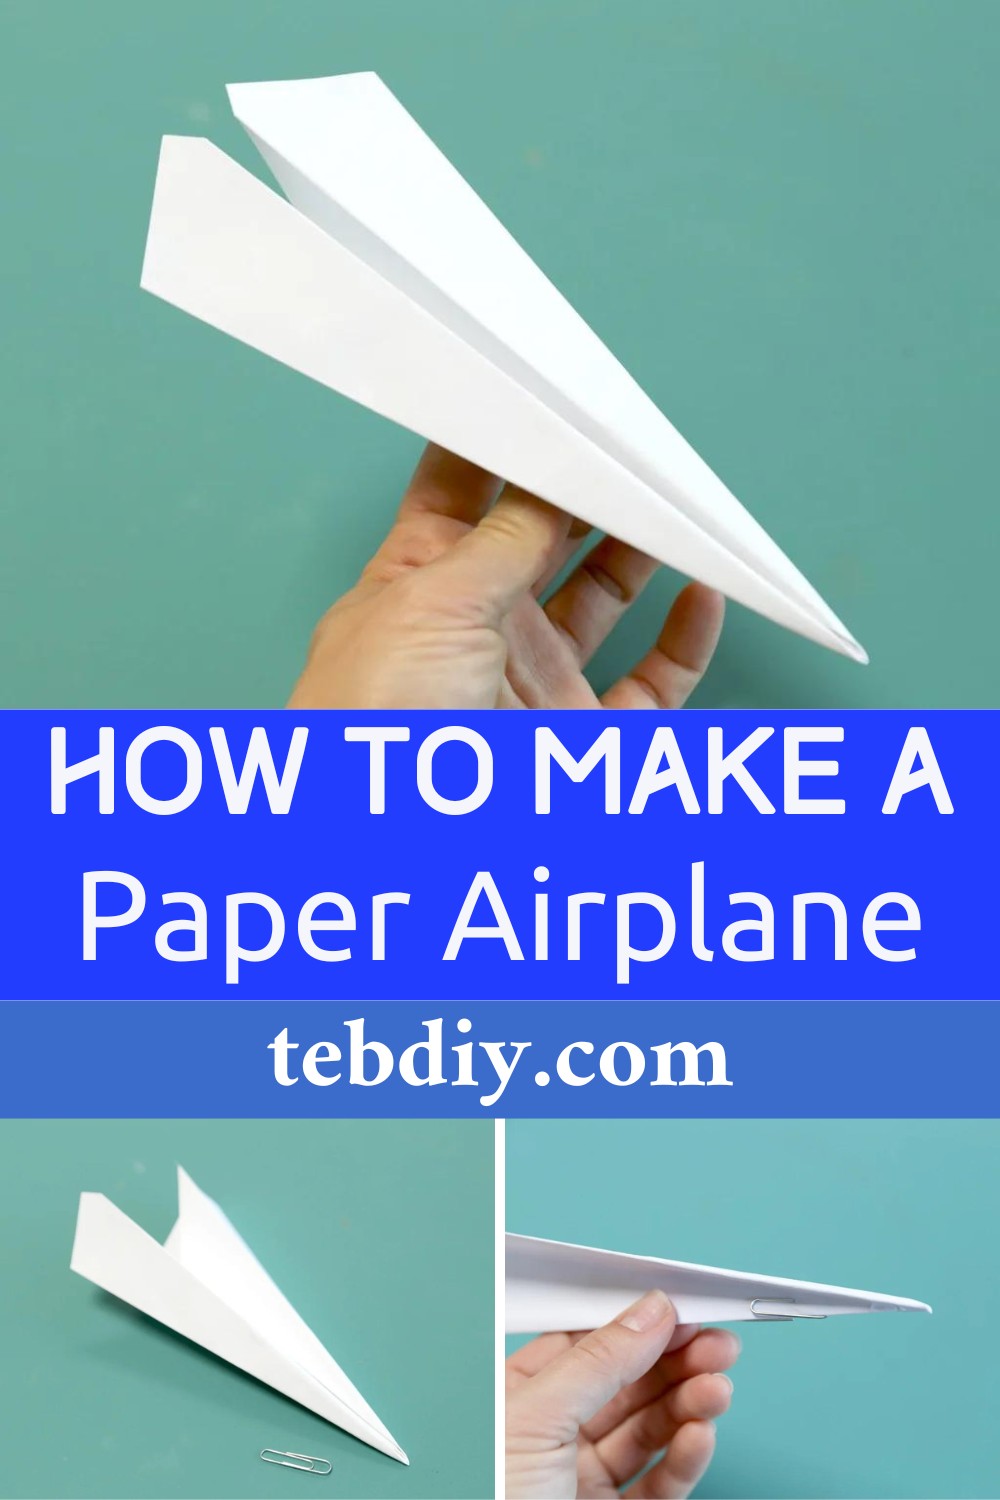
Step 8: Bonus Step (Optional)
- For added distance, place a paperclip on the forward body of the plane. This additional weight helps it fly farther.
Tips for Flying:
- For a good flight, throw the airplane indoors and as hard as you can.
- Disclaimer: Do not throw at animals or human beings.
Remember, precision in the folds and symmetry are key to the performance of any paper airplane, so take your time to crease the folds well and align them as perfectly as possible to ensure the best flight characteristics for “The Eagle.”
Leave a Reply