
Building a catio for your cat provides a space where they can safely enjoy the outside world. A catio gives them a chance to breathe in fresh air, feel the warmth of the sun, and watch birds, all without any risk. It’s a cosy outdoor home that hangs right from a window.
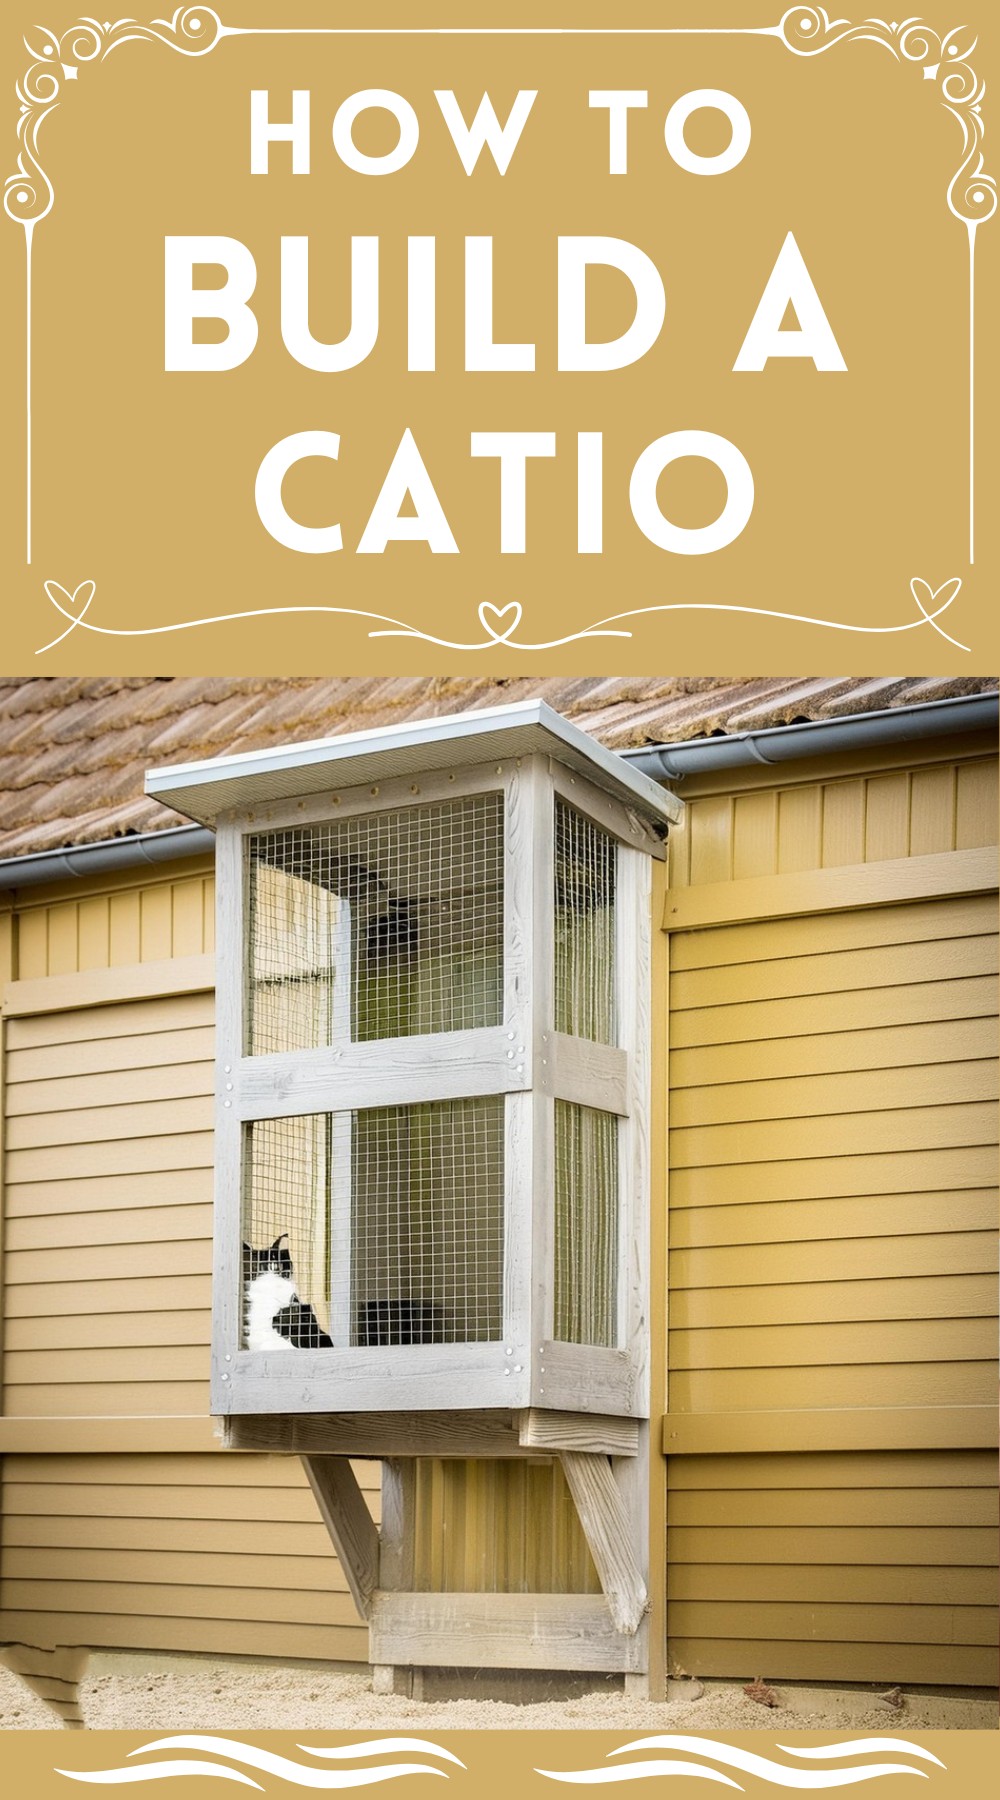
How To Build A Catio
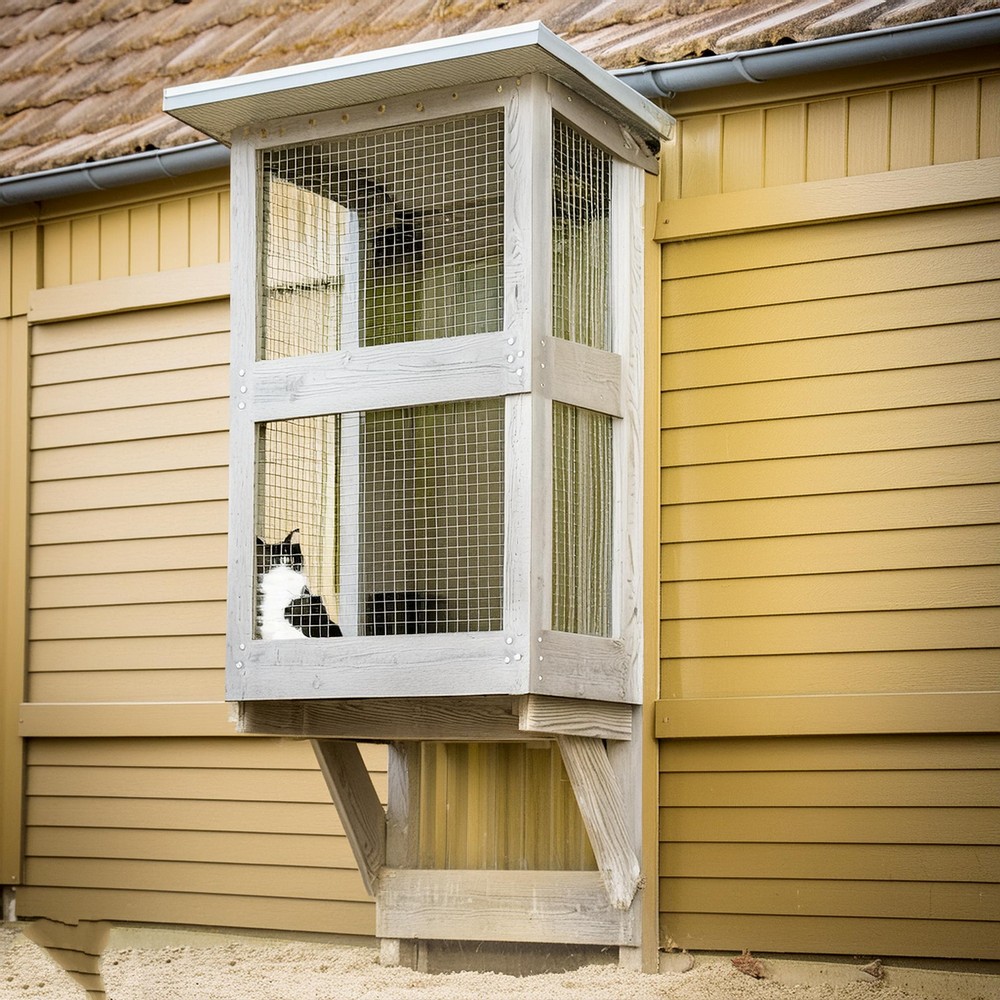
This two-story catio structure sports a notable feature of a shelf for your cat to perch and observe their surroundings. The overall frame around the window shows a well-balanced mixture of strength and elegance, adjustable to the home exterior. The screening is firm enough to secure your cat, yet smooth enough not to impede the outside view. The roof of this catio set forwardly pitched, aids in shedding water, thus keeping the interior dry during unfavorable weather. It’s a fairly straightforward two-day project, perfect for DIY enthusiasts!
Materials Required:
- Cedar 2×2 balusters and 1×4 boards
- Tannin-blocking exterior primer
- Stainless-steel screws (2¼-inch and 1 5⁄8-inch)
- Plywood supports and sheets for flooring
- Screening material
- Aluminum drip edge, roofing cement, and roll roofing
- Construction adhesive, deck screws(3-inch), and structural screws (9-inch)
- Button plugs
Tools Required:
- Ladder
- Pencil
- Tape measure
- Mini paint roller
- Paintbrush
- Miter saw
- Drill/driver
- Jigsaw
- Staple gun
- Utility knife
- Tin snips
- Caulk gun
- Circular saw
- Hammer
- Level
- Clamps
- Paddle bit – 3/8-inch
Making Process
Measure and Cut: Start by accurately measuring the height and width of your window. This will help you set the dimensions of the catio. After defining the measurements, prime and cut your cedar balusters and boards.
Assemble the Frame: Now, construct the frame for your catio using the cedar pieces and stainless-steel screws. This will form the primary structure. Do not forget to add trim boards and upper crosspieces for additional support.
Prepare the Floor and Screen Frame: Cut a piece of plywood matching the interior measurements of your frame. This will serve as the floor of your catio. Prepare your wooden screen frames subsequently.
Stretch the Screens: Using your staple gun, attach the screening material to your prepared frames. Ensure to eradicate any possible ripples before attachment.
Roofing: Create the roof by combining fascia lengths and cutting aluminum drip edges to size. Affix the roof onto the upper frame, ensuring a forward pitch to shed water.
Installation and Finalization: Make cut half-lap joints for the brackets, and build and attach them beneath the window sill. With a buddy’s help, place and secure your catio frames over these brackets. Check for plumb, level, and consistent spacing. Finish by introducing the floor and securing the screen in place.

Leave a Reply