
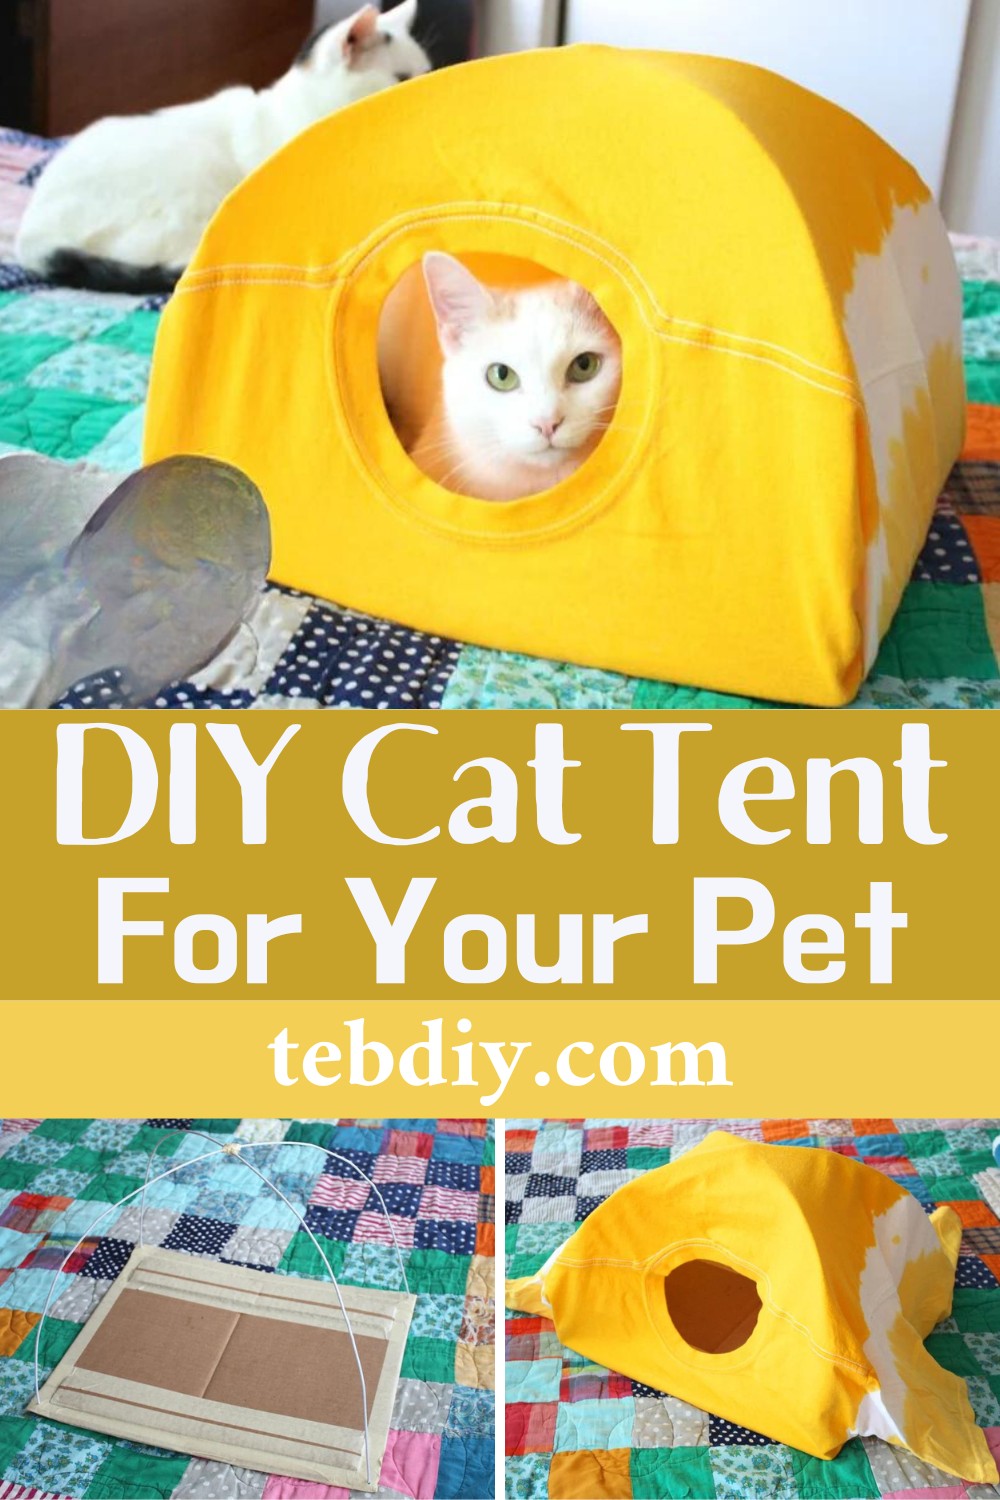
Learn step-by-step how to build a cozy cat tent from simple household items in this amazing project that is perfect for enhancing your DIY skills while providing a homemade sanctuary for your beloved feline.

DIY Cat Tent
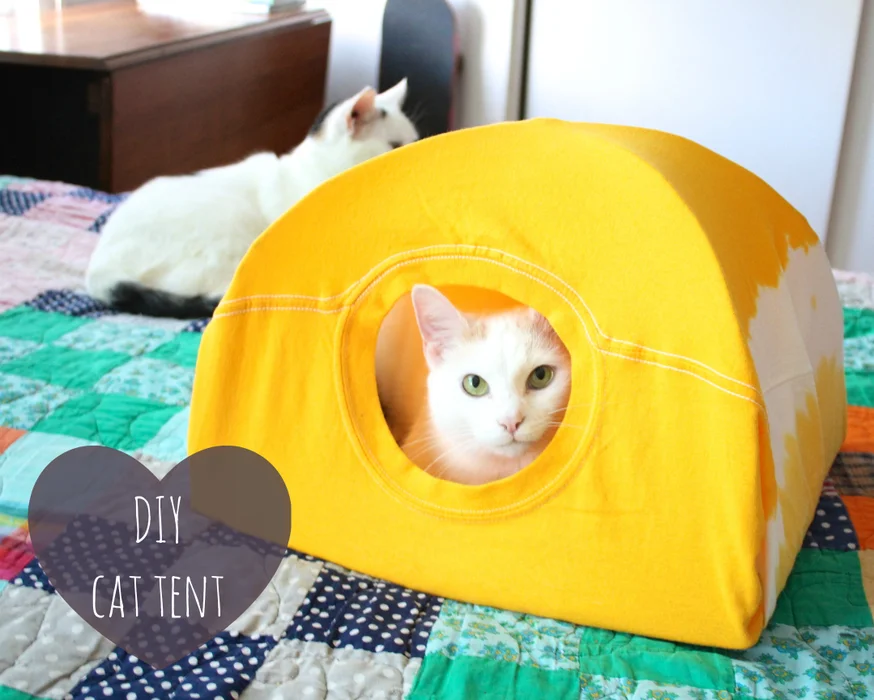
Bringing a DIY touch to your pet’s life adds a personal flair to your home and deepens the bond between you and your furry companion. Imagine your cat’s delight as they discover a new place to play, hide, and unwind—a place made by your hands. This DIY cat tent is the perfect project for pet lovers looking to create a special heaven for their whiskered friends.
With simple materials, you can transform everyday household items into a stylish and comfy retreat your cat will adore. You can easily head on to a crafting adventure that promises to sprinkle a touch of homemade love into your cat’s daily routine!
Materials & Tools:
What You’ll Need:
- A willing cat (optional but recommended for final approval)
- A medium-sized t-shirt
- A sturdy piece of cardboard, ideally 15 x 15 inches (alternatively, 13 x 15 inches will suffice)
- Two wire hangers (the standard kind you find in your closet)
- A variety of tape (the stronger, the better)
- A handful of safety pins
- Cutting pliers (or a strong cutting tool suitable for wire hangers)
- Optional: additional reinforcement materials for your cardboard, such as extra tape
Instructions:
Step One: Preparing the Hangers
You’ll start by transforming the wire hangers into the main framework of your cat tent. Begin by cutting off each hanger’s twisted ends. There is no need for precision here; feel the joy in bending and cutting—let loose!
Step Two: Molding the Hangers & Reinforcing Cardboard
Shape each hanger into a smooth arch, mirroring the outline of a rainbow stretching across your piece of cardboard. If your cardboard shows any weakness or has a crease, don’t hesitate to fortify it with additional tape.
Step Three: Creating Anchor Points
Take the sharpened ends of your hangers and puncture a hole at each corner of the cardboard, maintaining a half-inch margin from the edges. Keep them modest in size to prevent future tearing.
Step Four: Assembling the Structure
Cross these wire arches at the center like a treasure map’s X, ensuring their tips reach the fresh holes in your cardboard corners. Secure the intersection with tape to prevent any rebellious shifting.
Step Five: Securing the Framework
Bend the protruding ends beneath the cardboard to at least an inch in length, and then firmly tape them down to create a solid base.
Step Six: Aligning the Tent Skeleton
With your foundation set, adjust the bends and curves of the wires. A pair of pliers might come in handy to tweak the frame to perfection.
Step Seven: Clothing the Tent
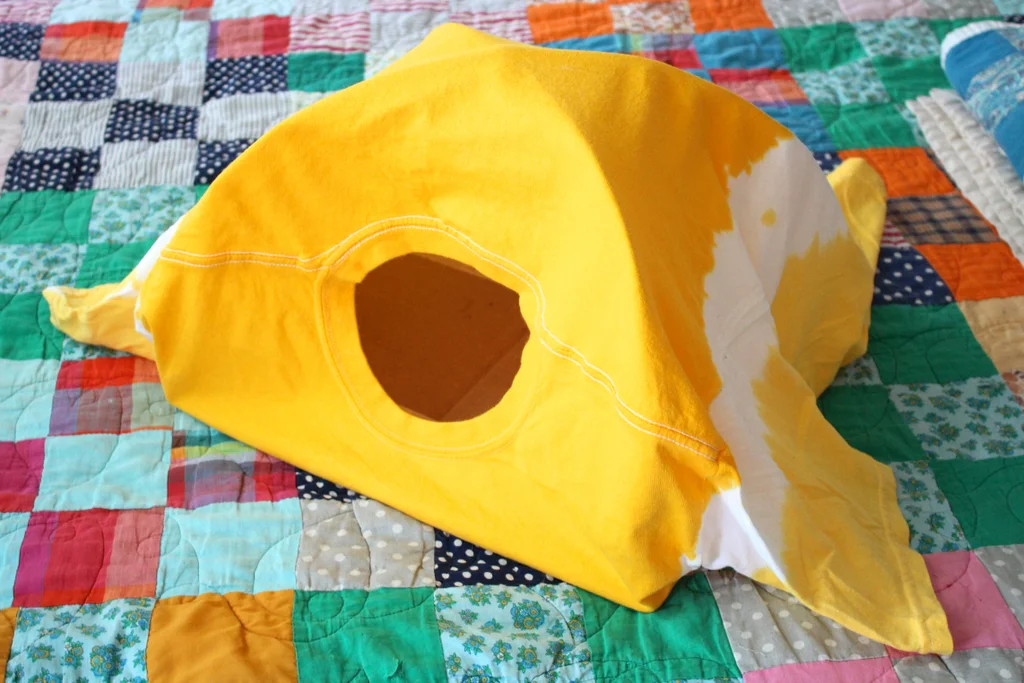
Now, dress up the skeleton with the t-shirt, ensuring the neck of the shirt creates a welcoming entrance at the front. Flip and adjust the tent frame so the shirt’s hem lies at the back, and secure the excess material with safety pins, aiming for a snug fit.
Step Eight: Final Touches
Fold and pin any extra fabric around the t-shirt sleeves until the cat tent looks trim and taut.
Step Nine: Introducing the Tent to Your Cat
Add cozy interior touches like a small paper bag for cooler lounging, or sprinkle catnip to entice your feline. And now, the moment of truth—present this labor of love to your cat and watch as they explore their new sanctuary.
Leave a Reply