
Creating a unique piece of furniture that not only serves a functional purpose but also adds a touch of personal style to your home can be an immensely rewarding experience. The Fewer-Legged Futon Table project is a perfect example of how combining simple materials and a touch of creativity can lead to the creation of a stylish and practical piece of furniture. Designed to sit beside a futon, this table boasts interchangeable upholstered panels, hidden storage, and a minimalist design that sets it apart from standard four-legged tables. Whether you’re an experienced woodworker or a determined beginner, this project provides an opportunity to hone your skills and add a custom piece to your living space.

Fewer-Legged Futon Table
Materials Needed:
- 2 x 2.4m of 25 x 25mm pine
- 1 x 2.4m of 10mm x 10mm pine
- 1 x 25cm of 40mm x 40mm pine
- Assorted screws, nails, and pins
- 24 x 7mm x 4mm rare earth magnets
- Approximately 1.5 square meters of fabric
- 6 x small metal L brackets
- 2 x metal T plates
- 3 x straight metal mending plates
- Filler
- Varnish
- 6 x small wooden kebab skewers
- Webbing material (such as non-slip matting)
Tools Required:
- Tenon saw
- Pump cramps
- Electric drill
- Hammer
- Nail punch
- Staple gun
- Scissors
- Rubber mallet
- Chisels
- Sandpaper
Project Steps
Step 1: Design and Cutting List
Begin by sketching out several designs to clarify what you envisage for your table. Opt for square panels, working out the ideal ratio to avoid a too “lanky” appearance – similar to a widescreen TV’s proportions. Once satisfied, compile a meticulous cutting list detailing every needed wood piece. Double-check your measurements and markings, especially noting any pieces requiring miters at their ends before sawing.
Step 2: Assembly Jig
To ensure your frame’s corners are perfectly square during assembly, construct a jig from scraps of wood. Utilize a right-angled piece of plywood to correct any inaccuracies from freehand drawing. Fasten additional wooden blocks as guides and spacers to maintain the correct frame alignment.

Step 3: Assemble Outer Frame
Secure joints by inserting two pins at each corner, foregoing glue for a sturdy structure reinforced by metal plates later on. The jig will help maintain proper alignment, ensuring a solid, square frame.
Step 4: Assemble Inner Frame
Cut spacers to accurately position the inner frame’s bars. First, attach the smaller bars to a longer lateral piece within the jig’s confines. Then nest this structure within the outer frame, securing all contact points.
Step 5: Beading
Prepare beads that the panels will rest on, ensuring a small gap in each corner for upholstered corners. After cutting the beads, drill shallow holes for the magnets, ensuring their polarity aligns correctly. Mount the beads with pins to the inner sides of the frame.
Step 6: Panels
Size your panels slightly smaller than their slots to accommodate the fabric and ensure easy removal. Account for the magnet placements on the panels by marking them using ink on the frame’s magnets, then drill and insert magnets into the panels.
Step 7: Upholstery
Wrap your chosen fabric (old t-shirts work great) around the panels, securing it with staples. Ensure the fabric remains taut and evenly stretched to avoid distorting its weave. For corners, a methodical trimming and stapling technique allows for a neat finish.
Step 8: Legs and Metalwork
Opt for minimal leg design to maintain the table’s airy aesthetic, reinforcing with metal plates for stability. Customize leg placement for an out-of-sight approach and use mending plates to attach and reinforce the structure, ensuring fabric does not interfere with fittings.

Step 9: Dry Fit
Before final assembly, perform a trial setup near your futon to ensure ease of installation later. This includes preparing the wall or skirting board for mounting.
Step 10: Pockets
Add under-panel storage for small items using webbing material. This detail requires precision for aesthetics and functionality, ensuring the panels remain easily removable.
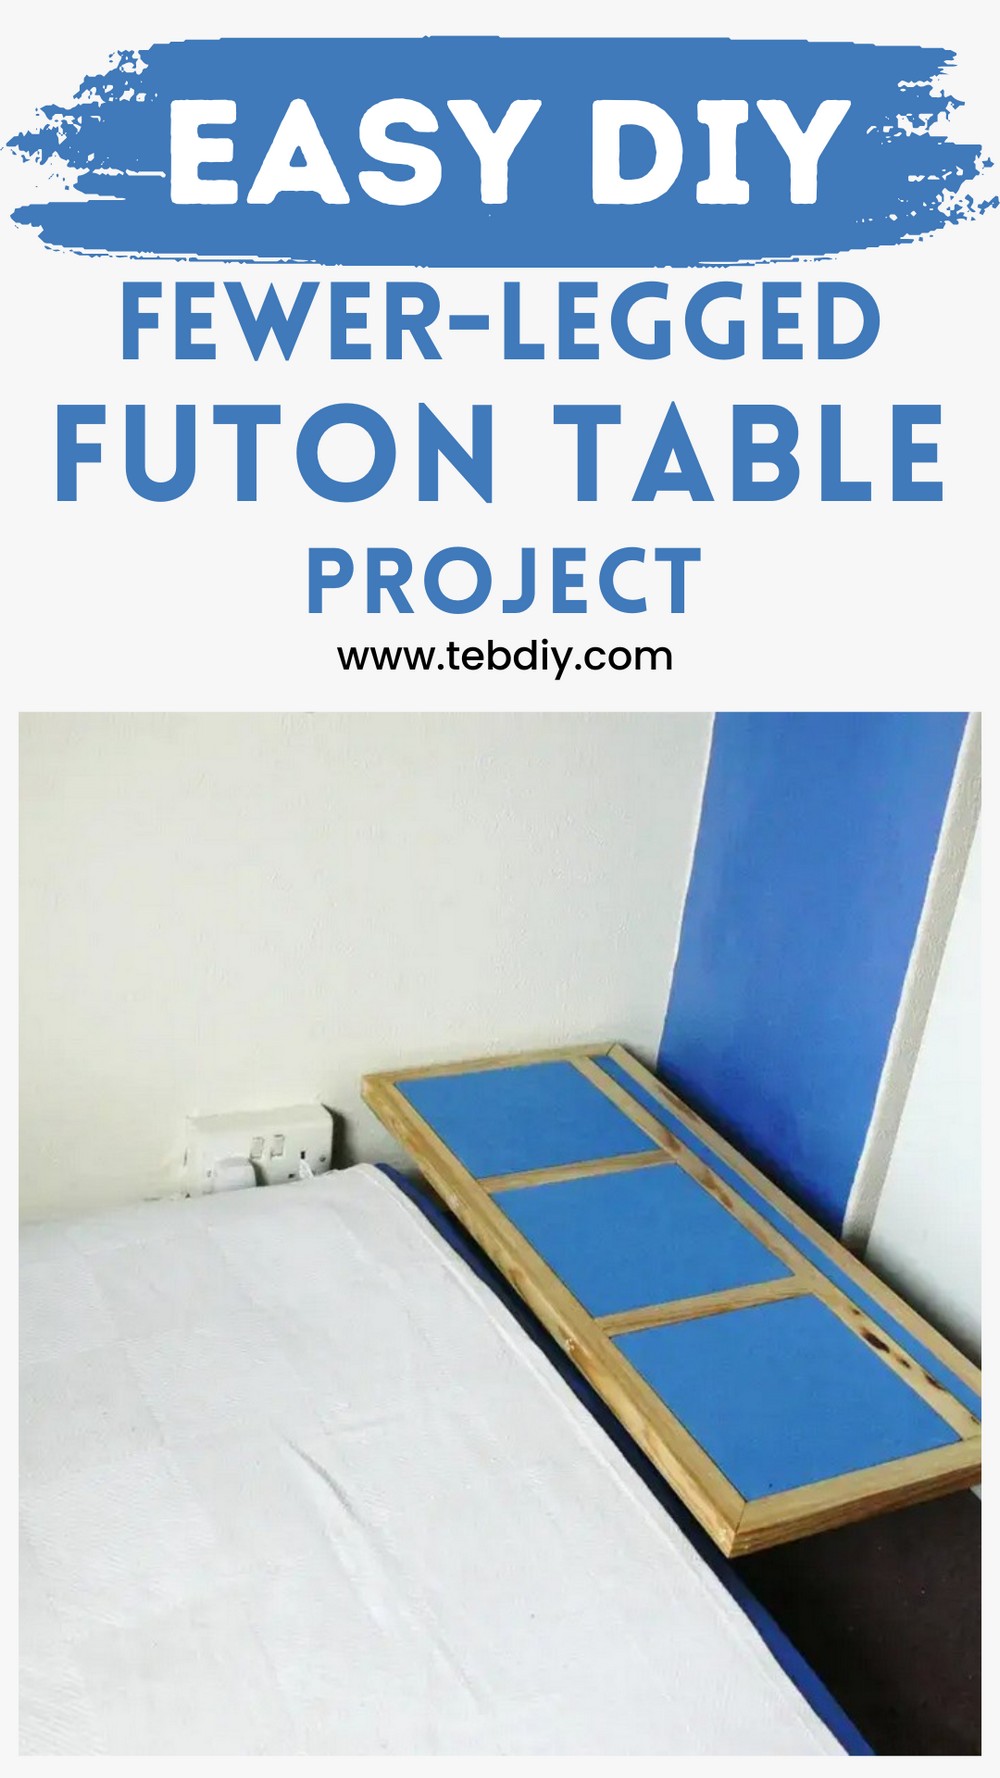
Step 11: Finished Product
Finalize your project by securing it to the wall or skirting board as designed. Despite its minimalist architecture, the table serves as a sturdy, functional, and stylish piece next to a futon, embodying both practicality and elegance.

Leave a Reply