
We all remember the delight of snapping blocks together as kids, building our own little worlds piece by piece. Now, you can bring that same joy into your home with a handy DIY Breeze Block Side Table. This woodworking project is perfect for adding a playful touch to your space or creating a special spot for children to play and create. With just a few sheets of birch plywood, some drawer guides, and a sprinkle of crafty magic, you can build a sturdy table complete with storage for toys or tools. So get the supplies ready as it’s time to make a building block side table that’s as practical as it is charming!

DIY Breeze Block Side Table
Materials Needed
- Birch plywood: Two 2′ x 4′ sheets (1/2″ thick) and one 2′ x 4′ sheet (1/4″ thick, can be a scrap piece)
- Drawer guides: Two sets of 14″
- Nails (on hand)
- Short screws (3/4″, on hand)
- Wood stain (on hand)
- Sandable wood putty, avoid painters putty ($6)
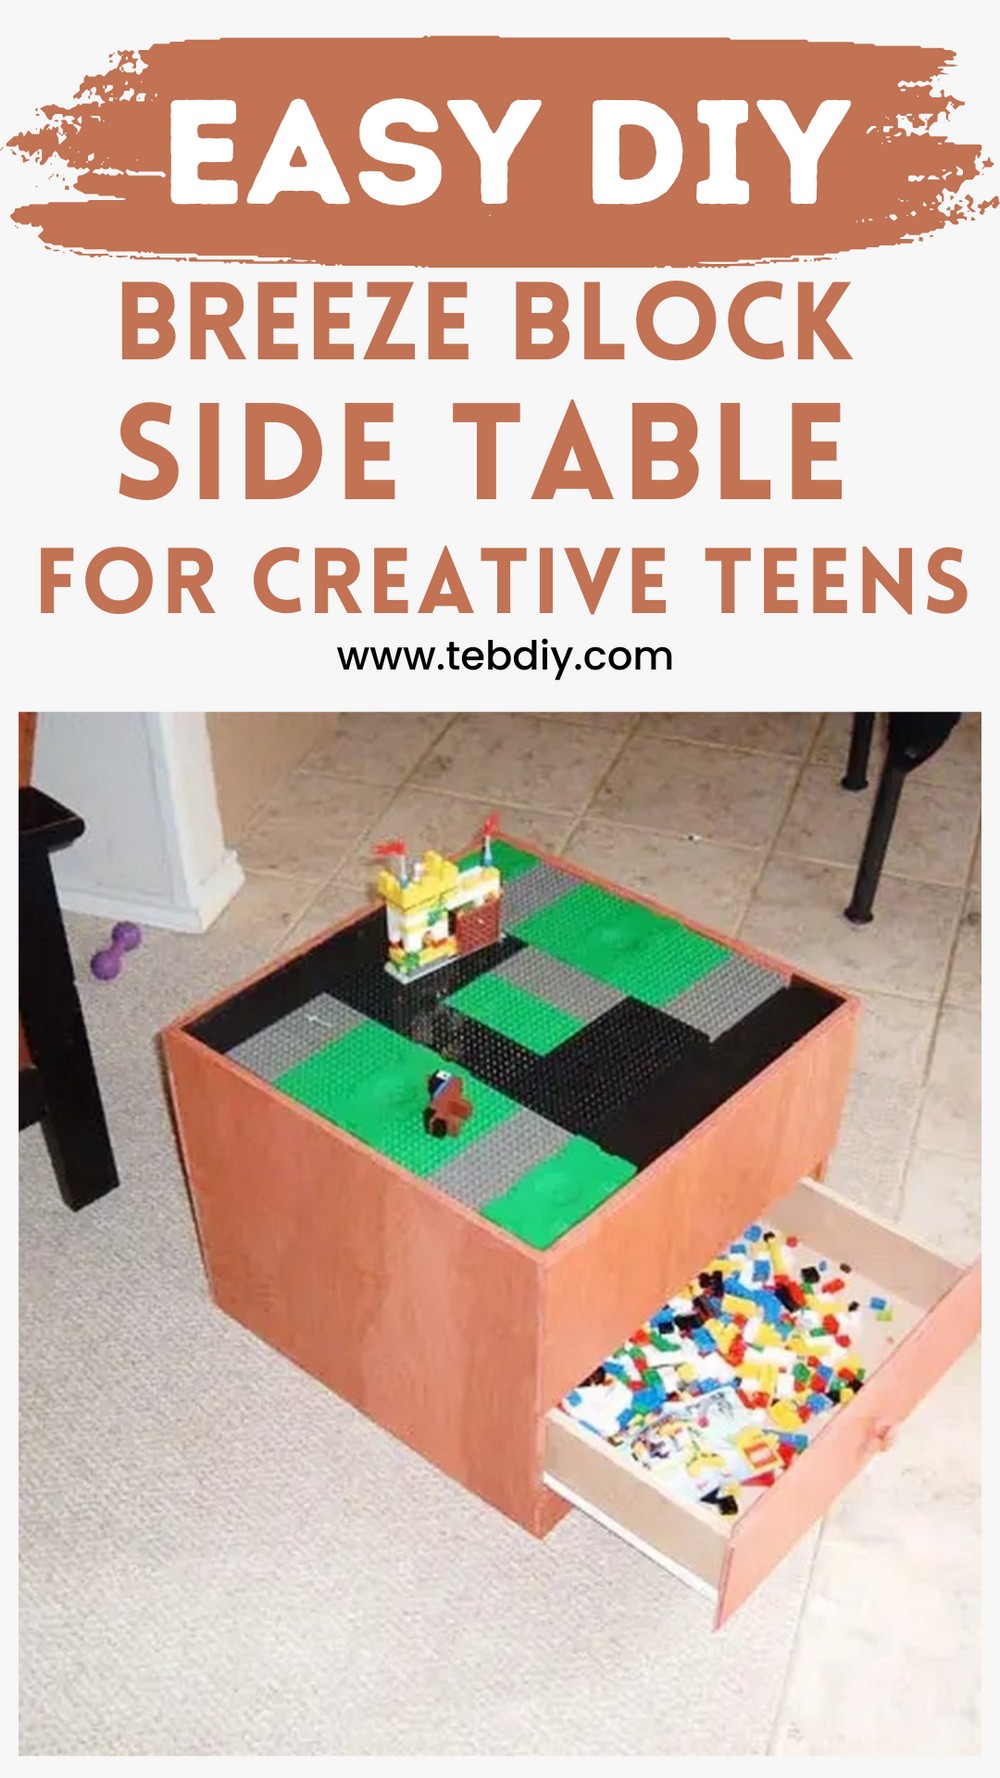
- Building block plates (sourced from eBay for $10)
- Drawer knobs ($0.75 each)
Required Tools
- Table saw
- Hammer
- Orbital sander (60 grit)
- Vibrating sander (150 grit)
- Wood glue
- Nail set
- Drill with bits
- Staining rags or brush
- Putty knife
- Hot glue gun
- Safety note: Always prioritize safety when using powered tools. Ensure tools are off and unplugged during adjustments.

Step-by-Step Guideline
Step 1: Cutting Sides and Top
Begin by cutting the 1/2″ birch plywood to specific widths: one sheet to 18 1/4″ for the side pieces and another to 18 3/4″ for the front/back pieces. From each board, cut two pieces at 15″ tall. For the table’s inset top, you’ll need a 17 11/16″ square piece from the 1/2″ plywood. The remnant pieces will be utilized for the drawer components.
Step 2: Dado Cuts for Front/Back
Adjust your table saw to make a partial cut (dado) in the 18 3/4″ pieces, leaving 1/4″ at the bottom. This process involves two phases of cuts – one set at 1/2″ from the fence, and after adjusting the fence, another at 1/4″. These dado cuts are made to accommodate the table’s structure efficiently.
Step 3: Crafting Drawer Fronts
Segment the dadoed boards into three parts: two at 2″, one at 5 1/2″, and the last at 7 1/2″. These measurements get alternated for a mirrored effect on each side, ensuring space for drawers. Labelling and aligning the grain when staining is advised for a cohesive look.
Step 4: Assembling the Frame
Drill guide holes in the 2″ and 7 1/2″ sections. Apply wood glue in the dado cuts and assemble the four sides around the 18 1/4″ x 15″ pieces. Use glue conservatively to avoid messes. Secure the sides with nails and ensure the drawer openings are correctly positioned. Use square plywood pieces to maintain the frame’s shape while the glue sets.

Step 5: Installing the Tabletop
Prepare strips from the 1″ leftovers for supporting the table’s inset top. Glue and screw these strips inside the table frame before setting the tabletop in place and securing it.
Step 6: Preparing Drawer Components
Adjust the saw to cut grooves for the drawer bottoms in the 4″ wide pieces. The dimensions and cuts for drawers include sides, backs, and bottoms tailored to fit snugly and operate seamlessly with your chosen drawer guides.
Step 7: Assembling Drawers
Outline where the drawer sides will attach to the fronts. Drill guide holes accordingly. Assemble the drawers by aligning and gluing all parts, ensuring the drawer bottom grooves match up before nailing them together. Drawer knobs can be added after sanding.
Step 8: Finishing Touches: Putty, Sand, and Stain
After construction, use a nail set and wood putty to fill in nail holes and even out joints. Sand the table and drawers starting with a coarse grit, followed by a finer grit for a smooth finish. Finally, apply your choice of stain to bring out the beauty of the wood, following it up with your choice of sealant, if desired.
Step 9: Installing Drawer Hardware
Follow the manufacturer’s instructions to install the drawer guides properly, ensuring smooth operation. Adjustments with shims may be necessary for perfect alignment.

Leave a Reply