
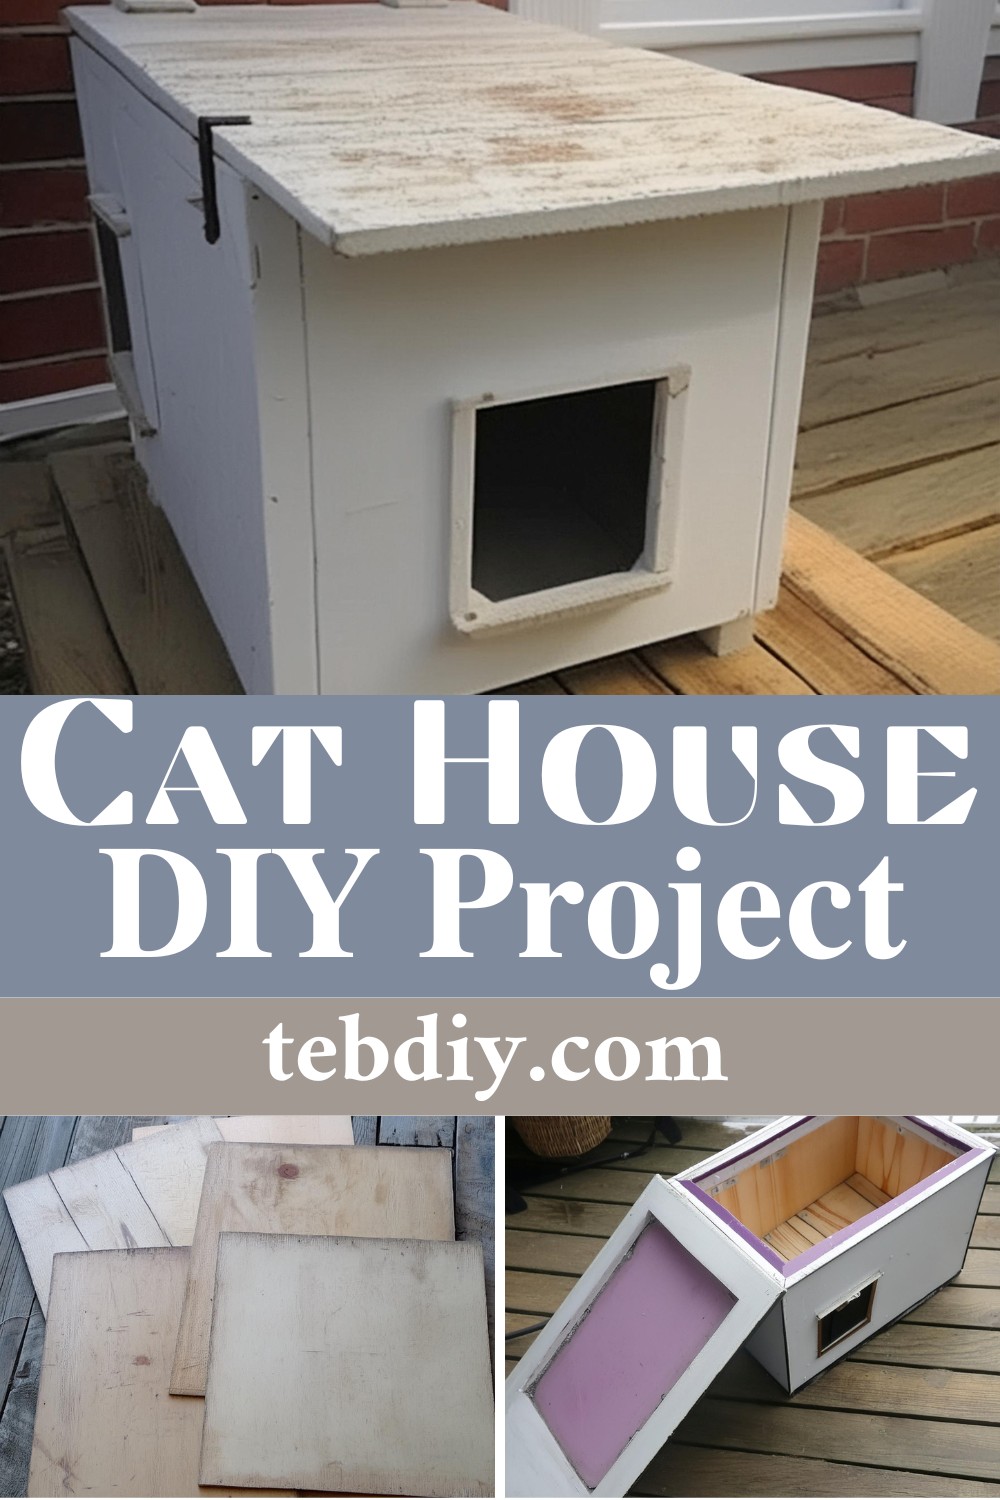
This DIY Cat House project is a wonderful blend of compassion, community, and craft that promises to be environmentally friendly and budget-conscious since most materials come right from renovation leftovers. It will be a great project for constructing a little heaven for your feline and I hope you’re going to fall in love with this project.
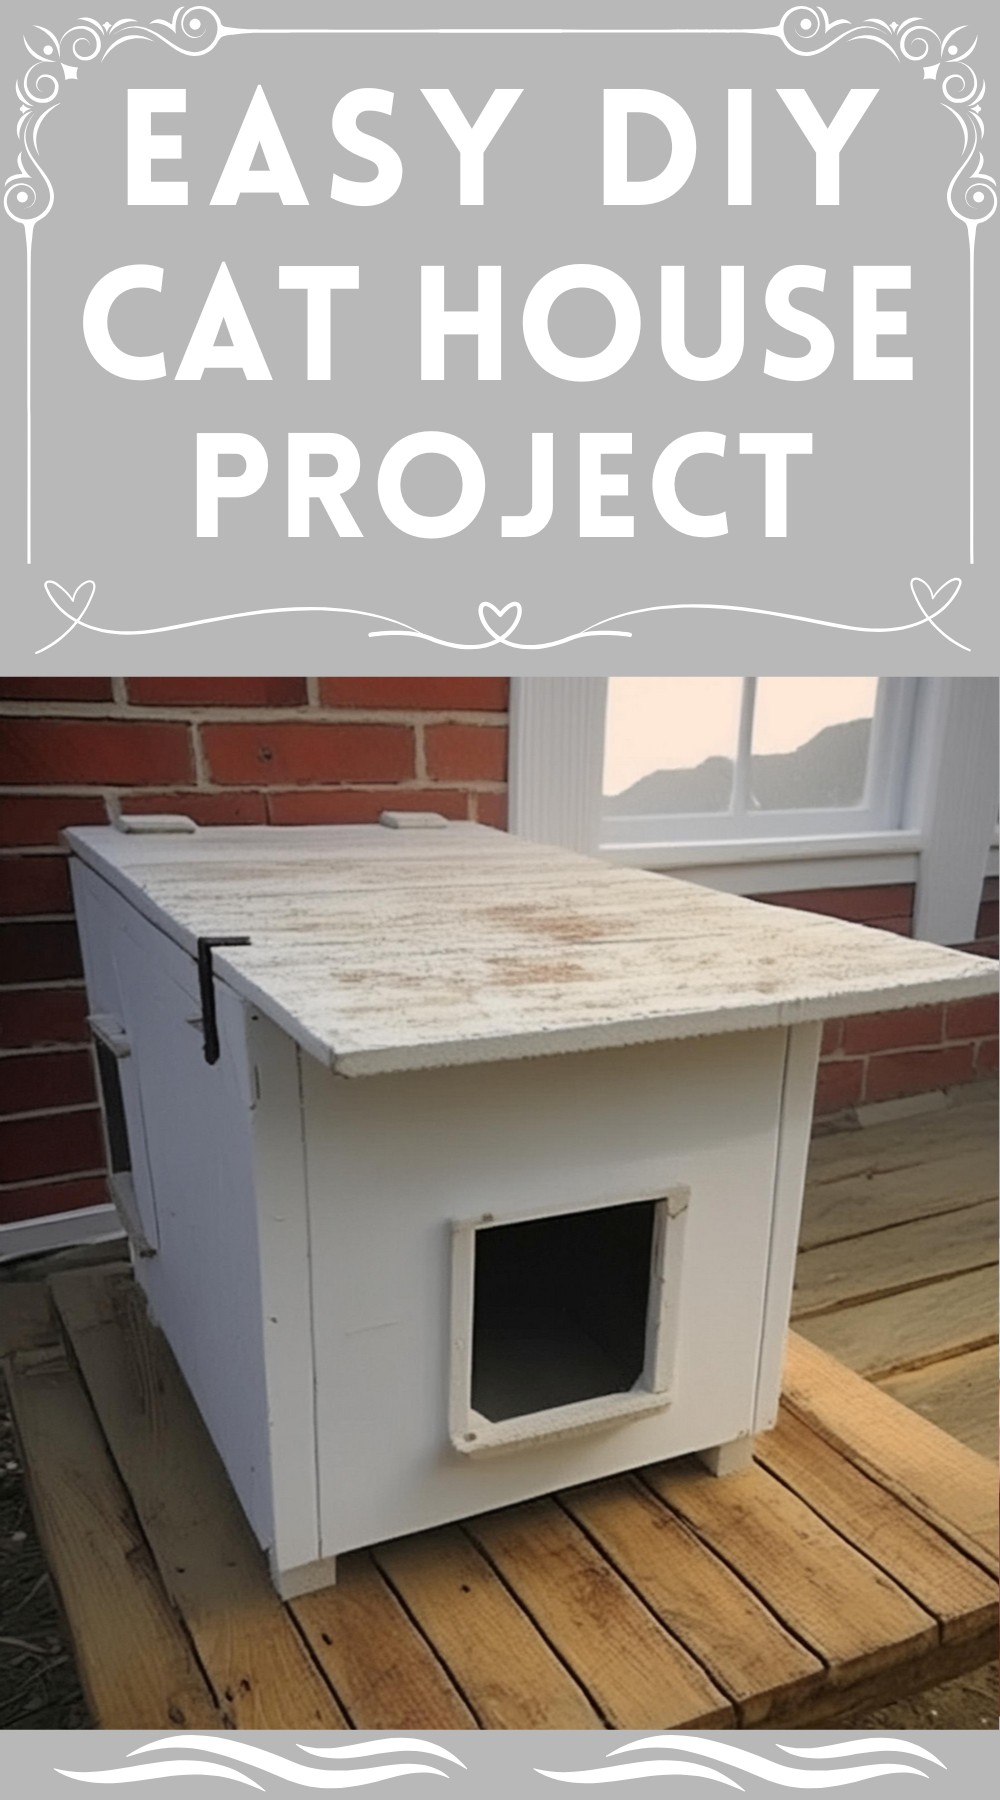
DIY Cat House Project
Materials List
- 1/2 inch plywood (6×4 feet)
- 3 pieces of 2x2x8 feet for framing
- Assorted screws and nails
- 1/2 inch insulation board (water and mildew resistant)
- 2 reclaimed cat doors
- Weather stripping
- Glue
- Two hinges
- Two latches
- Solar lights (intended for future installation)
- Outdoor paint (white mentioned, though color is customizable)
- Straw for bedding (not hay, to prevent mold and risk of combustion)
Tools Used
- Hammer
- Drill
- Saw (if not pre-cut)
- Measuring tape
- Sandpaper or sanding block
- Painting supplies (brushes or rollers)
Assemble Your Assistants and Materials
With an eager crew of young apprentices, this project starts by organizing your materials and getting ready to guide and supervise the crafting process. It’s time to roll up your sleeves and let the creativity flow.
Panels Preparation
Before the actual construction begins, save yourself some in-the-moment hassle by pre-cutting all the plywood panels to size, crafting the perfect abode for one or two felines.

Constructing the Framework
Drawing out a basic blueprint, this is where the measurements of the frame come to life. Helpers get their first taste in the art of precision and fractions, a valuable life lesson in disguise.
Getting a Doorway Ready
Post framework assembly, trace the outline for where the cat doors will go and make the necessary cutouts. This is all about defining the entry and egress points for the cats’ new dwelling.
Bringing Walls to Life
Patch together the floor and vertical panels, ensuring the structure stands strong. Small legs are also added to elevate the sanctuary above ground level. Then, lovingly sand down any imperfections for a smooth, safe finish.
A Splash of Color
Hand over the brushes to the kids and watch the house get drenched in hues of choice—though white was the available color, showing that imagination does sometimes have to deal with practical limitations.
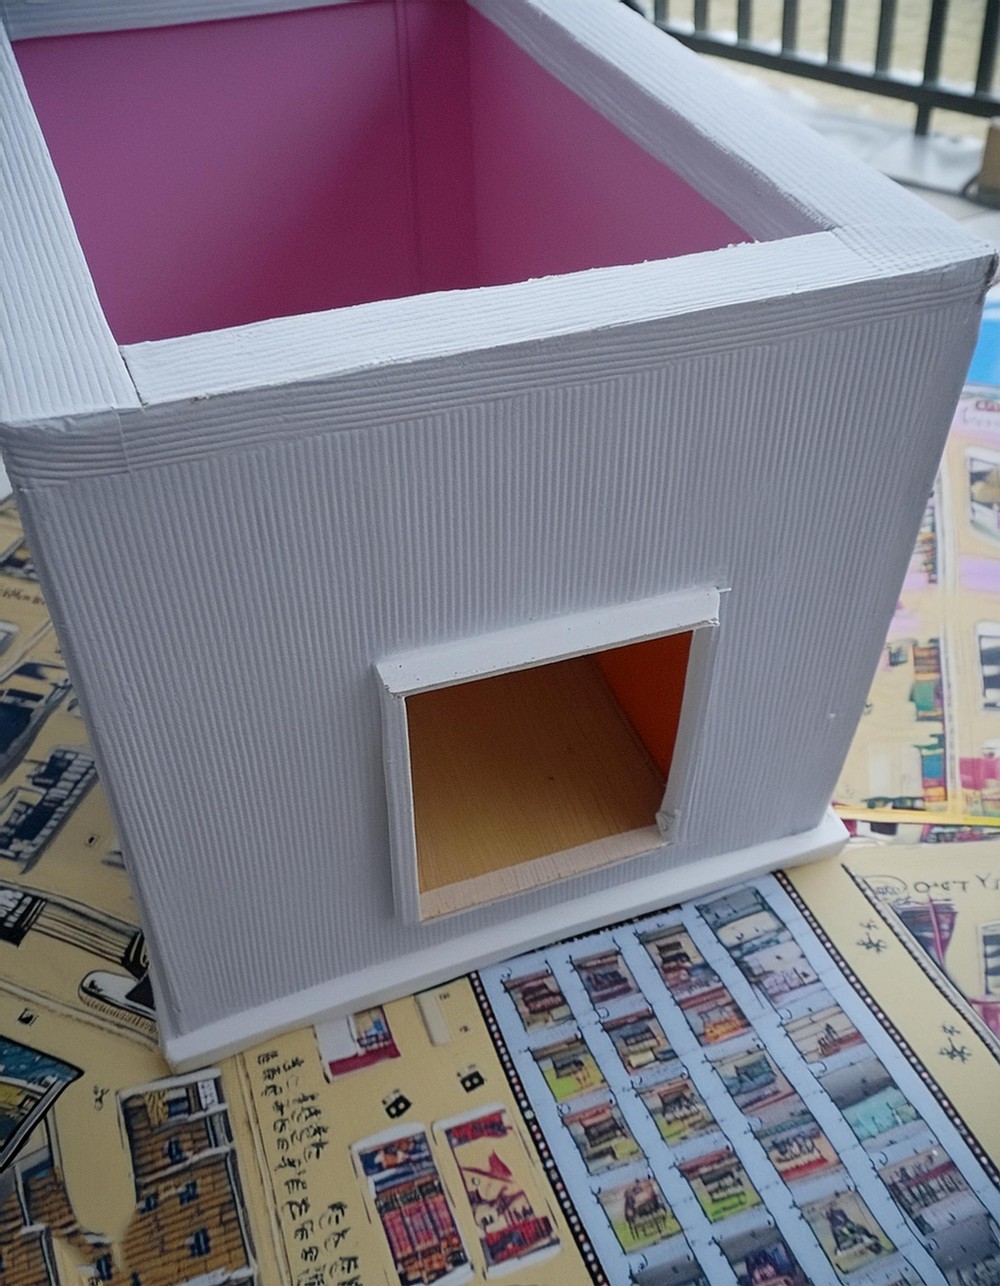
Insulating the Indoors
Line the inside with snug-fitting insulation to keep the tiny tenants warm. This is where coziness starts to creep in, as the house’s ability to ward off the winter’s bite is enhanced.
Precision Cuts for Insulation
With the insulation boards placed inside, use the cat door cutouts as templates to ensure that the entrance and exit are perfectly aligned within the insulated interior.
Doors to Warmth and Safety
Install the double cat doors, designed not just for accessibility but also for safety, allowing cats an exit route from potential intruders like raccoons.
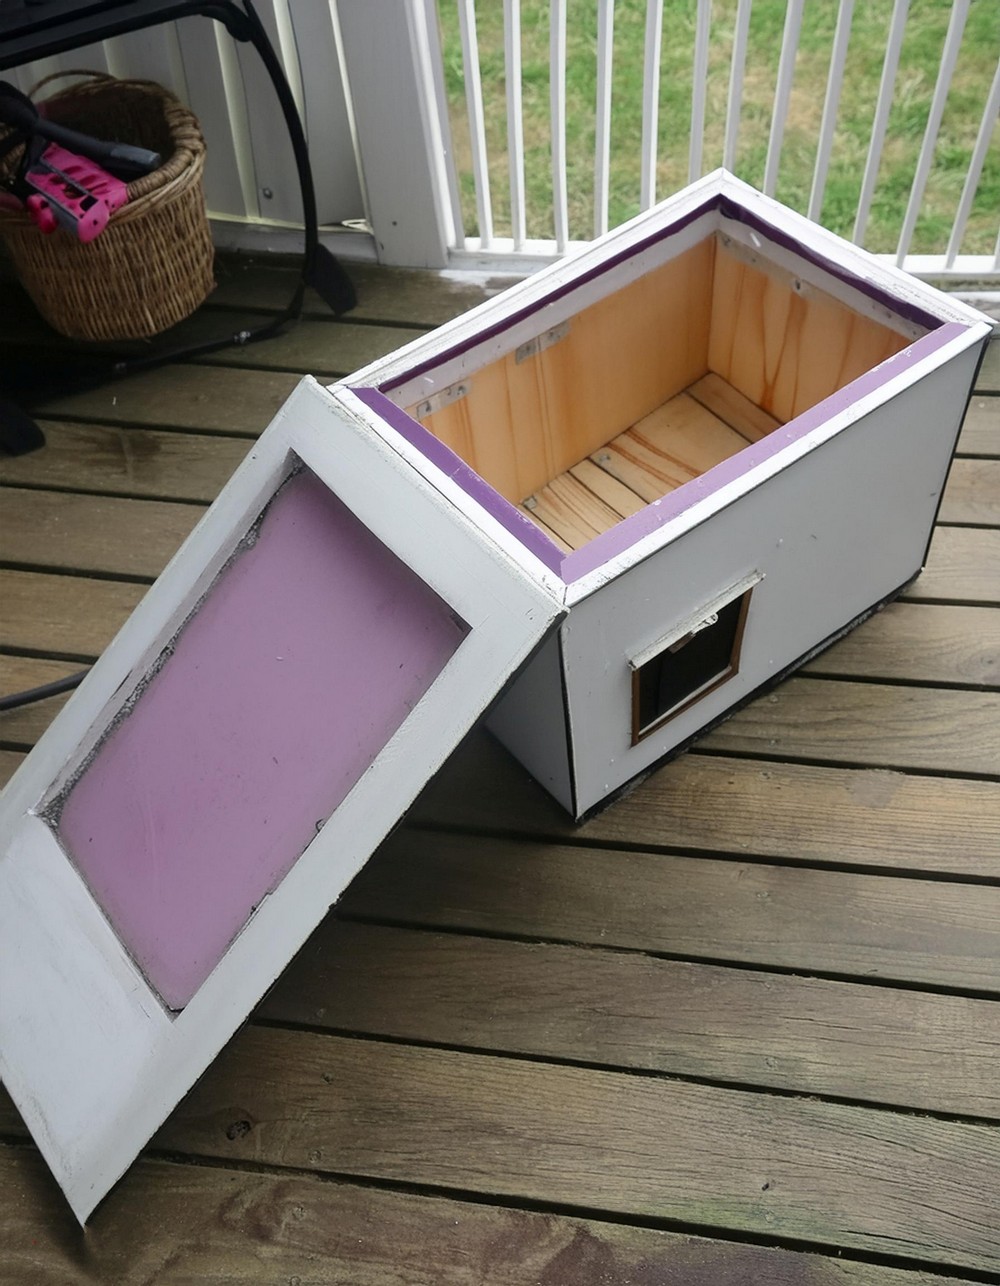
Ensuring Dry Interiors
Weather-stripping is a crucial addition for keeping the cat house dry and cozy, creating a tight seal when the roof lid is closed.
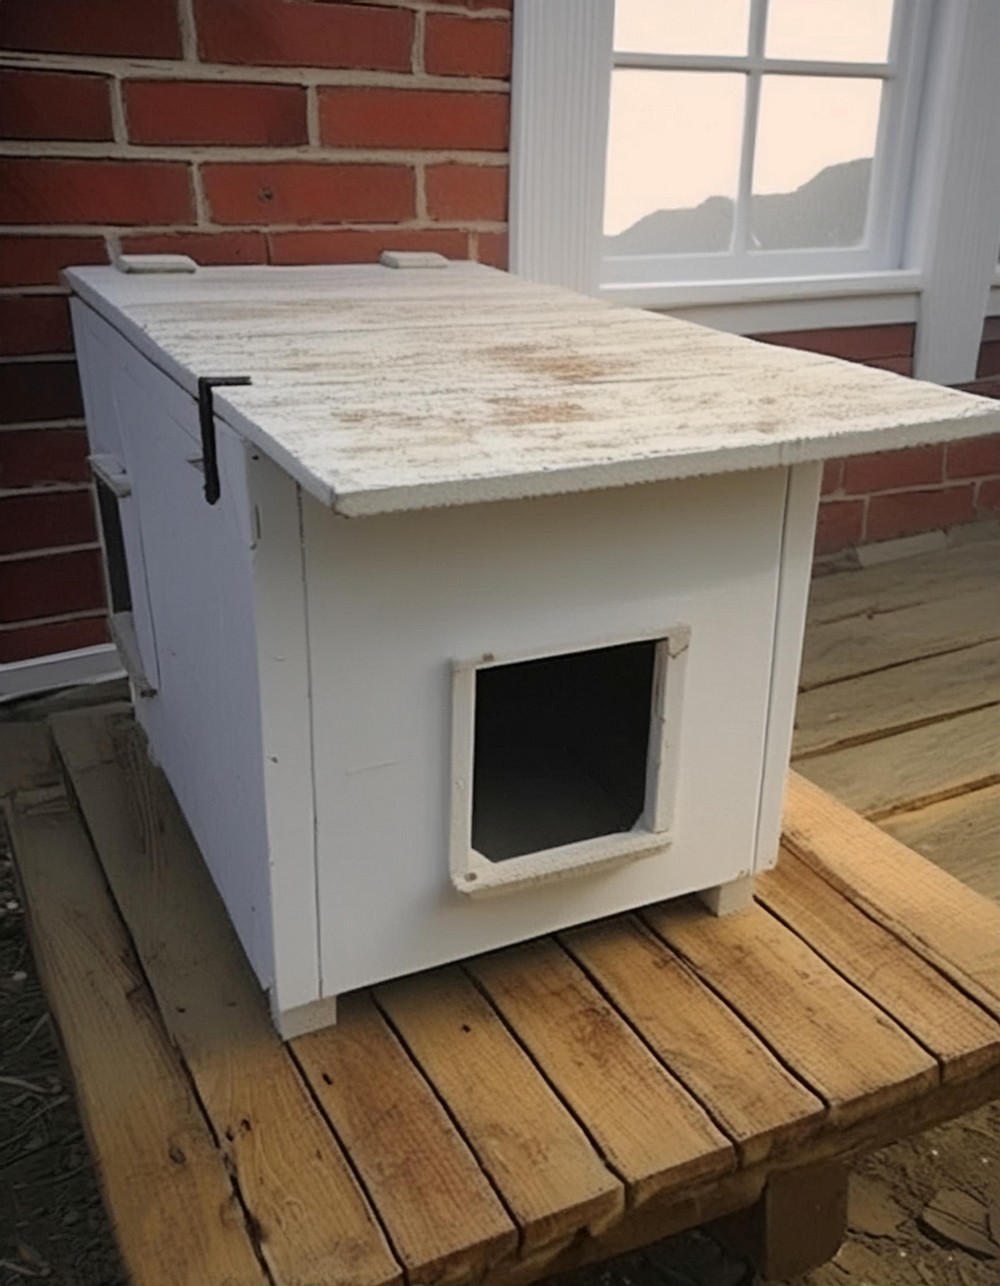
The Roof – The Final Frontier
Almost there—the roof, attached with hinges and secured with latches—offers a protective overhang for those inside. This is the final structural touch, offering both security and shelter.
Bedding Down
Straw provides the ultimate bedding material, giving cats a place to curl up, nest, and retain their body heat. Remember, no hay, just straw!
Wrapping Up and Reflecting
As you cap the project off, it becomes more than a structure; it’s a testament to shared learning, laughter, and the promise of warmth for all cats who step inside.
This cat house not only serves as a testament to a community’s compassion but also stands as a beacon of hope for feral cats seeking respite from the unforgiving winter. What better way to spend a weekend than creating a safe harbor for these silent whisperers of the urban night?
Leave a Reply