
The Cardboard Costume Helmet offers a creative, eco-friendly spin on conventional costume wear. Using simple yet versatile materials, this DIY craft idea has captured the hearts of craft fans, children, and even cosplay fans. It allows people to express their creativity and personality and provides an excellent platform for those looking to delve into the realms of exciting DIY projects. If you are also one of them here, we have the most straightforward guide to making one in almost no time. This simplicity is at the heart of our approach, providing clear instructions, helpful tips, and practical advice. So what are you waiting for?
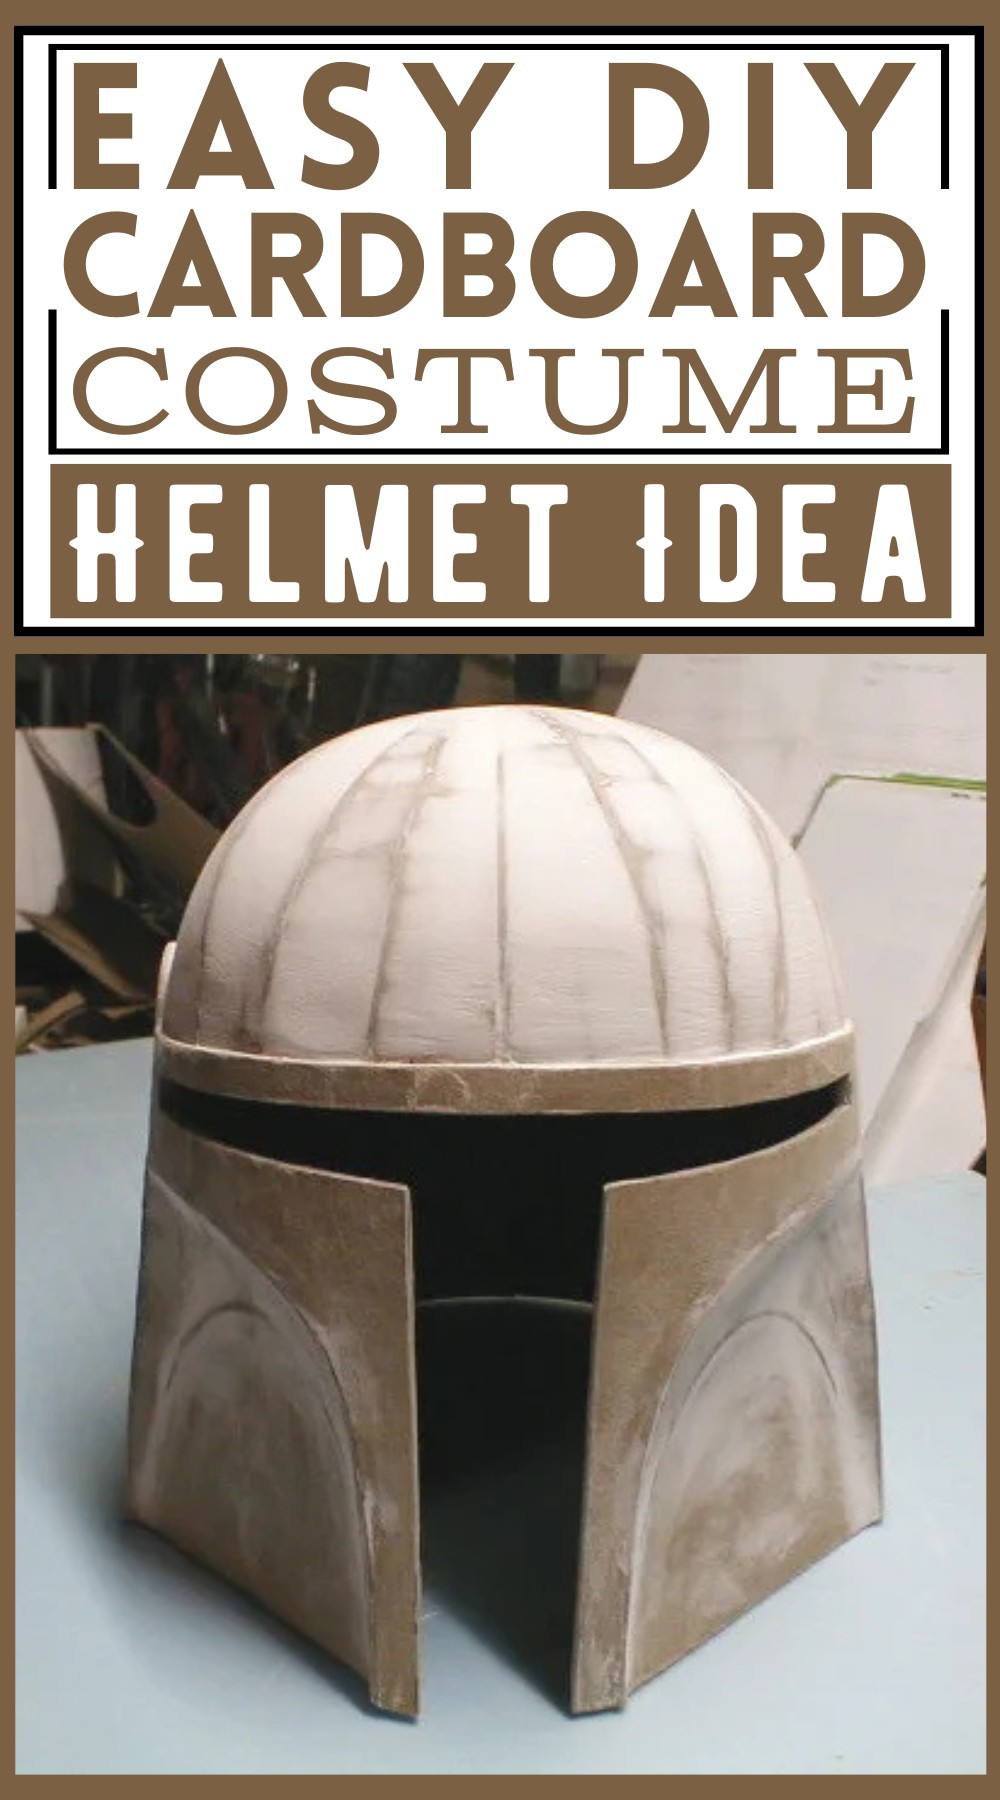

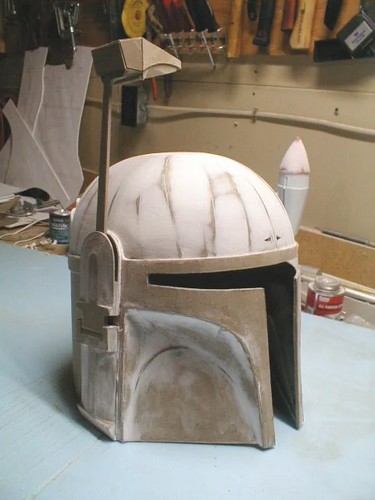
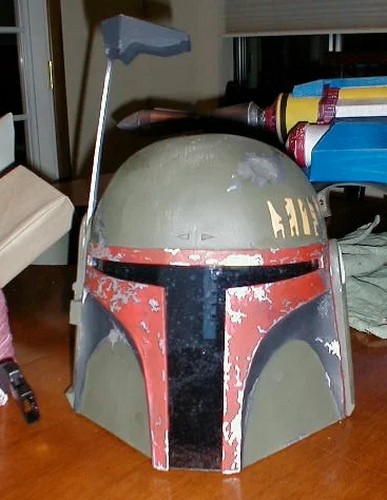
The cardboard helmet is primarily made from lightweight yet sturdy cardboard sheets. It’s constructed using templates, and smooth surfaces are created using a technique with spackling paste and sealed with Minwax Polycrylic for durability. The appearance is semi-professional with room for customization; detailed earpieces and an iconic T-visor are highlights; the example is a Star Wars Boba Fett Helmet. This helmet finds its advantages in being cost-effective, easily accessible, lightweight, and permissible for custom designs. It’s useful for cosplay, Halloween events, projects and crafts, and theatrical productions.
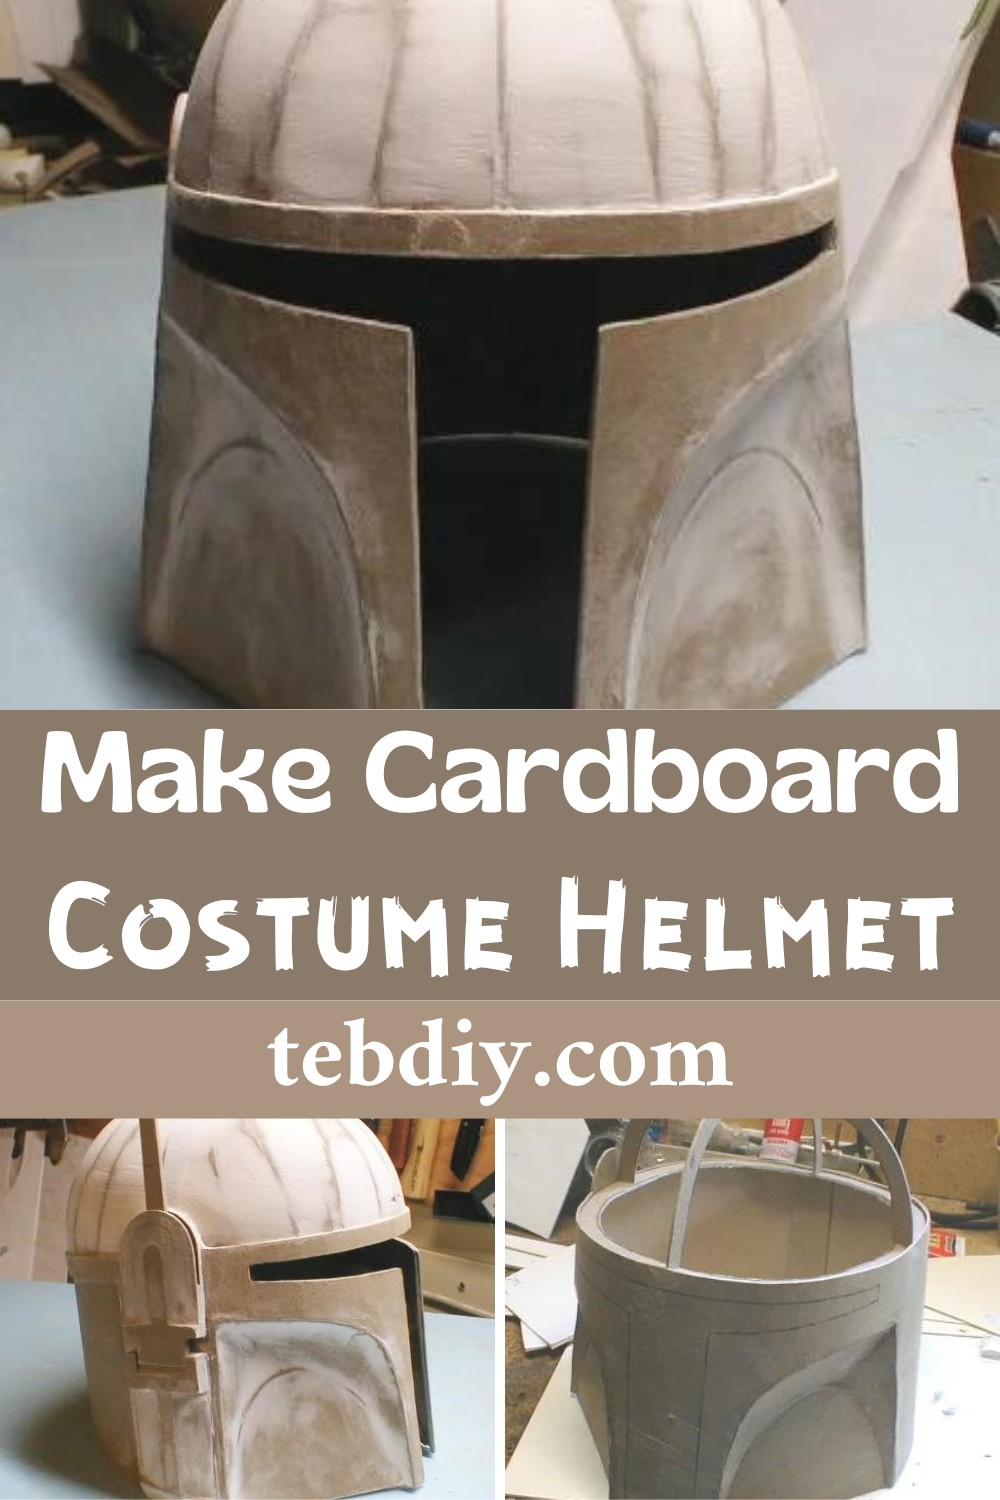
Making Your Cardboard Costume Helmet
Materials Needed
- Cardboard sheet (about 1/16 inch thick, paperboard type)
- White glue
- Sandpaper
- Hot glue gun
- Lightweight spackling paste
- X-Acto knife
- Minwax Polycrylic sealer
Step-by-step Process
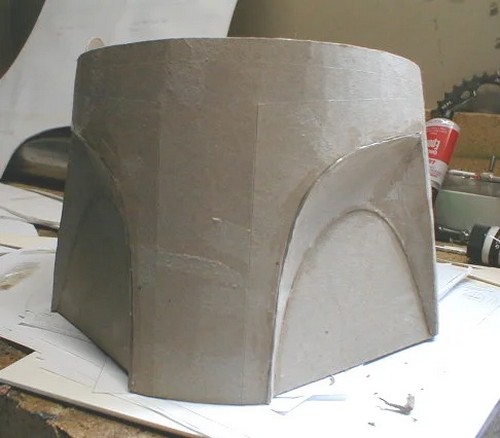
Step 1: First, Form the Base
- Download and Print Templates: Obtain Boba Fett helmet templates (available from The Dented Helmet forum or similar sources). Print them on 8.5″ x 11″ paper.
- Prepare the Templates: Cut out printed templates and tape the pages together as needed for larger parts.
- Attach to Cardboard: Use rubber cement to glue the templates to your cardboard, then cut out the pieces with an X-Acto knife.
- Create Helmet Base Form: Using specific template pages (4, 8, 11, and 12), create the base form for the helmet, which helps to establish the basic shape. This form will be removed later.
Step 2: Making the Dome Frame
- Attach a Cardboard Ring: Construct a cardboard ring and glue it on top of the helmet to serve as an attachment point for the dome.
- Construct the Dome Frame: Create two interlocking cardboard semicircles and glue them to the cardboard ring to form the dome’s frame.

Step 3: Filling in the Dome
- Cut and Bend Triangular Wedges: These will fill in the dome structure. Begin by attaching them to the frame with a hot glue gun, and adjust and trim them to achieve the proper curve.
- Smoothing Seams: After the dome is assembled, use white glue to smooth over all seams.
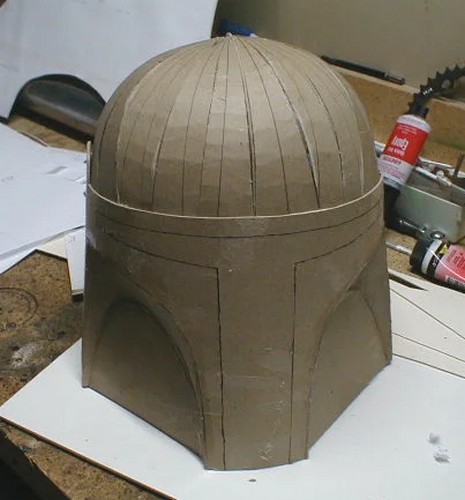
Step 4: Final Shaping
- Apply Spackling Paste: Use lightweight spackling paste over the dome and any areas requiring smoothing. Once dry, sand it to the desired shape.
- Detailing: Cut out and shape additional details like the helmet “ears” from laminated cardboard sections and glue them in place.
Step 5: Add Details
- Create the Ears: These are made from laminated sections of cardboard, shaped, and then attached to the helmet with a hot glue gun.
- Add the Visor and Other Elements: Cut out the opening for the visor. Construct and attach additional elements like the rangefinder and a panel on the back of the helmet.
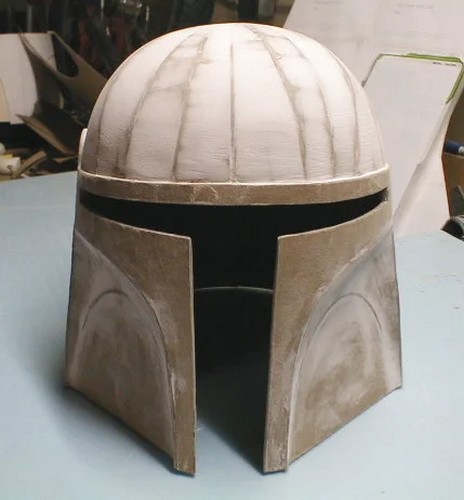
Step 6: Painting/Finishing
- Seal with Polycrylic Sealer: Apply Minwax Polycrylic sealer to coat the entire helmet, which helps in painting and makes the helmet water-resistant.
- Paint: Prime and paint the helmet as desired. For a Boba Fett helmet, this may involve detailed painting work to match the character’s helmet.
- Install the Visor: Use tinted plastic for the visor. Glue it in place with hot glue or epoxy putty for a stronger hold.
- Add Internal Foam: For a better fit, insert foam padding inside the helmet.
Designer: By Honus
Leave a Reply