
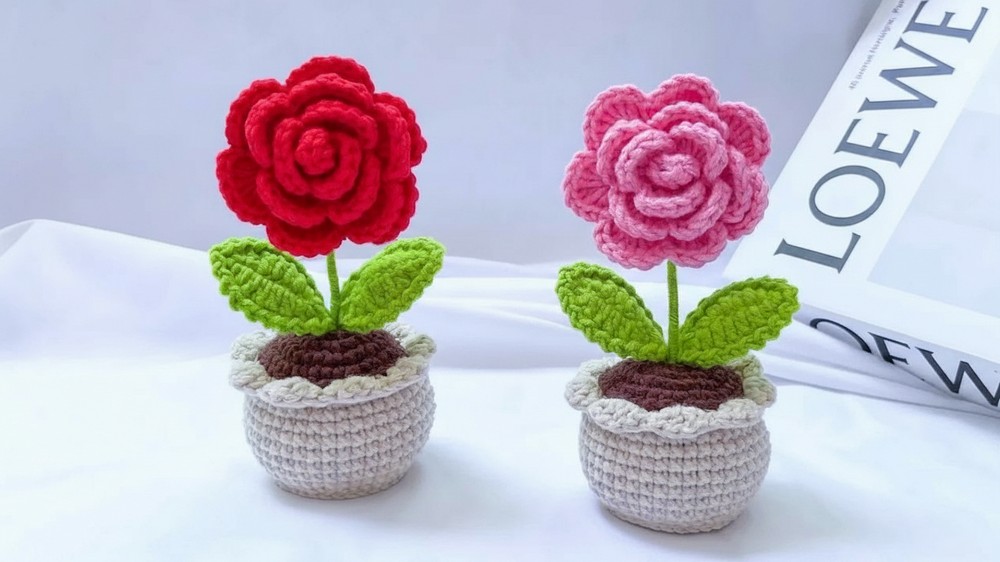
Fill your home with lasting color and warmth using this an easy Free Crochet Rose Pot Pattern that perfect for everyone to follow and enjoy.
A flower that always stays bright fills your home with gentle joy and peace. The Crochet Rose Pot pattern brings a realistic rose to life using yarn and simple stitches, making it perfect for any spot in your house. Its tiny petals sit in a sturdy pot giving a cheerful look that never fades and keeps your space lively. This rose doesn’t need water or sunlight—just a warm place to shine.
How to Crochet a Rose Pot: Free Pattern & Instructions
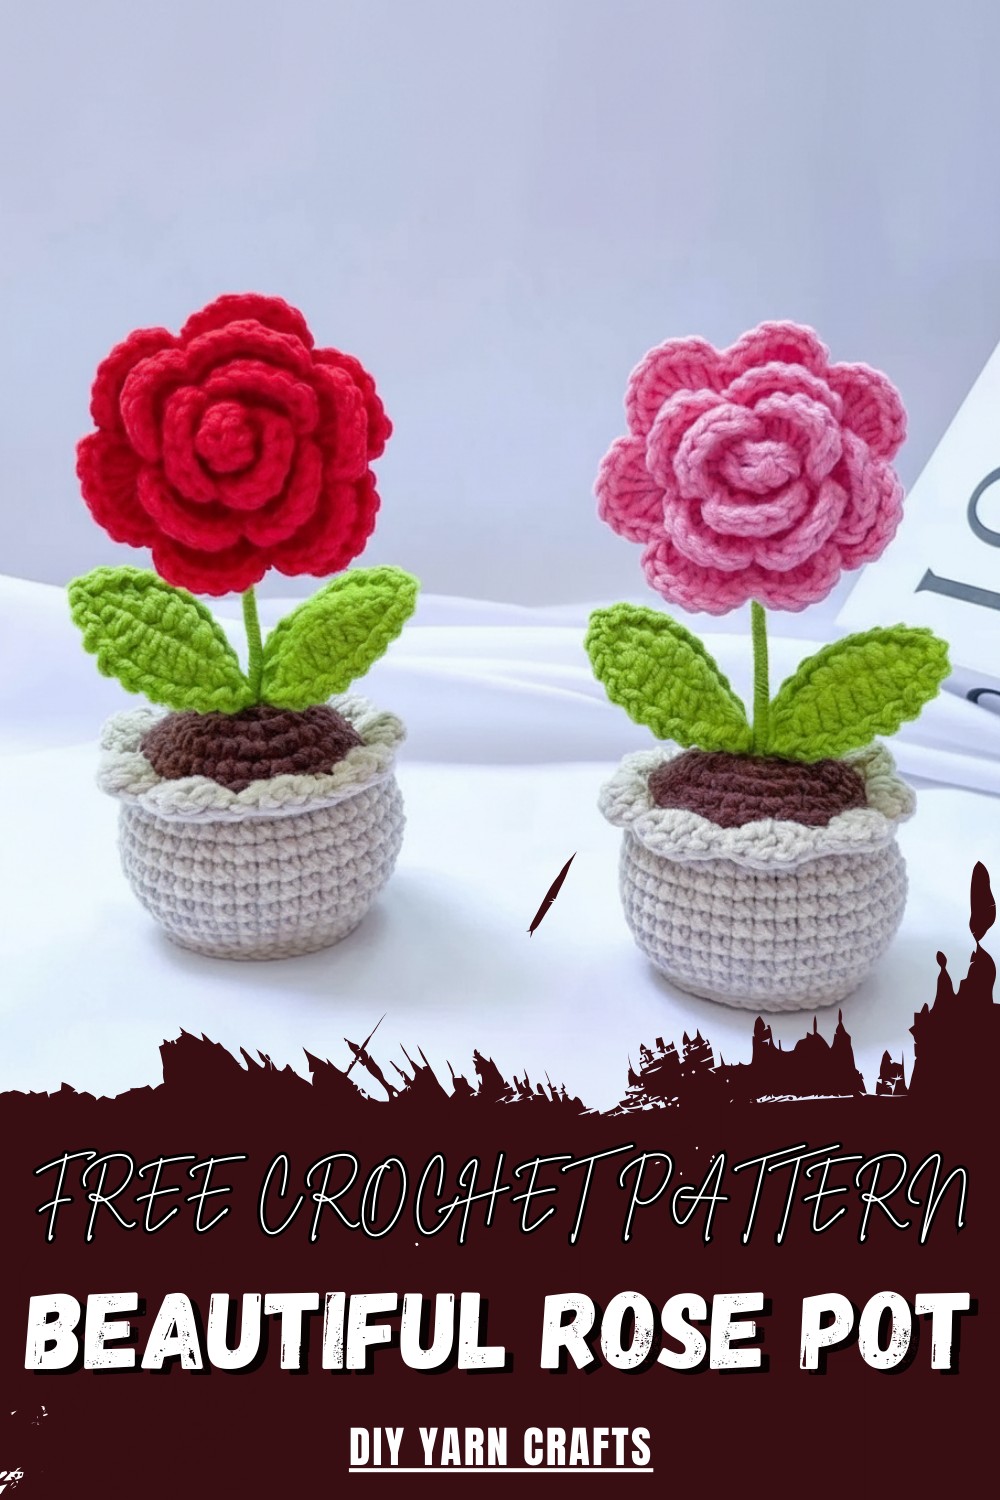
With step-by-step instructions, everyone can easily follow along and make a lovely little flower, whether for their own table or as a thoughtful gift. Offering comfort and a touch of beauty, this pattern is simple enough for those with limited reading skills to follow. Handmade with love, the rose fills rooms with color and warmth and reminds us that every day can have a bit of happiness. The Crochet Rose Pot pattern keeps joy blooming all year.
Crochet Rose in Pot Pattern
Materials List
- Yarn: 5-ply cotton yarn (or similar, for rose, leaves, soil, and pot)
- Crochet Hook: 2.5 mm
- Wire: 18 cm for each leaf, 18–20 cm for main stem/branch
- Polyfill or gravel: For stuffing the pot
- Stitch markers (optional)
- Yarn needle / Darning needle
- Scissors
- Glue: Fabric/milk glue for assembling
- Pliers: For wire (optional)
Key Abbreviations (US Terms)
- ch: chain
- sl st: slip stitch
- sc: single crochet
- hdc: half double crochet
- dc: double crochet
- st(s): stitch(es)
- sk: skip
- rep: repeat
Special Notes
- Gauge is not critical for this pattern.
- Wire is crocheted inside the leaf for shaping.
- Firm up your pot with small stones or gravel at the bottom before stuffing.
- Use glue for neat assembly — fabric/milk glue recommended.
- All joins are made with slip stitch unless otherwise specified.
Pattern Instructions
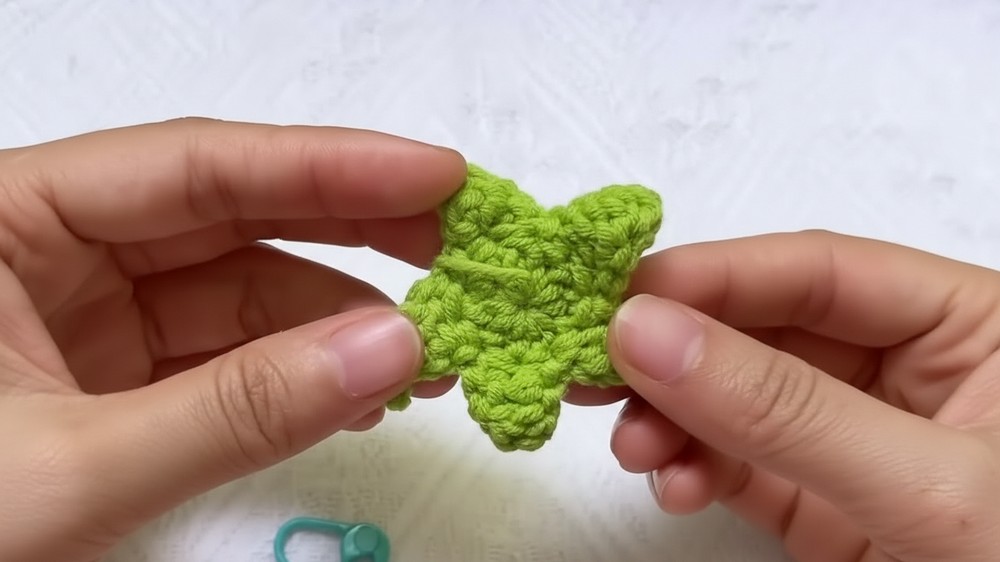
1. Rose Petals
Make 1.
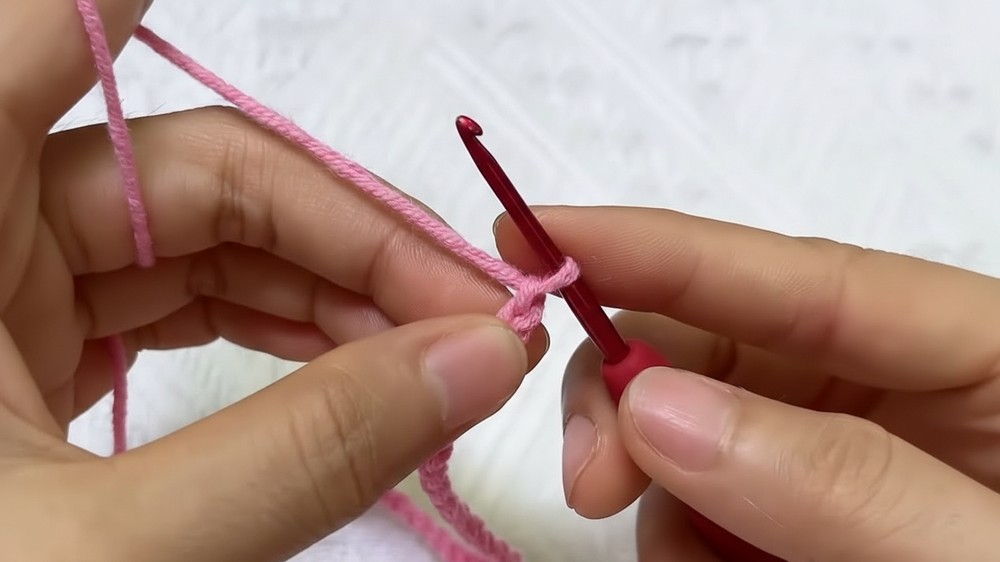
Row 1: Foundation
- Make a slip knot.
- Ch 52.
Row 2: V-Stitches
- Dc in 7th ch from hook.
- (Sk 2 ch, dc in next ch, ch 2, dc in same ch) — rep from * to end.
- You should have 15 V-stitches in total.
- (Each V-stitch: dc, ch 2, dc in same ch.)
Row 3: Petal Formation
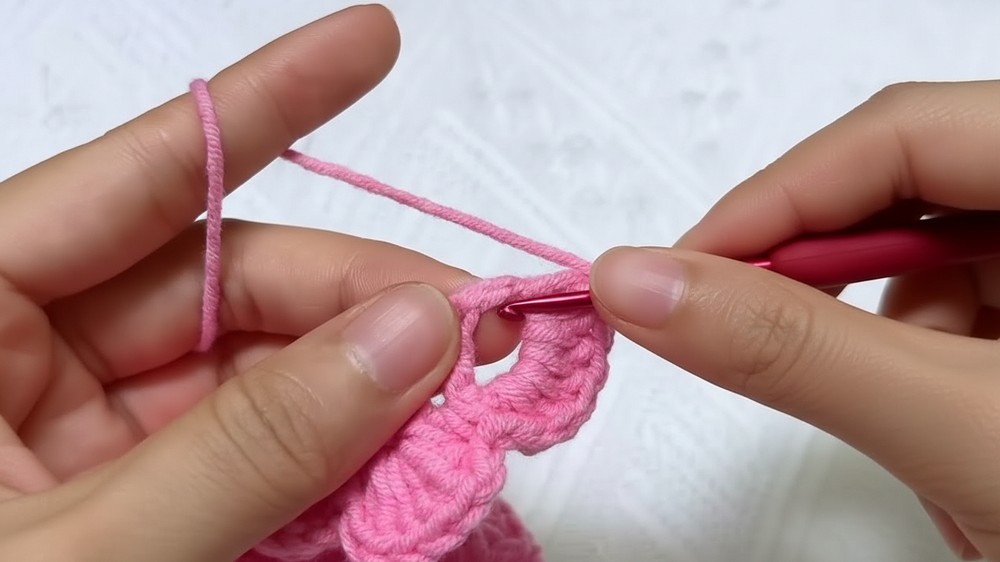
- Ch 1, turn.
- Into first ch-2 space, 6 dc.
- Ch 1, sc into space between two V-stitches (between next two V’s, NOT into any chain).
- (Ch 1, 6 dc in next ch-2 space, ch 1, sc in space between next V’s) — rep until the final V-stitch.
- For the last V: ch 1, 6 dc in last ch-2 space, ch 1, sl st in same space, ch 1 to fasten off.
- Cut the yarn.
2. Sepals
Make 1.
- Make a magic ring.
- Ch 1.
- 10 dc in ring. Join with sl st to first dc. (10 dc)
- Mark this st if desired.
- For each sepal (total 5):
- Ch 6.
- Sl st in 2nd ch from hook.
- Sc in next ch.
- Hdc in next ch.
- Dc in next 2 ch.
- Sk next st on round base, sl st in following st.
- Rep from * for 4 more sepals (5 total).
- At end: sl st in last st, ch 1, fasten off, leave a long tail.
- Thread yarn tail to center, to help with assembly.
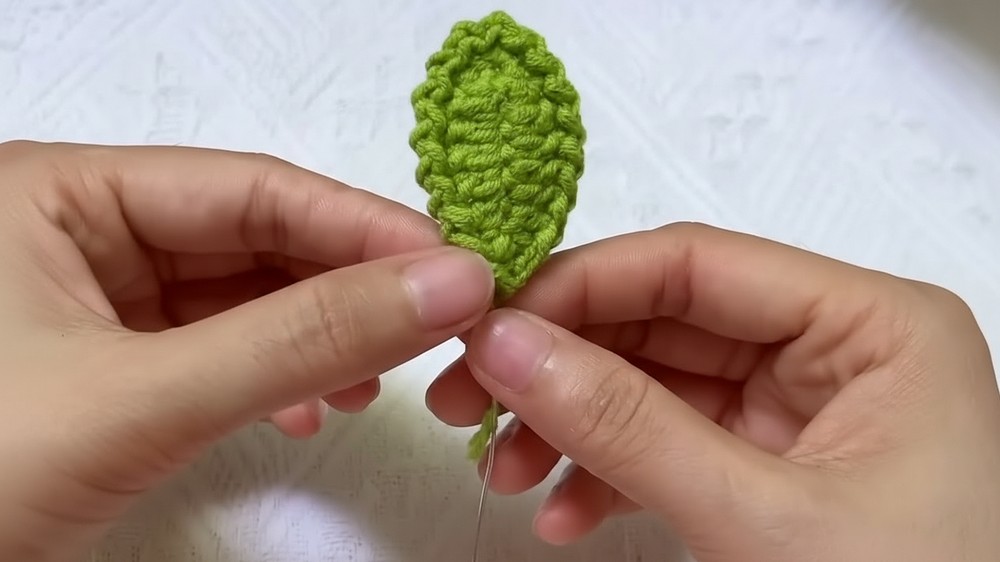
3. Leaves
Make 2 per rose (or more as desired).
- Cut 18 cm wire for each leaf.
- Make a slip knot.
- Ch 9.
- (Hold wire on top of work as you crochet next row.)
- Row 1:
- Sc in 2nd ch from hook (with wire under hook/yarn).
- Hdc in next ch.
- Dc in next 4 ch.
- Hdc in next ch.
- 3 sc in last ch.
- Rotate to work into the free loops on the other side of chain:
- Hdc in next ch.
- Dc in next 4 ch.
- Hdc in next ch.
- Sc in last ch.
- Sl st to first st to close.
- Round 2: (optional for edging)
- Ch 1, (sl st in next st, ch 1) in each st around.
- Sl st to beginning, ch 1 to fasten off.
- Wrap yarn tail around wire to finish stem, knot and cut off excess.
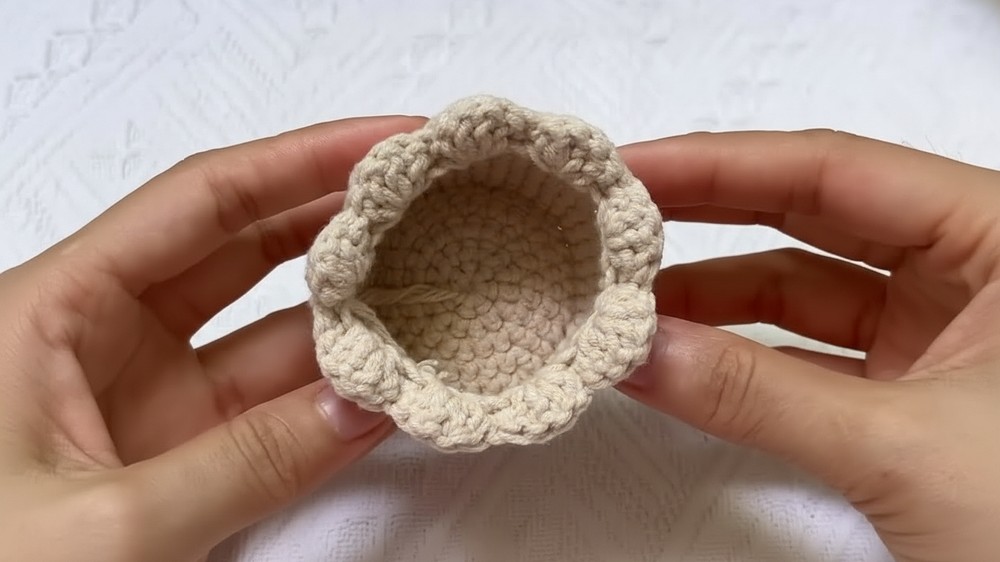
4. Pot
- Make a magic ring.
- Rnd 1: 7 sc in ring. Join with sl st. (7 sc)
- Rnd 2: Ch 1, 2 sc in each st around (increase in all) — mark first st (14 sc). Sl st to join.
- Rnd 3: Ch 1, (sc in next st, 2 sc in next st) around (1 sc, 1 inc repeat — 21 sc total). Sl st to join.
- Rnd 4: Ch 1, (sc in next 2 st, 2 sc in next st) around. Sl st to join.
- Rnd 5: Ch 1, (sc in next 3 st, 2 sc in next st) around. (Seven 1-inc repeats for 35 sc). Sl st to join.
- Rnd 6: Ch 1, working in back loops only, (sc in next 4 st, 2 sc in next st) around. Sl st to join.
- Rnd 7: Ch 1, sc in each st around. (Both loops.) Sl st to join. (42 sc)
- Rds 8–13: Rep round 7. (6 additional rounds of 42 sc each.)
- Rnd 14: Ch 1, (sc in next 4 st, sc2tog decrease) around. Sl st to join.
(Pattern: 4 sc, 1 decrease (sc2tog), repeat.) - Rnd 15: Ch 1, work in front loops only: In first st, 4 dc in same loop, sk 1, sc in next front loop, sk 1.
Rep (4 dc in next front loop, sk 1, sc in next front loop, sk 1) for total of 9 times. Join and fasten off. - Weave in ends to inside of pot.
- (Optional: For a neat bottom edge,)
- Use the remaining unworked back loops in round 6: join new yarn, sl st in each back loop around, join.
- Tie off and weave ends.
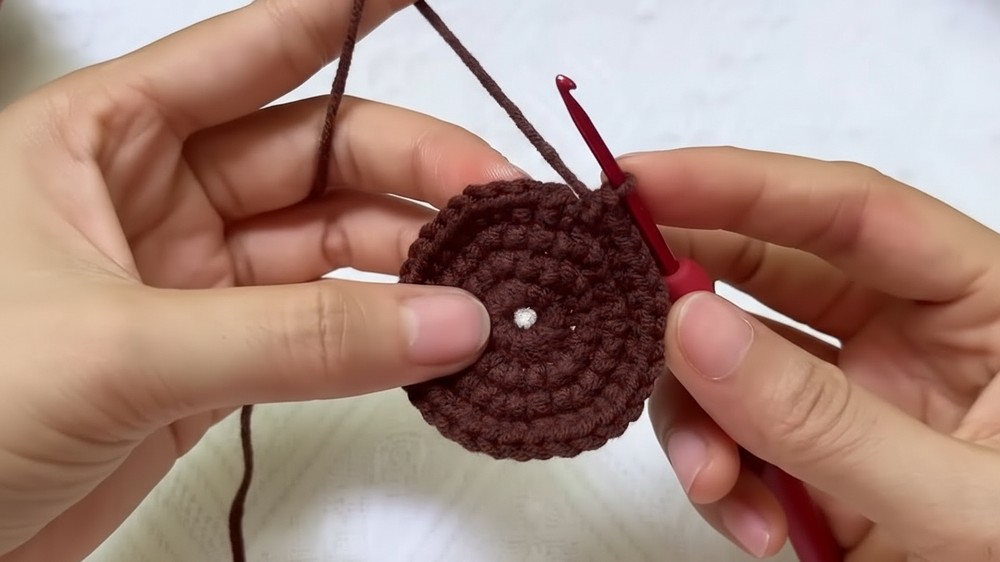
5. Soil
- Make a magic ring.
- Rnd 1: 14 sc in ring, sl st to join, leave a small hole in center.
- Rnd 2–4: (Work same as the pot increases, increasing stitches as needed to match the pot’s size. Example:
- Rnd 2: [sc in next st, 2 sc in next st] around.
- Rnd 3: [sc in next 2 st, 2 sc in next st] around.
- Rnd 4: [sc in next 3 st, 2 sc in next st] around.)
- Sl st to join, fasten off, leaving a long tail for sewing.
- Size should fit just inside the pot.
6. Assembly
- Stuff pot with fiberfill and/or gravel.
- Sew soil to top of pot:
- Use the long tail to whip stitch or back stitch all around the edge of the soil, anchoring securely to top inside of pot.
- Prepare branch: Insert 18–20 cm branch or wire into center hole of soil/pot. Secure with glue if necessary.
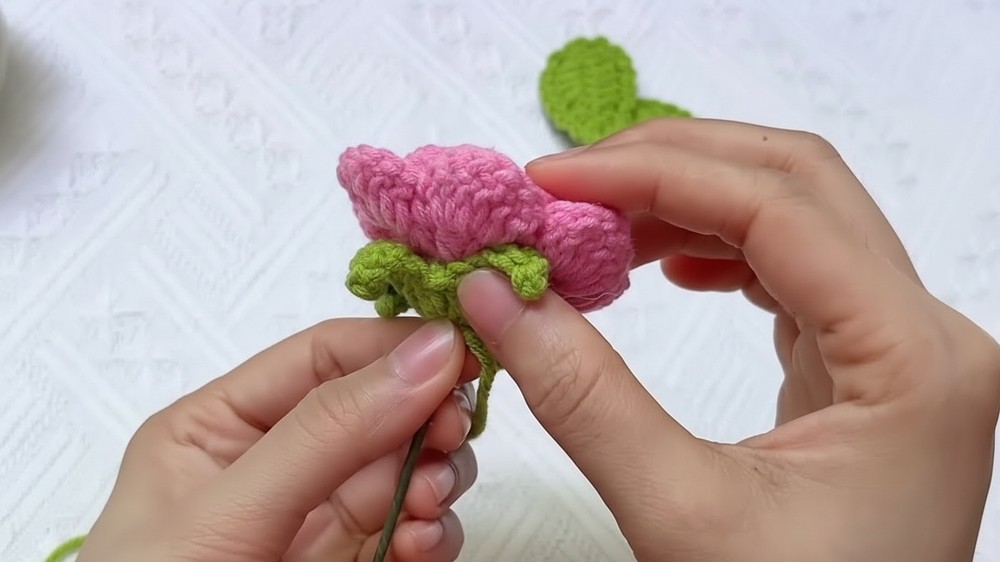
- Attach rose petals:
- Add glue to top of stem/branch, roll and wrap rose petal strip into a rose spiral and secure with glue.
- Sew or glue sepals to underside of rose, passing stem through sepal’s center.
- Wrap sepal yarn tail around stem for 5–6 cm for realism.
- Add leaves: Glue and wrap wire stems of each leaf onto main branch.
- Cover end of stem with yarn, glue in place, and trim excess.
Conclusion
You have completed your beautiful crochet rose in a pot! This project is perfect as a handmade home ornament or as a thoughtful, lasting gift. Sturdy construction, wired leaves, and realistic structure ensure your finished piece stands upright and brings a touch of charm to any space.
Pattern Corrections & Tips
- Correction: Depending on yarn/hook and gauge, adjust chain length or stitch counts if rose petals or leaves are too large or small for your arrangement.
- Tip: When working V-stitch petals, count carefully to reach exactly 15 V’s for even petals.
- Tip: Use wire for leaf shaping and stem strength.
- Tip: Compress and shape petals, sepals, and leaves with your fingers for a natural look before gluing.
- Tip: Add decorative gravel or small stones to the bottom of the pot for extra stability.
- Tip: For pot edge, do slip stitches loosely to prevent puckering.
Leave a Reply