
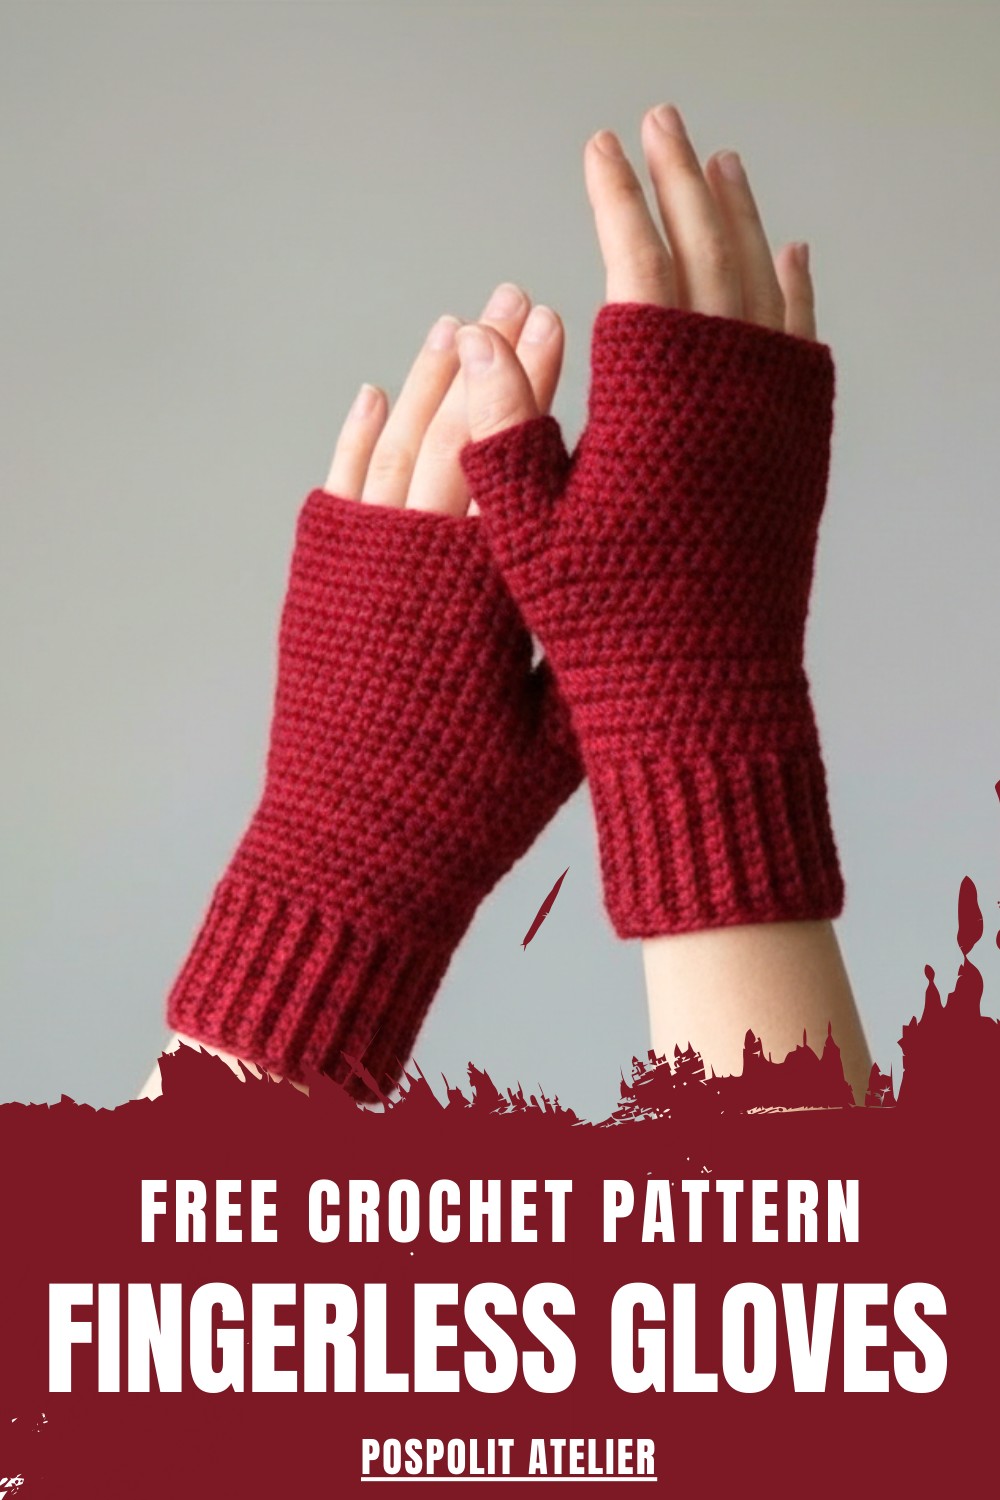
Slide into the joy of crocheting fingerless gloves that offer warmth, style, and functionality, making them the perfect accessory for cool-weather adventures.
Keep your hands warm while keeping your fingers free to move effortlessly during chilly days. A free crochet fingerless gloves pattern offers an easy way to create a stylish and functional accessory for everyday use. This cozy glove features a beautiful design that can match any outfit, adding a touch of charm to your wardrobe. It is perfect for tasks like typing, driving, or enjoying your favorite cup of coffee while staying warm.
Free Crochet Fingerless Gloves Pattern For cozy Hands
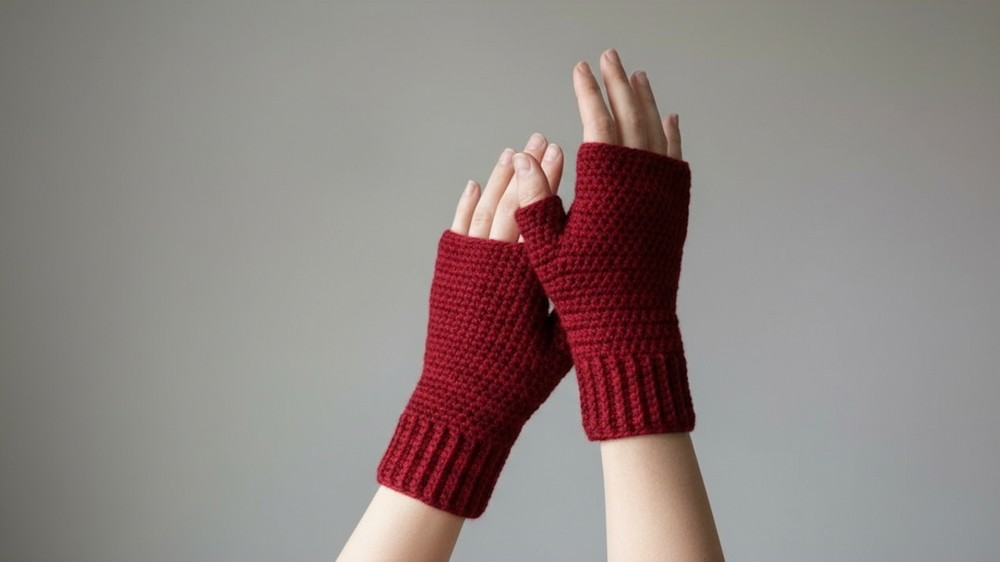
The soft texture and snug fit make it comfortable to wear for long hours, keeping your hands cozy without restricting movement. Whether you’re out running errands or relaxing at home, the simple yet elegant design of crochet fingerless gloves brings both comfort and style to your day. This pattern uses basic stitches, making it beginner-friendly and enjoyable to crochet. Perfect for gifting or personal use, it is a wonderful project to bring beauty and functionality together.
Crochet Mittens: Step-by-Step Pattern
Skill Level
- Intermediate: You need familiarity with basic crochet stitches, working in rounds, and performing increases and decreases.
Materials
- Yarn:
- DK-weight yarn or any suitable yarn for a 3 mm hook (approx. 30–50g per mitten, depending on size).
- You can use scraps or a single color for a sleek, streamlined look.
- Hook Size:
- 2.5 mm crochet hook (slightly smaller than recommended to create tight, neat stitches).
- Additional Supplies:
- Yarn needle (for seaming and weaving in ends).
- Scissors.
- Measuring tape (for gauge and sizing).
Gauge
- 10 single crochet (sc) + 10 rows = 2 inches (5 cm) in ribbing for cuff.
- 16 double crochet (dc) = approximately 4 inches (10 cm).
Adjust hook size if your gauge doesn’t match. Tight stitches are important to keep the mittens warm and structured.
Finished Size
The finished mittens are sized to fit an average adult hand:
- Cuff Circumference: 15 cm (6 inches), stretches to fit wrists 16–19 cm (6.5–7.5 inches).
- Length (from cuff to fingertip): 22–23 cm (8.5–9 inches).
Special Techniques
- Back Loop Only (BLO):
- Working into the back loop creates the ribbed texture of the cuff.
- Anatomical Thumb Opening:
- The thumb opening is created mid-piece with a chain-bridge technique for a tailored fit.
- Decreases:
- Performed at the thumb and finger tips to shape the mitten comfortably.
- Mirroring for Symmetry:
- Special instructions are provided for creating a left and right mitten.
Pattern Instructions
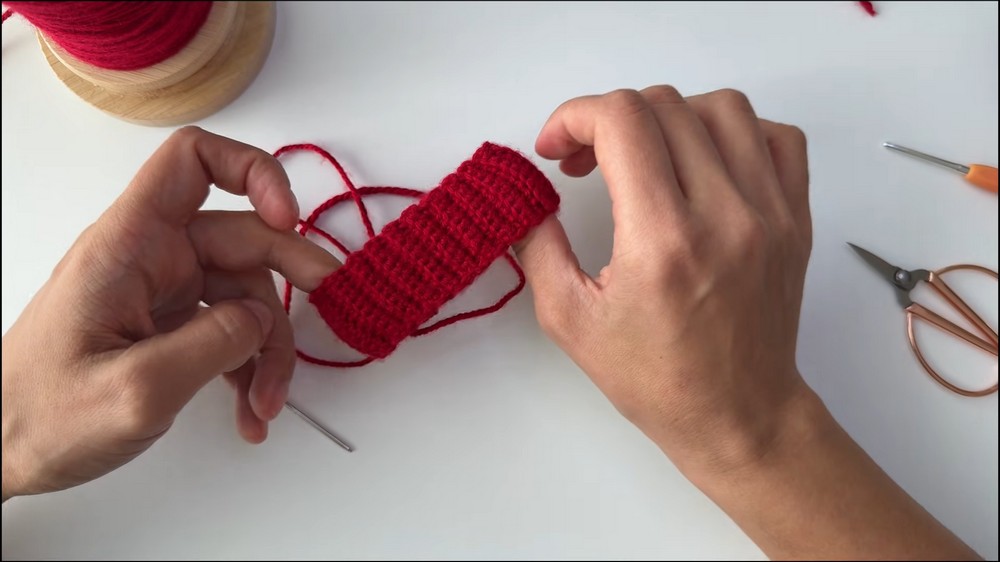
Part 1: Cuff Construction
The cuff is worked flat in rows.
Row 1: Foundation Chain
- Start with a slip knot, then ch 11.
- Skip the first ch (used as a turning chain), and work 1 sc into the second ch from the hook.
- Continue working 1 sc into each ch across. You’ll have 10 sc in total.
Rows 2–43: Ribbed Pattern
- Ch 1, turn.
- Work 1 sc into the back loop only (BLO) of each stitch across. (BLO creates elasticity and a ribbed texture.)
- Repeat this row until the ribbing reaches approximately 15 cm (6 inches) or 43 rows. Ensure that the ribbing, when stretched, is slightly smaller than your wrist circumference for a snug fit.
- Fasten off, leaving a long tail for sewing.

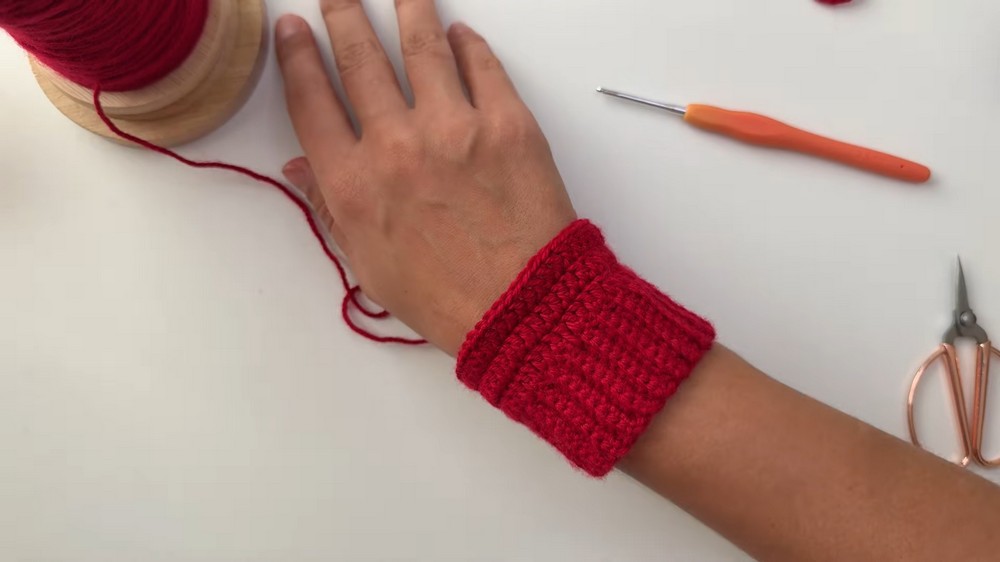
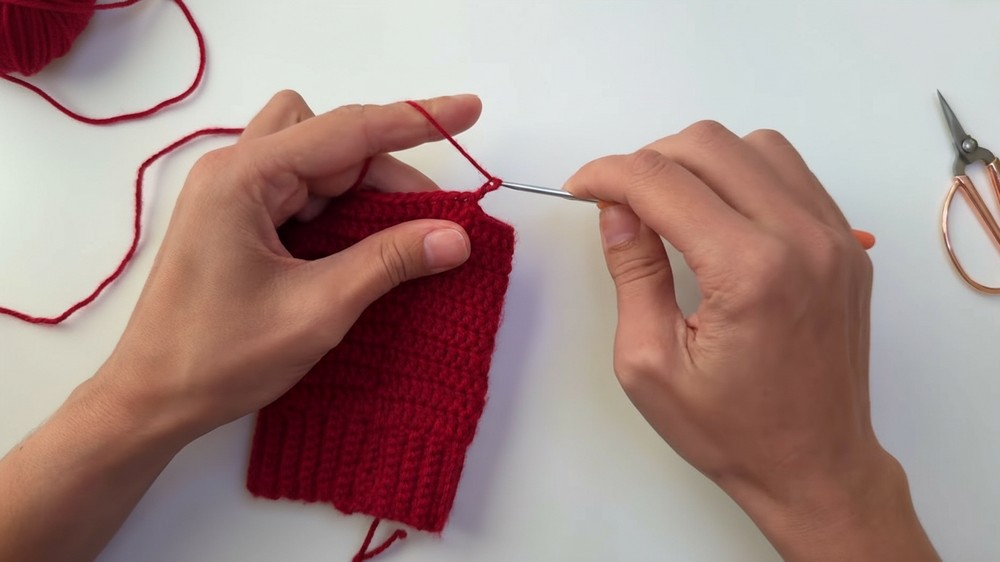
Seaming the Cuff
- Fold the cuff in half lengthwise, lining up the stitches from Row 1 and the last row.
- Use a mattress stitch to seam the edges together:
- Insert your yarn needle into the front loop of the first stitch on one side and the back loop of the first stitch on the opposite side. Pull through gently.
- Repeat for each stitch along the edge, keeping the tension even.
- Fasten off, securing a neat and stretchy seam. Weave in the ends.
Part 2: Main Body of the Mitten
The main body is worked in joined rounds.
Round 1: Foundation Round
- Attach your yarn to the cuff seam with a slip knot and ch 3 (counts as the first dc).
- Work 41 dc evenly around the edge of the cuff. Make sure your stitches are evenly spaced for a neat foundation.
- Join with a sl st to the top of the starting ch-3.
Rounds 2–3: Straight Rounds
- Ch 3, then work 1 dc into each stitch around.
- Join with a sl st at the end of each round.
- After Round 3, you should have 41 stitches in total.
Rounds 4–10: Increasing for Hand Shape
- Ch 3, then work 2 dc into the first stitch (increase).
- Work 1 dc into each stitch for the remainder of the round.
- Repeat the increase at the start of every round until you have 47 stitches by the end of Round 10.

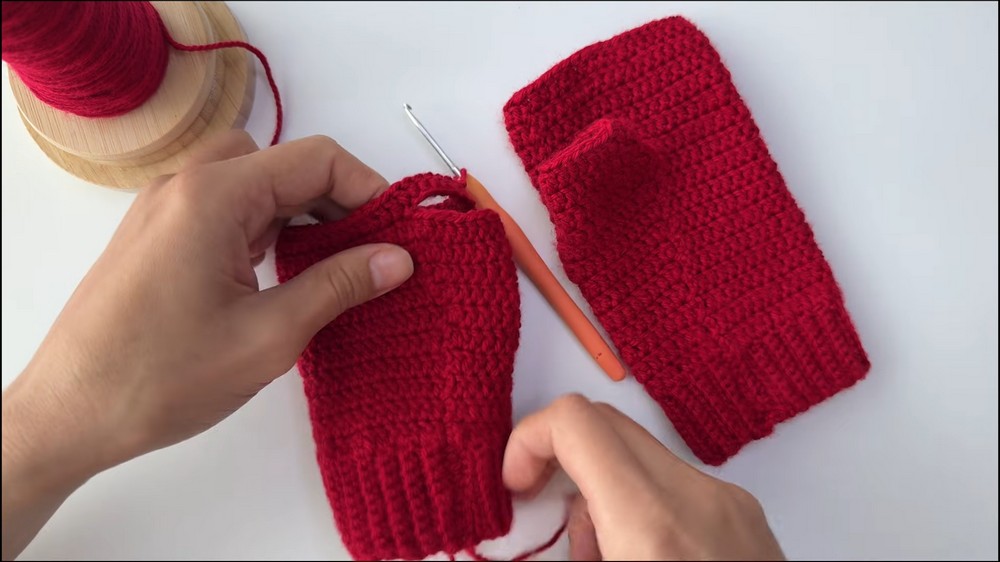
Part 3: Thumb Opening
Row 11: Creating the Thumb Hole
- Begin as usual: ch 3, then work 1 dc into the next 8 stitches.
- Ch 12 (thumb bridge), then skip 12 stitches of the mitten body.
- Continue with 1 dc into the next stitch and each remaining stitch around.
- Join with a sl st to the top of the starting ch-3.
Important: For the second mitten (to mirror the thumb), count 13 stitches backward from the end of the round and begin the thumb bridge from there.
Part 4: Shaping the Fingers
Rounds 12–16: Straight Rounds
- Ch 3, then work 1 dc into each stitch of the main body and each stitch of the thumb bridge.
- Join with a sl st at the end of each round.
- Once you’ve completed Round 16, fasten off and weave in the ends.
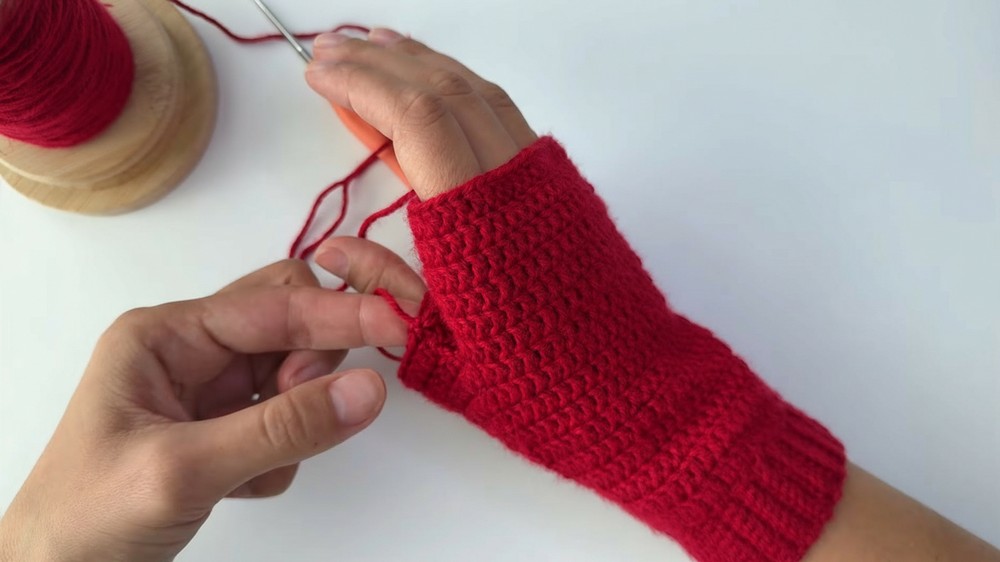
Part 5: Completing the Thumb
- Reattach yarn to the base of the thumb opening. Ch 3.
- Work 14 dc around the thumb bridge and thumb opening stitches.
- Join with a sl st.
Rows 2–3: Decreases for Thumb
- Begin each row with a decrease: dc2tog over the first two stitches.
- Work 1 dc into each remaining stitch, leaving the last two stitches to decrease with dc2tog.
- By the end of Row 3, you should have 19 stitches.
Final Row:
- Work 1 dc into each stitch for the final round.
- Fasten off and weave in all ends securely.
Customization Ideas
- Use colorful stripes or a contrasting color at the cuff edge for a fun design.
- Add a ribbed finger cuff by extending the mitten body by 2–3 rows and working elastic sc (BLO).
- Embroider initials or small patterns for personalization.
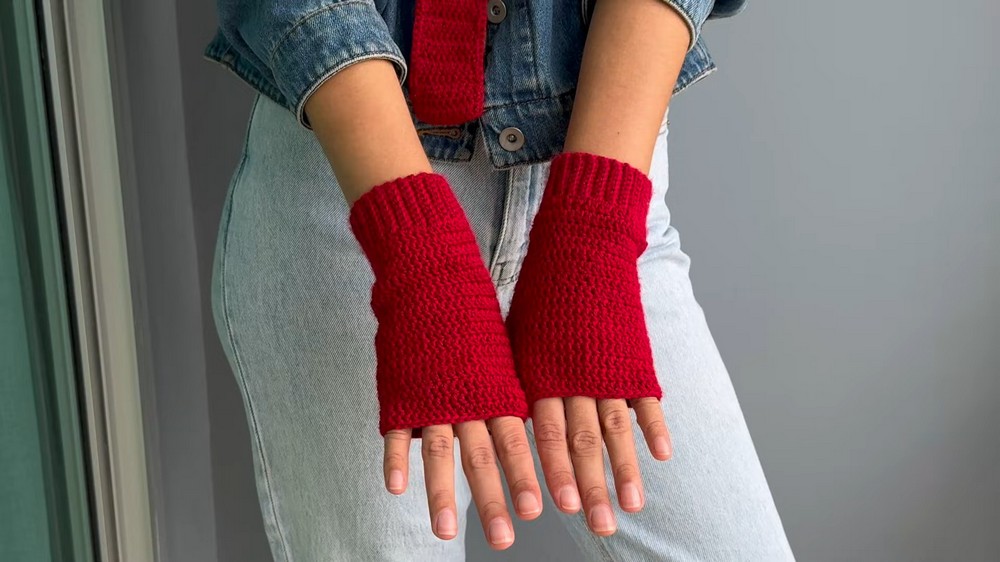
Conclusion
Your anatomical mittens are now complete! This tailored pattern ensures a glove-like fit that isn’t bulky, making it look professional and feel comfortable. The ribbed cuff provides a snug grip at the wrist, while the seamless thumb and rounded fingertip design ensure flexibility and warmth.
Important Remarks
- Mirror Image: The instructions include specific changes for the left and right mittens to ensure symmetrical shaping.
- Gauge Check: Accurate gauge is essential for proper fit. Adjust your hook size as needed.
- Stretch Consideration: Crochet naturally stretches over time. For a secure fit, it’s better to err on the smaller side.
Leave a Reply