
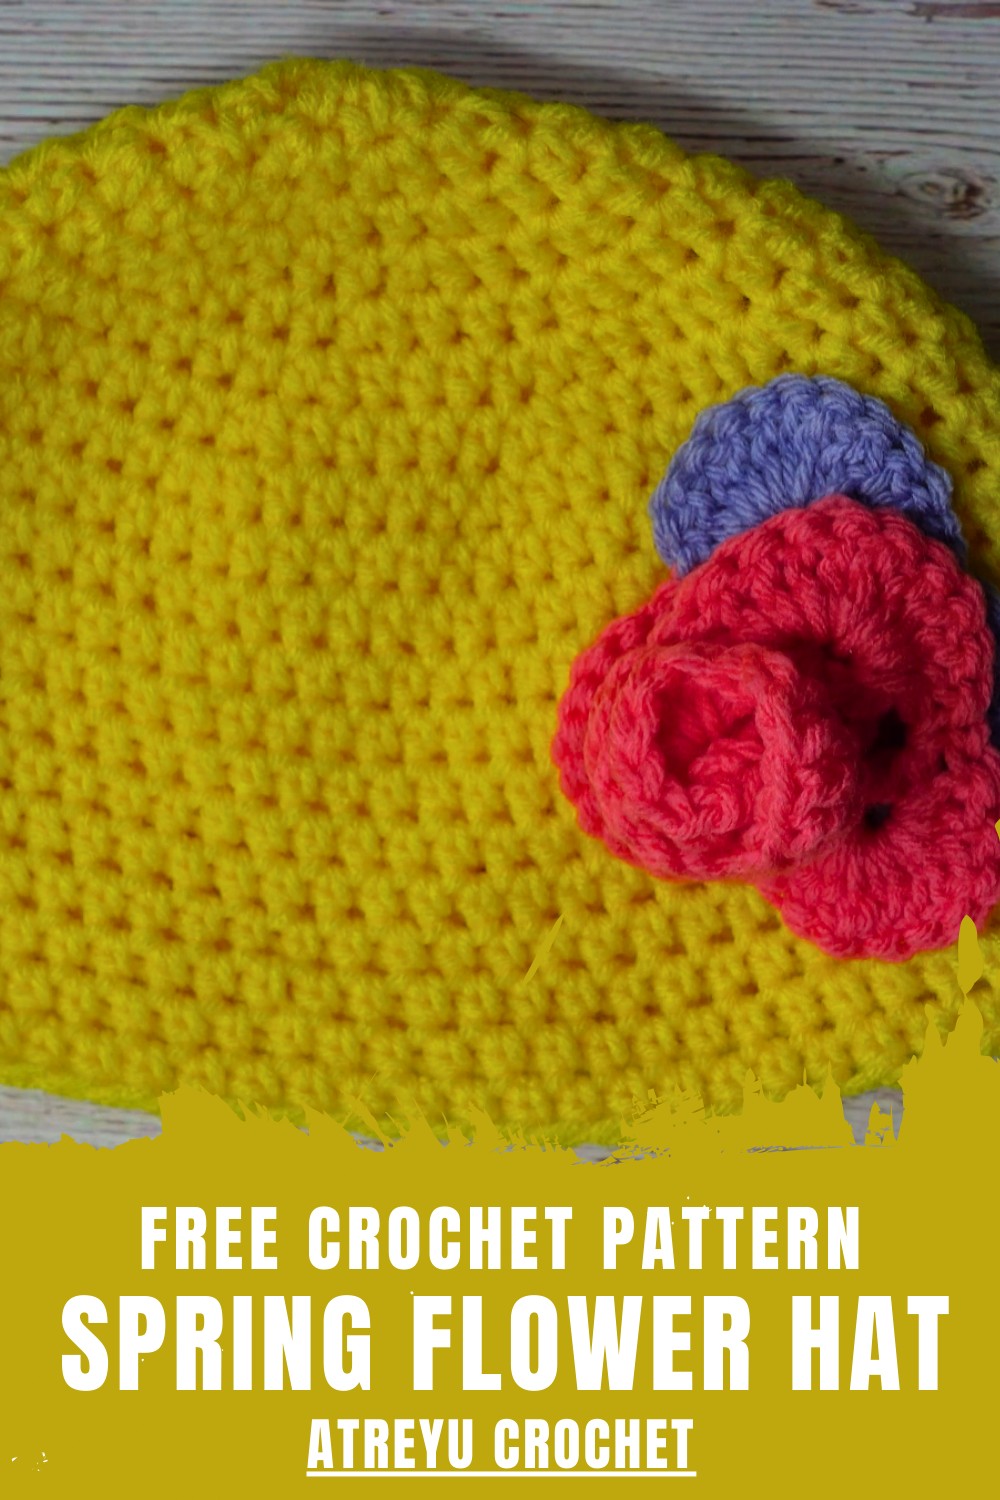
Step into cheerful fashion with free crochet flower hat pattern, offering lovely accents and effortless charm for all your favorite outfits.
A lovely hat with bright and cheerful flowers can make anyone feel special as they step outside. With a crochet flower hat pattern you can create a hat full of color and happiness perfect for both kids and adults who want to shine in any crowd. Each flower on the hat looks soft and lively turning a simple hat into a piece of art that catches everyone’s eye. This hat is very gentle on your head and keeps you comfortable all day.
Adorable Crochet Flower Hat Pattern Free
People enjoy wearing it during chilly weather or even at parties and family gatherings to show off their unique style. The crochet flower hat pattern is easy to follow and lets you mix your favorite colors for every flower and petal. Adding more flowers or even little leaves can make each hat different and fun to wear. Handmade with love each hat shares joy and warmth wherever you go.
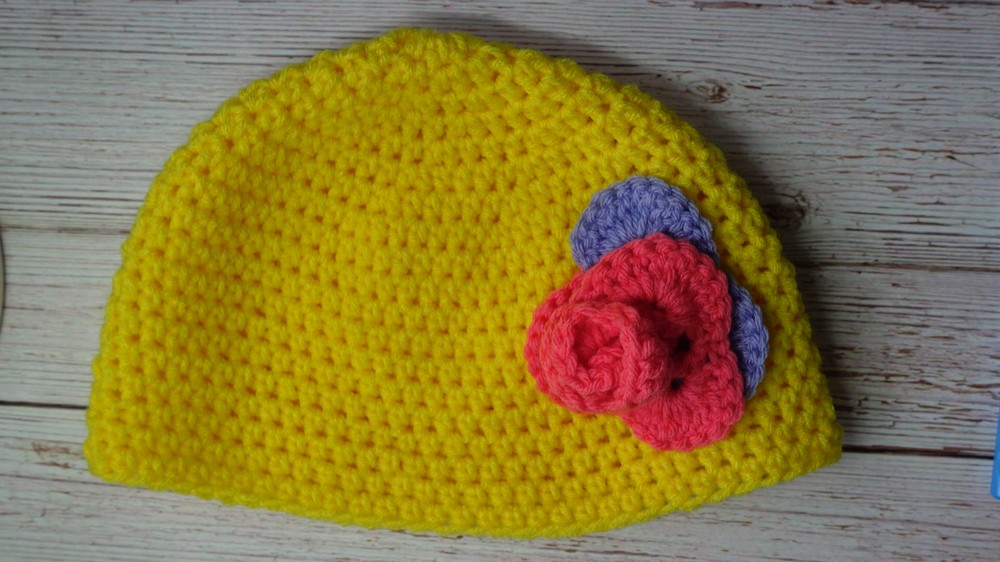
Simple Spring Crochet Hat with Flower Attachment
Materials
- Yarn: Worsted Weight (Category 4/Medium) yarn in any color (sample uses yellow)
- Recommended Hook: US Size J / 6.0 mm crochet hook (adjust size to suit your tension if needed)
- Notions:
- Scissors
- Stitch marker (or safety pin, paperclip, or contrasting yarn)
- Darning/weaving/tapestry needle
- Optional: Any crocheted flower (with tail left for sewing)
Key Abbreviations (UK terms in parentheses)
- ch – chain
- sl st – slip stitch
- sc – single crochet
- hdc – half double crochet (htc)
- st(s) – stitch(es)
- rep – repeat
Special Notes
- Hat is worked in continuous rounds; do not join or chain up unless specified.
- Use a stitch marker to keep track of round beginnings.
- Increase rounds follow a standard format used in many basic hat and beanie patterns.
- Pattern written in US crochet terminology.
Pattern Instructions
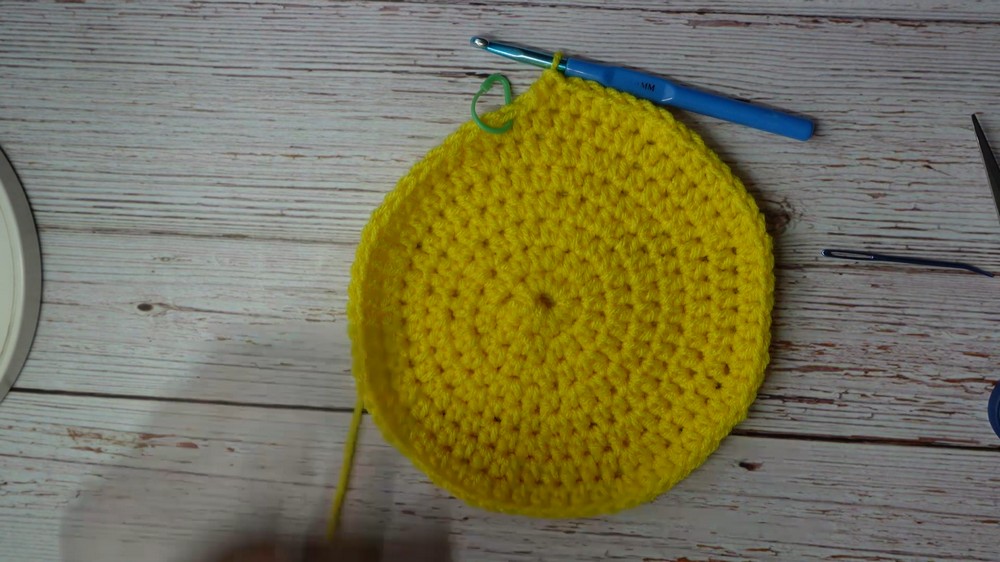
1. Crown (Top of Hat)
- Make a Slip Knot and place on hook.
- Ch 4, join with a sl st into the first ch to form a ring.
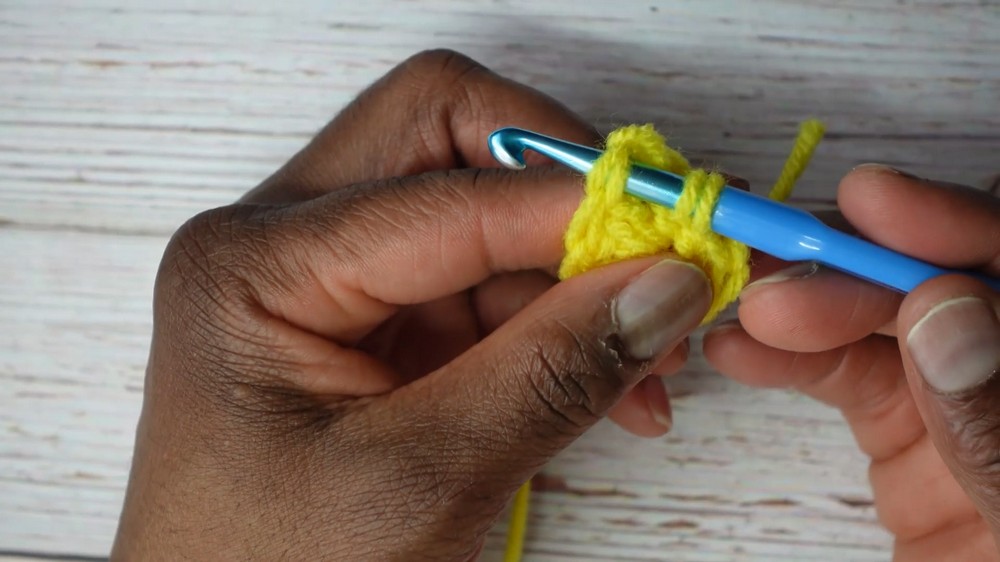
Round 1:
- Ch 2 (does not count as a stitch here or throughout).
- Work 8 hdc into the center of the ring.
- Do not join; place stitch marker in the first stitch.
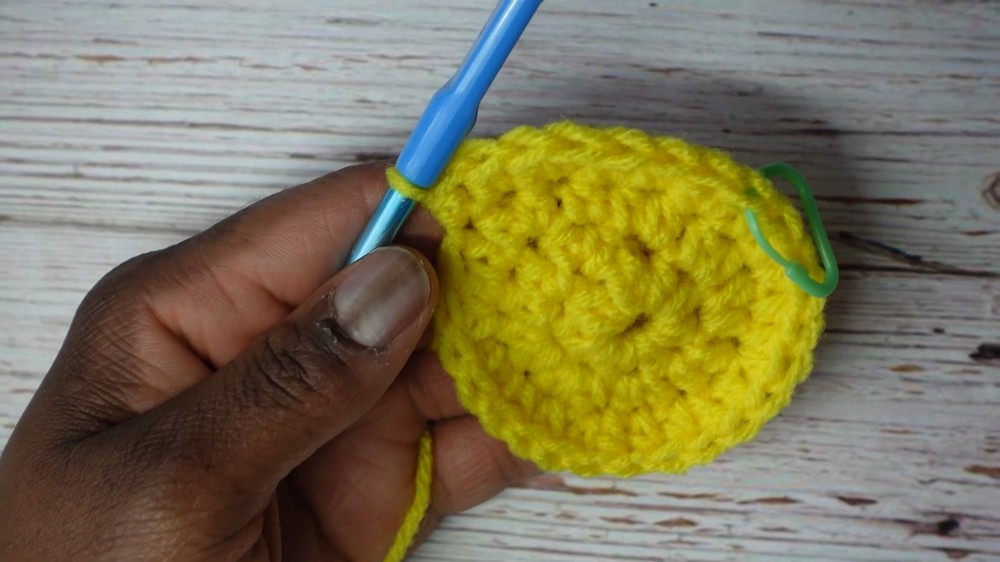
2. Increasing Rounds
Move the stitch marker to the first stitch of each round as you proceed.
Round 2:
- Work 2 hdc in each st around. (16 hdc)
Round 3:
- (2 hdc in first st, 1 hdc in next st); rep around. (24 hdc)
Round 4:
- (2 hdc in first st, 1 hdc in next 2 sts); rep around. (32 hdc)
Round 5:
- (2 hdc in first st, 1 hdc in next 3 sts); rep around. (40 hdc)
Round 6:
- (2 hdc in first st, 1 hdc in next 4 sts); rep around. (48 hdc)
Round 7:
- (2 hdc in first st, 1 hdc in next 5 sts); rep around. (56 hdc)
Round 8:
- (2 hdc in first st, 1 hdc in next 6 sts); rep around. (64 hdc)
Note: At the end of these increase rounds, your circle should fit comfortably over the crown of the intended wearer’s head. Adjust the number of increase rounds for smaller or larger sizes.
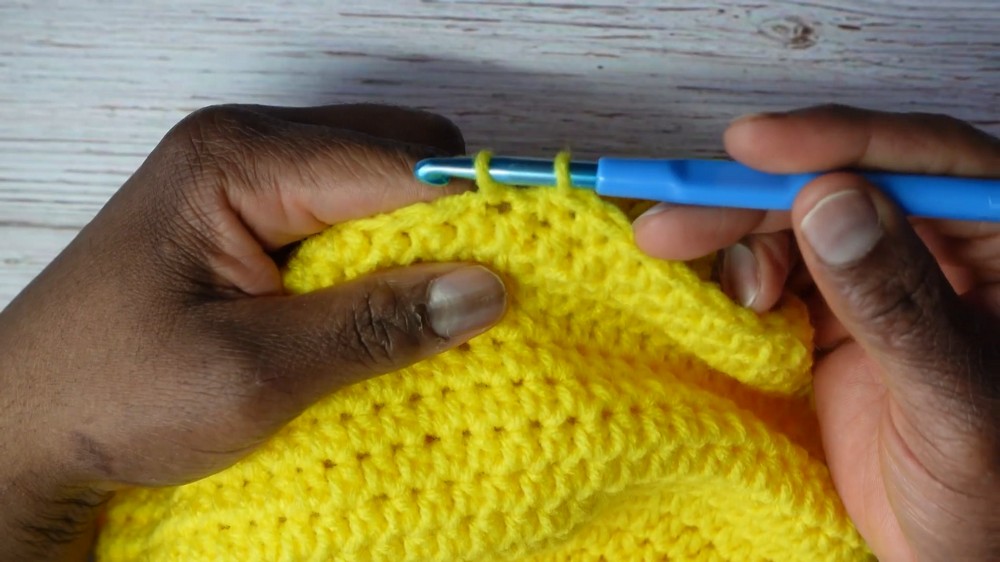
3. Body of Hat
Rounds 9–18:
- Work 1 hdc in each st around for 10 rounds or to desired hat length (try on as you go or measure against the head/styrofoam form for depth).
Continue moving the stitch marker up at the start of each new round.
Finishing Top Edge
- When the hat reaches desired depth (usually after 10 non-increase rounds for adult), work these final stitches to smooth the edge:
- 1 sc in next st.
- 1 sl st in next st.
- Fasten off yarn and weave in ends.
4. Attach Flower
- Use your flower’s starting tail to sew it onto the finished hat, positioning it wherever you prefer (side is recommended).
- Stitch securely with your tapestry needle, weaving the yarn through both the flower base and several stitches of the hat.
- Make several passes until the flower is firmly attached, then secure and weave in ends on the inside of the hat.
Pattern Correction
- Correction: Pattern uses half double crochet (hdc) throughout the increases and body. The “ch 2” at the beginning of Round 1 is not counted as a stitch.
- Adjusting Size: If making for a child or smaller head, stop increases when circle fits crown of head, then begin body rounds.
- Sewing Flower: For larger or heavier flowers, use extra passes with needle and yarn for stability.
Tips
- Use stitch marker consistently to avoid losing your round start, especially in continuous rounds.
- Try the hat on (or measure) before starting body rounds for best fit.
- If the hat opening is slightly too large at the end, add 1 round of sc before finishing to snug the fit.
- To avoid visible seam or steps, finish with a slip stitch and fasten off neatly.
- Weave in all tails securely.
Conclusion
This simple and quick hat pattern is perfect for a last-minute yet thoughtful Mother’s Day gift, especially when paired with a handmade flower. Customize colors, flower types, and fit to make it uniquely special for your loved one.
Leave a Reply