
Put your hands on this creative and engaging project that might just save your furniture from becoming your cat’s favorite scratching spot. Introducing a DIY adventure that’s not only simple but also incredibly fulfilling, crafting a DIY Cat Scratching Post Tower. Imagine turning a few basic materials into a masterpiece that keeps your feline friend entertained and your sofa intact.
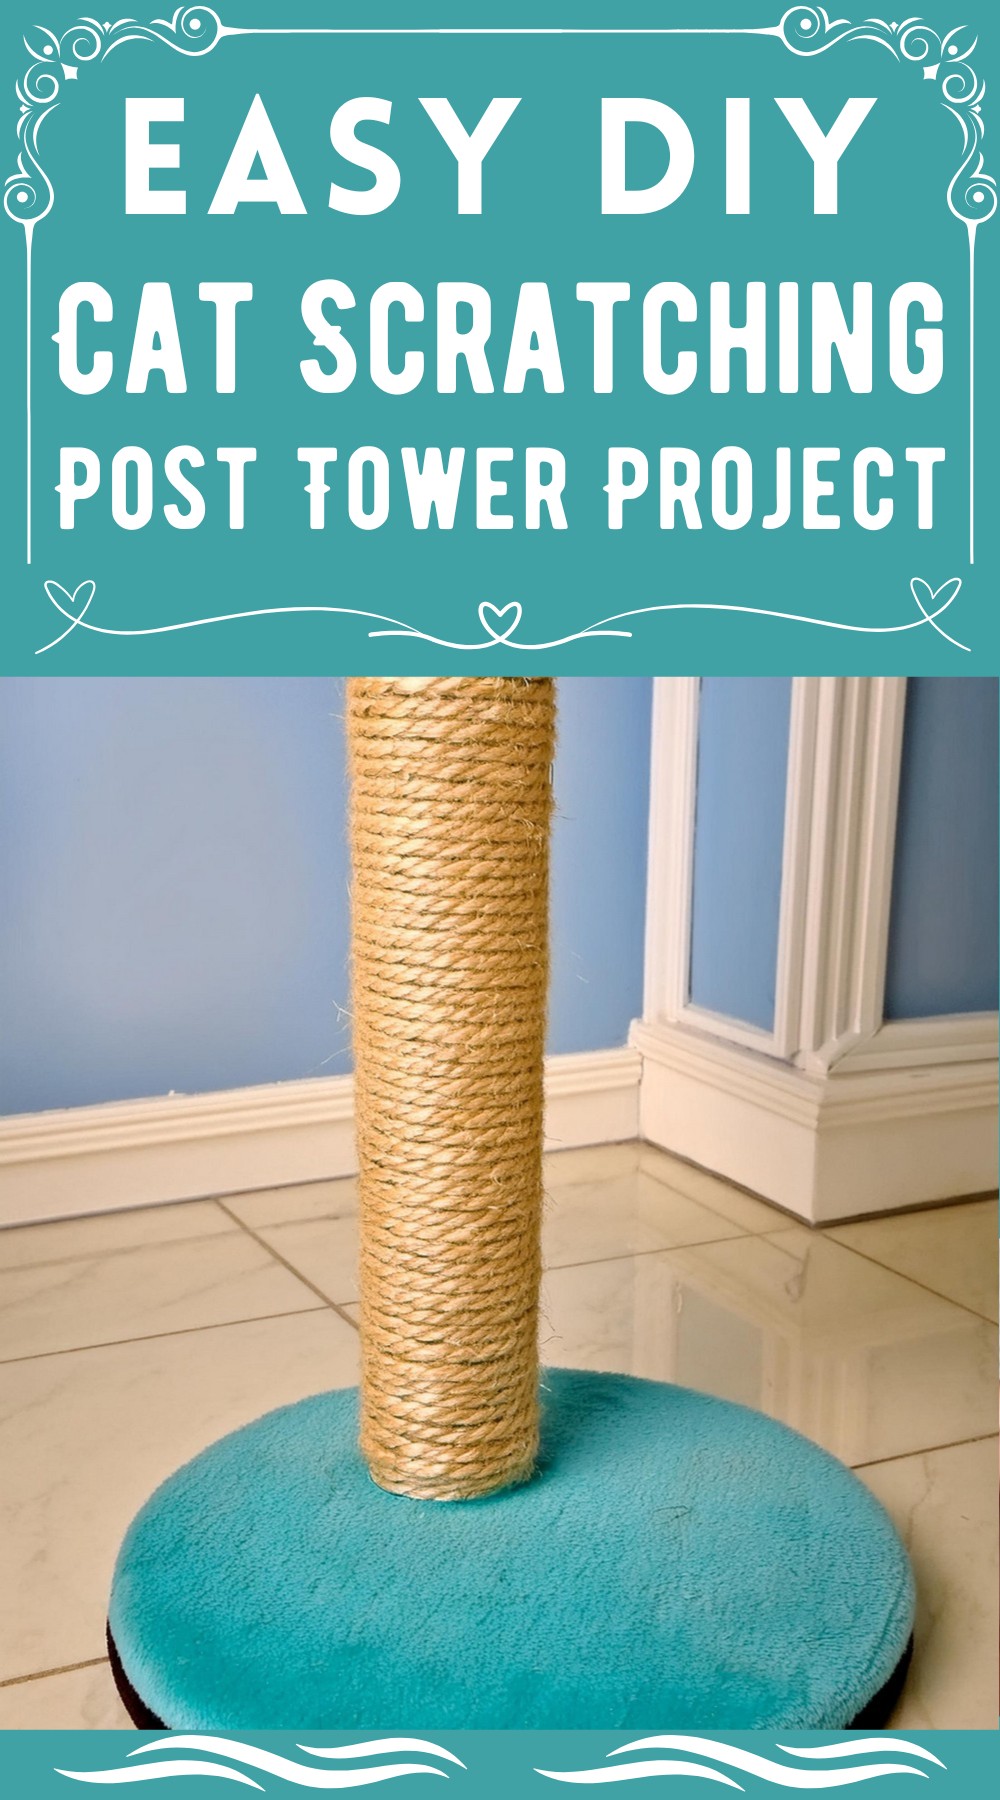
DIY Cat Scratching Post Tower Project
Whether you’re a seasoned DIY enthusiast or a beginner looking to undertake a new project, this endeavor promises a blend of fun and functionality. So, gather your tools, summon your inner craftsperson, and let’s create a special gift for your whiskered companion.
Materials:
- 3″ PVC Pipe
- 3″ PVC Cap
- 50’ 3/8″ Rope
- Wood Round
- Felt or fabric of your choice
- Spray Adhesive
Tools:
- Battery Powered Glue Gun (e.g., Surebonder)
- Kreg Multi-Mark Multi-Purpose Marking and Measuring Tool
- Gloves
- 20 in. Variable-Speed Scroll Saw (e.g., DEWALT)
- PVC Bits (e.g., Bosch)
- ATOMIC 20-Volt MAX Lithium-Ion Brushless Cordless Compact Drill/Impact Combo Kit (e.g., DEWALT)
Step-by-Step Making Process
Prepare the Wood Round
- Cutting the Felt: Begin by placing the wood round on the felt material. Carefully mark the outline of the round on the felt for precise cutting.
- Adhering the Felt: Using spray adhesive, apply a generous yet even coat on the wood round. Place the cut felt over it, smoothing out any bubbles or wrinkles for a tight fit.
- Securing the Edges: Flip the wood round and secure the felt overhang to the bottom side with a hot glue gun. Wearing gloves is advisable to avoid any glue burns.
Set up the PVC Pipe
- Preparing the Attachment: Use a scroll saw to craft a wooden circle that fits snugly inside the PVC pipe. This will serve as the attachment point to the wood round.
- Pre-drilling for Stability: Clamp the PVC pipe securely and pre-drill four holes around its base to facilitate easy attachment.
- Assembling the Base: Attach the pre-cut wooden circle to the wood round with screws, slightly off-center to provide more space on the scratching post front. Then, slip the PVC pipe over this wooden circle and secure it through the pre-drilled holes.

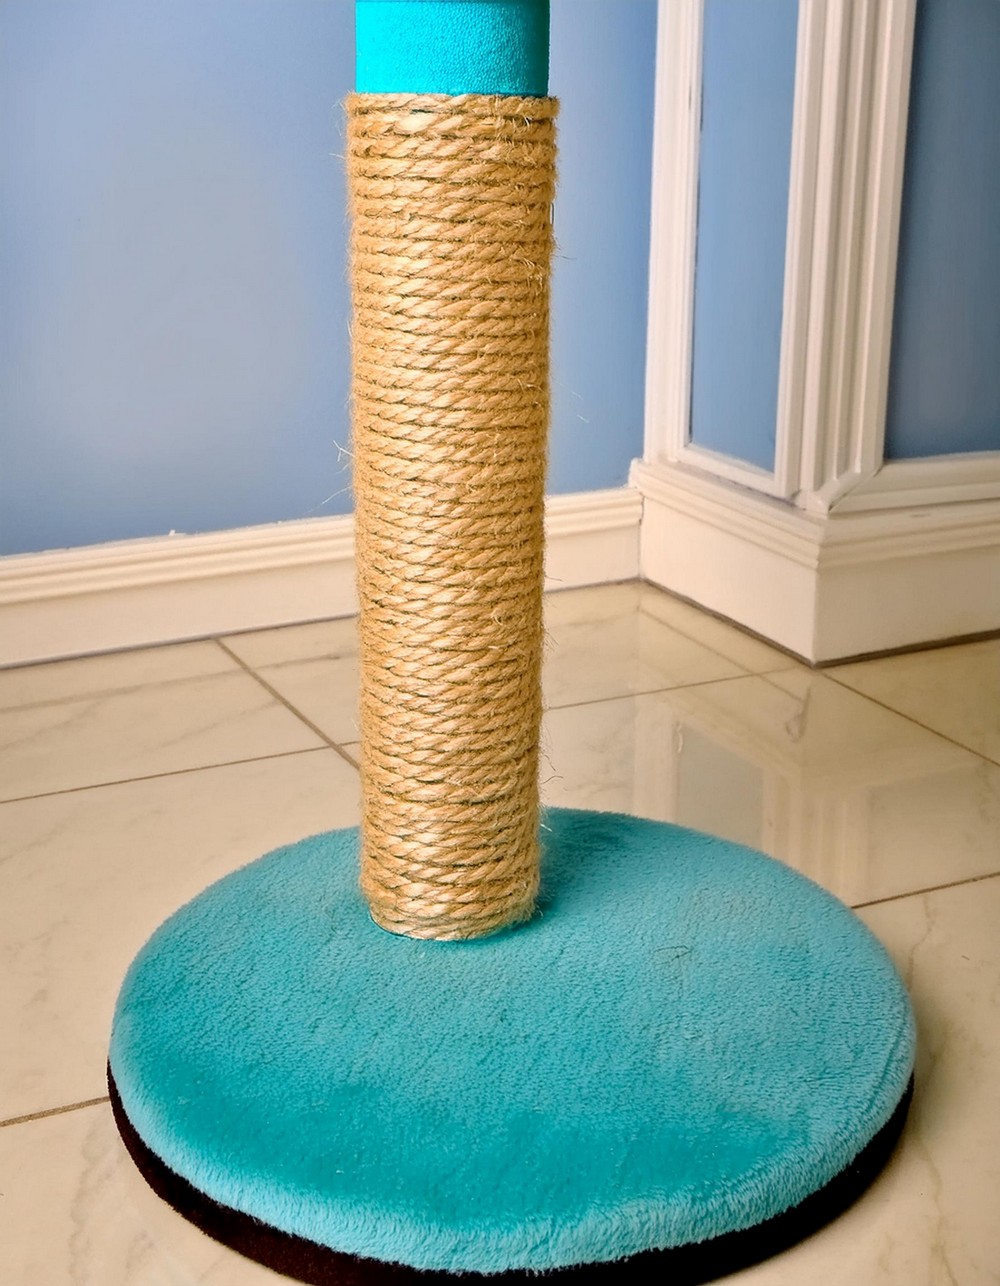
Wrap the PVC Pipe with Rope
- Starting the Wrap: Team up for this part – one person applies hot glue to the PVC pipe while the other wraps the rope around tightly, starting from the bottom.
- Adding Finishing Touches: To give your cat scratching post a polished look, spray paint the PVC cap in a color of your choice and place it on top of the PVC pipe.
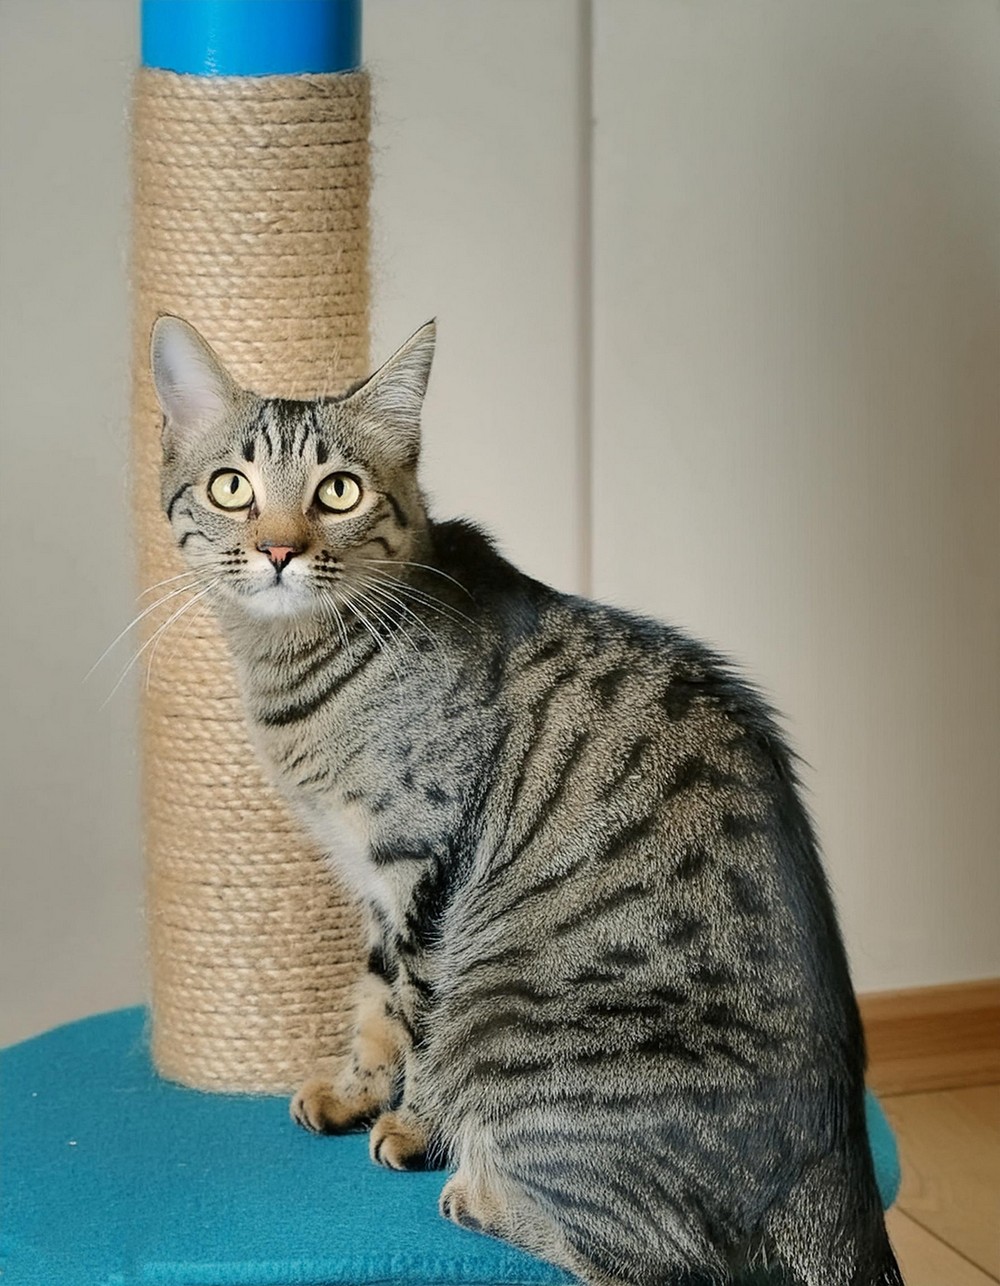
This project not only adds a stylish element to your home but also serves as a durable and appealing scratching post for your cat. The simple design offers room for personalization, whether you opt for different materials or add unique features like a shelf for your cat to perch on. Dive into this DIY project and enjoy crafting a special spot that your cat will love!

Leave a Reply