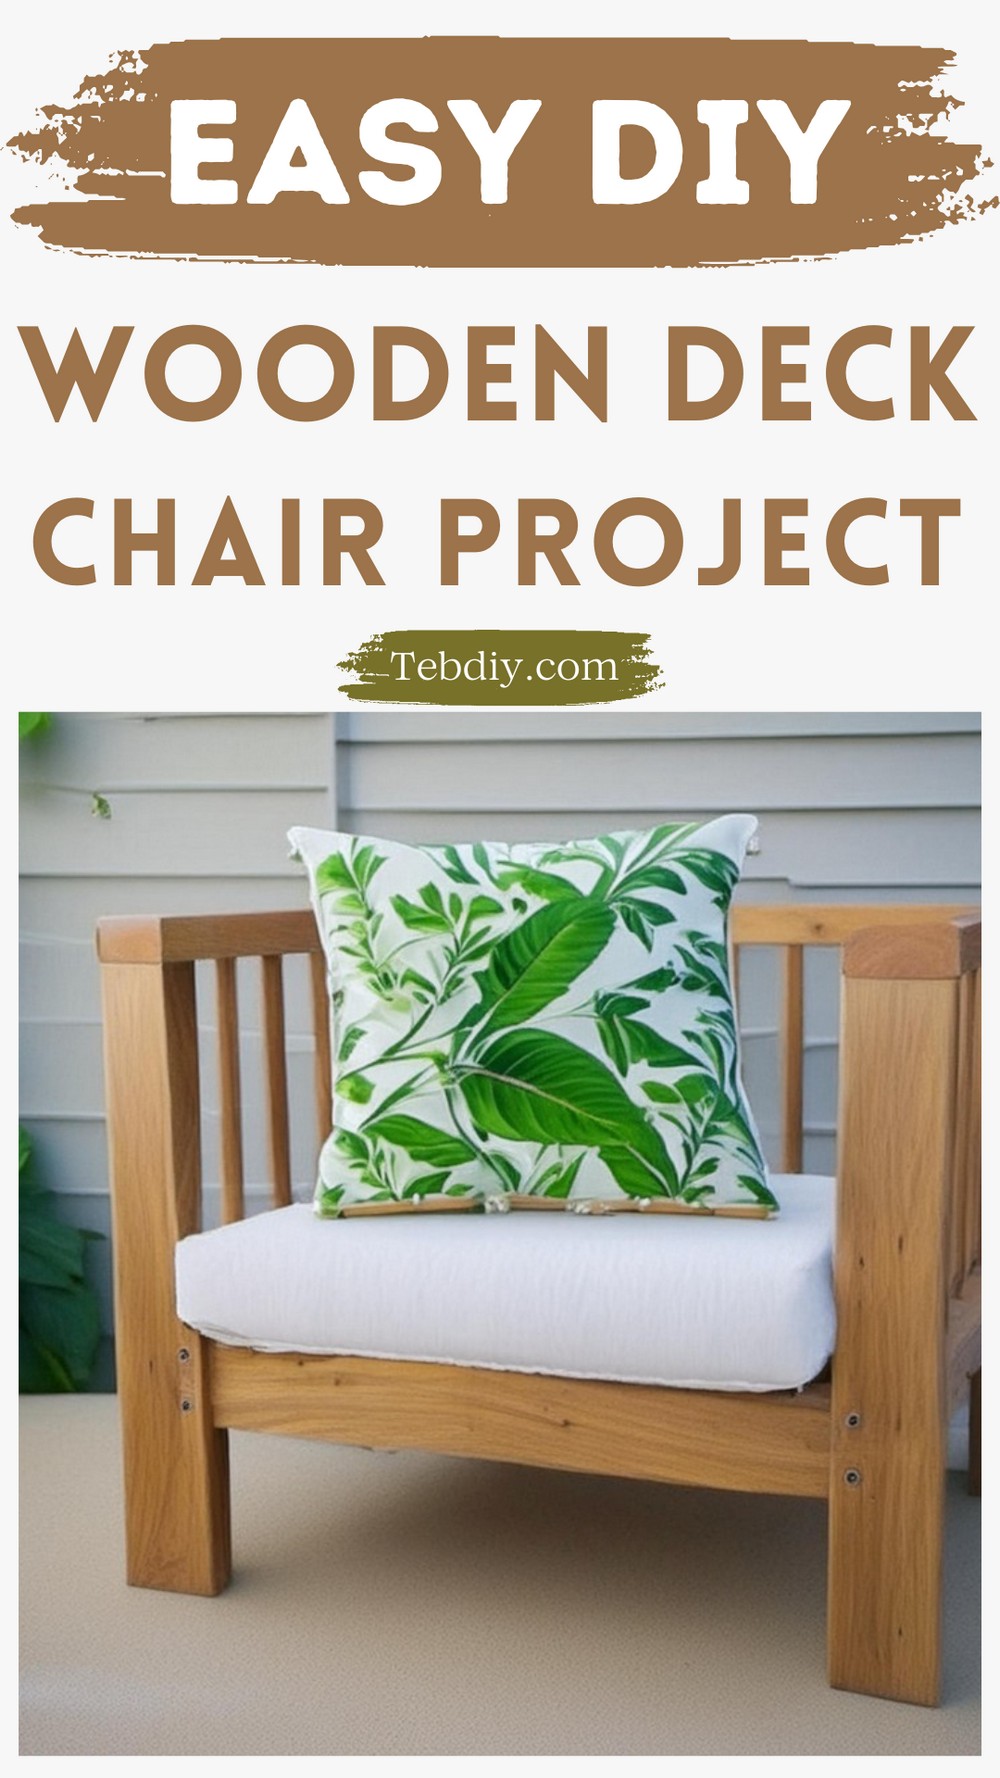
Have you ever looked at your outdoor space and thought it needed a fresh touch, something unique yet simple to make it more inviting? Why not take on a delightful project that not only enhances the appeal of your porch or garden but also offers a comfortable spot to enjoy your morning coffee or sunset views? Join us on this creative journey to build your own stylish, modern outdoor chair. It’s a project that promises not only to elevate your outdoor decor but also to provide a cozy hangout for your favourite four-legged friends. Let’s dive into the details of crafting this charming DIY outdoor chair, ideal for both beginners and seasoned DIY enthusiasts.

DIY Outdoor Chair Project
Tools & Materials
Tools:
- Miter or Circular Saw
- Drill/Driver
- Pocket Hole Jig
- Table Saw (optional but helpful)
- Kreg Multi-Mark (optional but helpful)
- ¾″ Forstner bit
Materials:
- 3 pieces of 2x4x8 boards
- 1 piece of 1x6x8 board (Tongue and groove 1x6s are a cost-effective alternative)
- 5 pieces of ¾″ diameter x 48″ long dowels
- Wood Glue
- 1 ¼″ & 2 ½″ wood screws (exterior grade)
- 2 ½″ exterior pocket hole screws
- 2 ⅞″ Timber Screws (optional)
- Black Spray Paint
- Outdoor Wood Finish
Step-by-step Building Process
Step 1: Assemble the Top Chair Frame
Start by cutting three pieces from the first 2×4 to construct the top chair frame into a “U” shape. Reserve the remaining piece for a later step. Connect the pieces using 1 ½″ pocket holes and 2 ½″ pocket hole screws, ensuring all are coated for outdoor use to withstand the elements.

Step 2: Attach Legs to the Top Chair Frame
Next, from a second 2×4, cut four legs and attach them to the frame with 2 ½” exterior screws. For consistency and to avoid discrepancies due to saw blade kerf, aim to cut the legs to 23 ⅞″. Pre-drilling is key here to prevent wood splitting. Position the front legs slightly forward to give a dynamic aesthetic to the chair.
Step 3: Mark and Drill Dowel Holes for Chair Rails
Turn your focus to the dowel rails. Flip the chair upside down to access the areas where dowels will be inserted easier. Utilize marking tools to create evenly spaced points along the sides and back of the chair frame for the dowels. Drill holes at these markings with a ¾” forstner bit, taking care to maintain uniform depth across all holes.
Step 4: Cut and Paint Chair Rails
Cut 15 dowels to your desired length for the rails, then gently sand each piece. Apply a few coats of black spray paint to all dowels, ensuring complete coverage for a sleek finish and added weather protection. Allow them to dry thoroughly before moving to the next step.

Step 5: Install Outdoor Chair Railings and Seat Frame
Once dried, insert the painted dowels into their specific holes along the armrests of the chair, securing them with wood glue. Align the side seat frame over the dowels and gently tap into place, securing the structure with timber screws or exterior screws, depending on your preference for visual appeal and function.
Step 6: Add Seat Supports and Slats
The final touches involve adding seat support and slats. Rip a leftover 2×4 into two 2x2s for the seat supports and cut them to length. Attach these inside the frame, then place ripped 1×6 boards as slats across the supports, ensuring even gaps between each for a clean look. Secure these with exterior wood screws.
Finishing Touches
With the assembly complete, apply an outdoor wood finish to protect your chair from the elements. If you find the seat height lower than preferred, consider adding a cushion for extra comfort and style.
Conclusion
This project offers a rewarding way to enhance your outdoor living space with a handmade piece that radiates both style and functionality. Whether it’s a cozy reading spot or a sunbathing chair, this DIY outdoor chair serves as the perfect addition to your patio or porch, promising durability and comfort in a simple yet elegant design.


Leave a Reply