
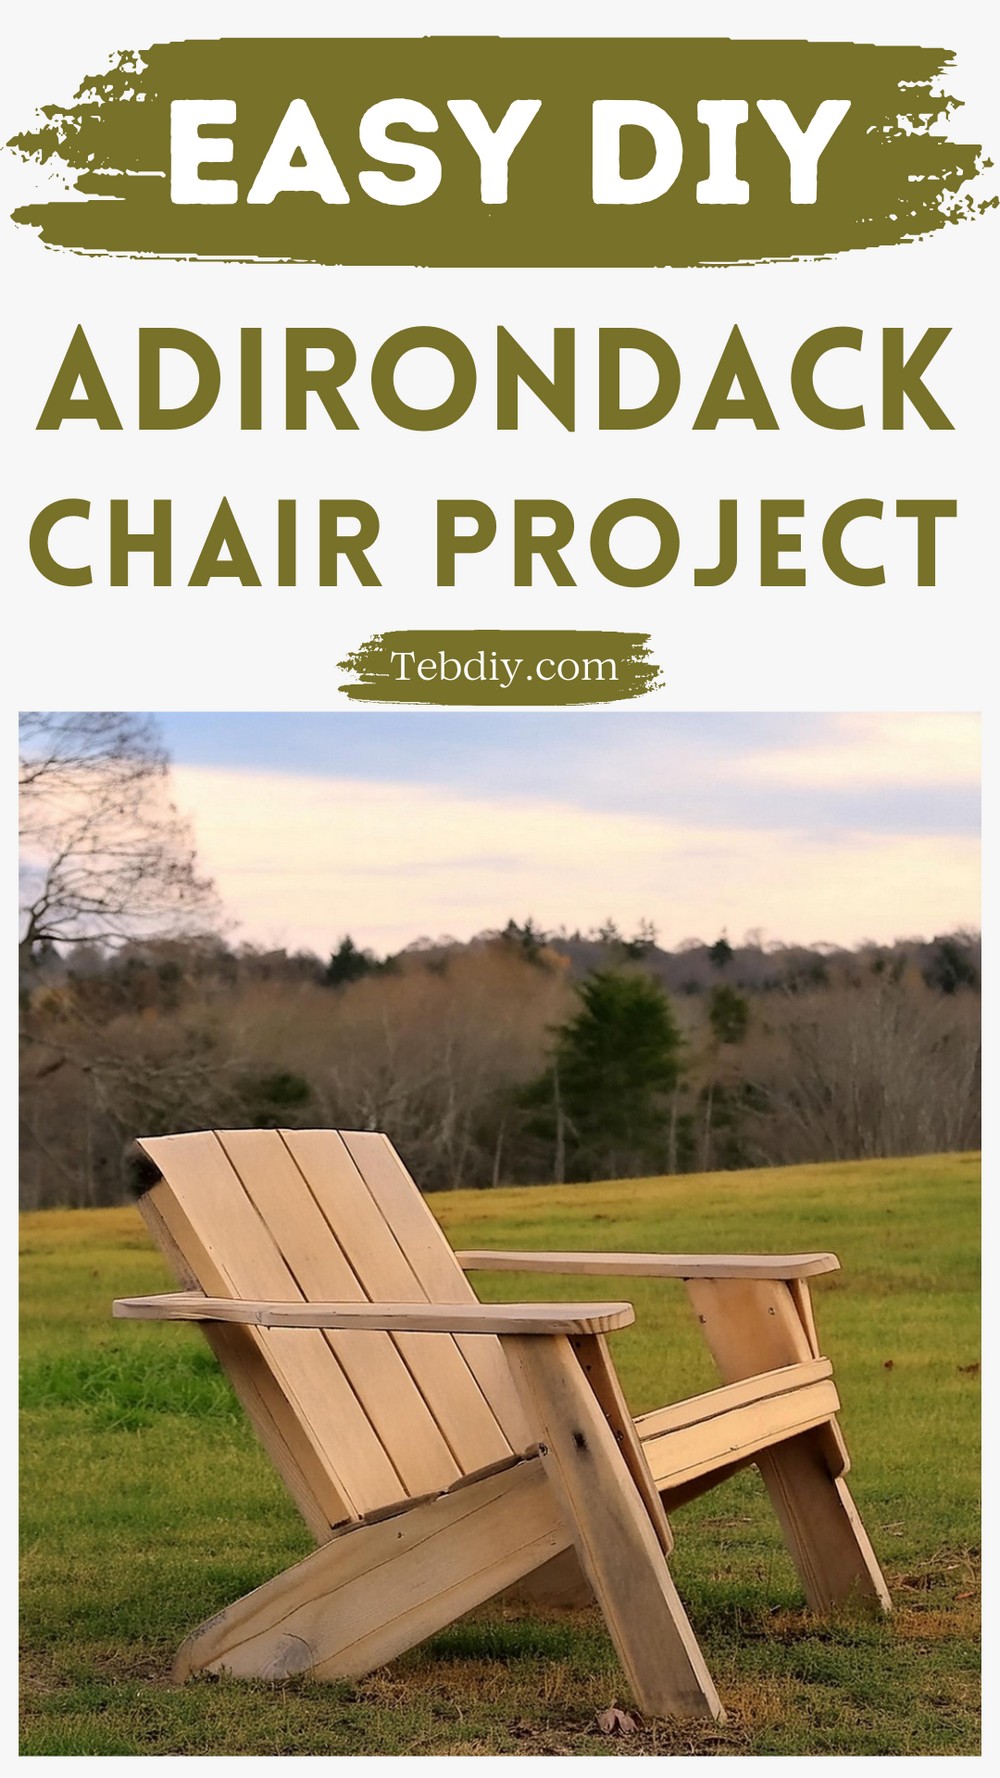
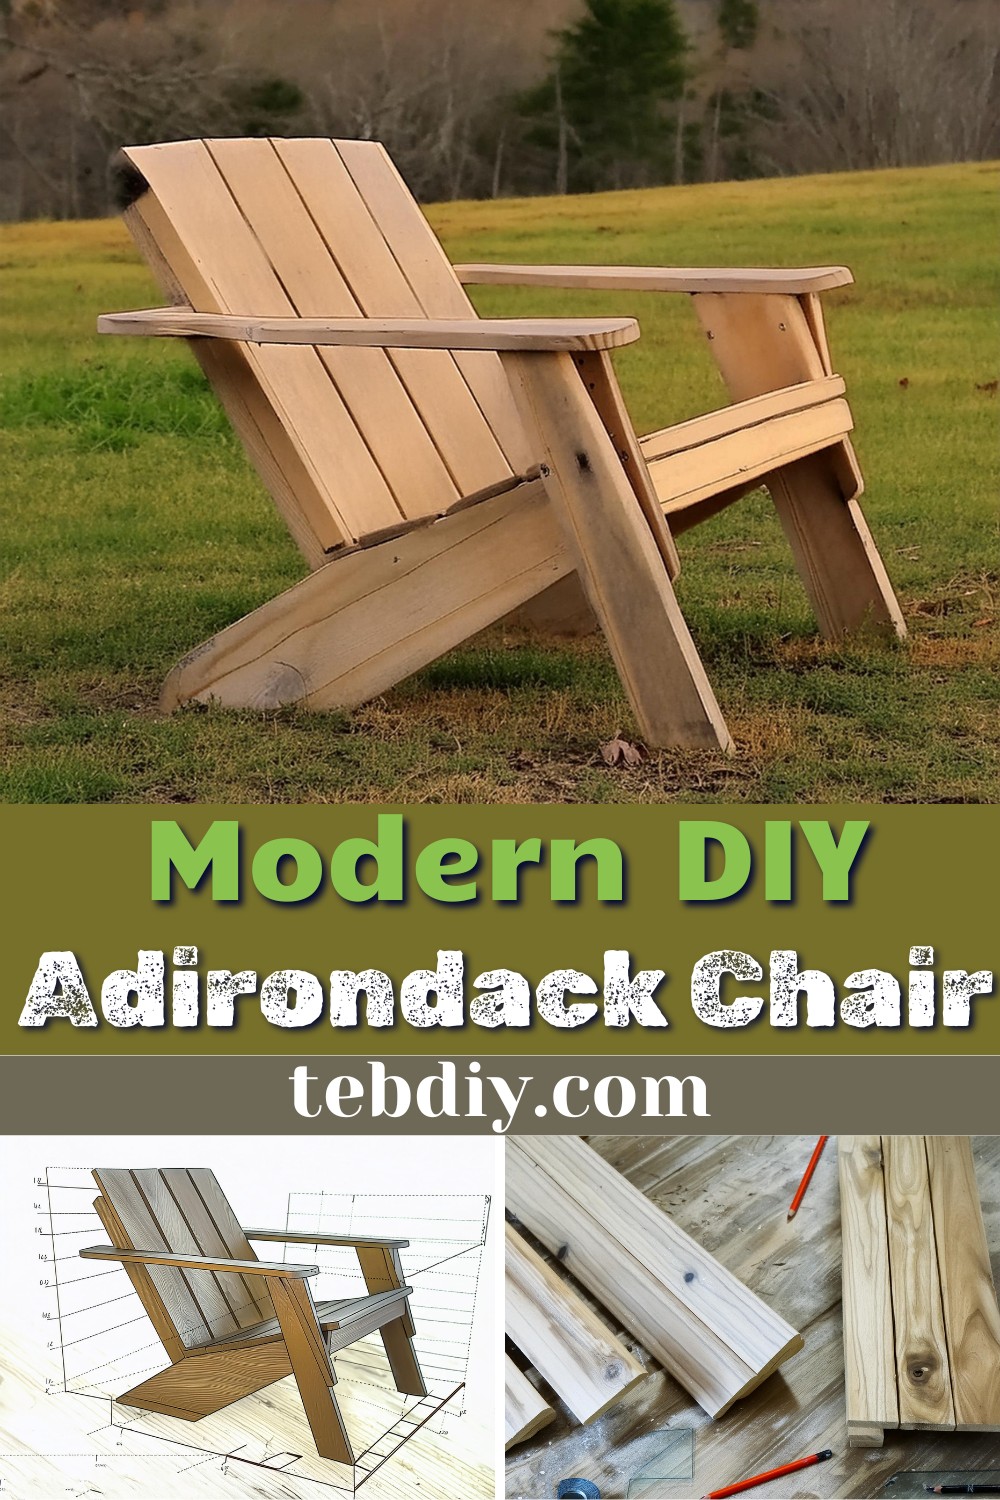
Imagine sipping your favourite beverage, nestled comfortably in a sleek, homemade Adirondack chair, as you watch the sun dip below the horizon from your backyard. This isn’t just any chair; it’s a creation born from your own two hands, tailored to fit perfectly into the aesthetics of your outdoor space. If you’re eager to elevate your outdoor relaxation experience and add a personal touch to your garden or patio, building this modern DIY Adirondack chair is an excellent weekend project. Not only will you end up with a stylish and sturdy piece of furniture, but you’ll also enjoy the satisfaction of DIY craftsmanship. Ready to get started? Below, you’ll find a detailed guide on how to construct your very own contemporary version of the classic Adirondack chair.

Modern DIY Adirondack Chair Project
Tools Needed:
- Miter saw
- Drill/Driver
- Circular Saw
- Kreg Rip Cut and Kreg AccuCut (optional, but helpful for precision)
- Pocket Hole Jig
- Speed Square
Materials Required:
- (1) 1x8x8 board
- (2) 1x6x8 boards
- (1) 1x4x8 board
- (2) 1x3x8 boards
- 1 ¼″ exterior pocket hole screws
- 1 ¼″ exterior wood screws
- Wood Glue
Step-by-Step Guide
Step 1: Cut and Assemble Leg Assemblies
- Back Legs: Start by adjusting the miter saw to 15 degrees to shape the front corner of your 1×8 board.
- Measure down the board 21 inches, switch the miter saw angle to 58 degrees, and make your cut across the board.
- Use a square to draw a perpendicular line from the angled edge, then use a circular saw and a guide to make a straight cut along this line to finish forming the back leg.
- Trace the first leg onto another section of your 1×8 board to create a mirrored leg.
- Front Legs: Cut two 20-degree mitered pieces from a 1×4 board.
- Assembly: Position the front and back legs so their bottoms level up, securing them with screws and wood glue after pre-drilling holes to prevent the wood from splitting.
Step 2: Assemble Adirondack Chair Frame
- Cut 1×3 boards to 21 ½ inches for cross supports.
- Drill pocket holes at each end of these boards.
- Fasten these boards between the leg assemblies using exterior pocket hole screws.
- Cut and install an additional 1×3 with one end mitered at 15 degrees, aligning it in the center of the frame for added support.
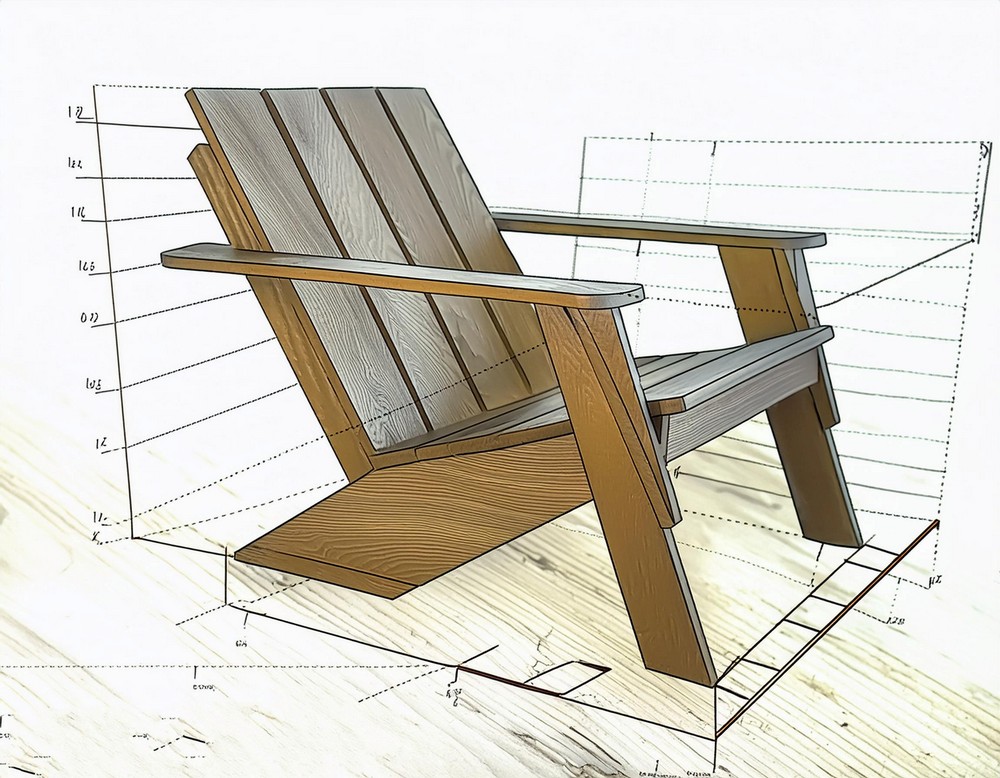
Step 3: Attach Back Rest Frame
- Create a rectangle using four pieces of 1×3 (two sides at 22 inches and top and bottom at 21 ½ inches), and secure them together using screws.
- Attach this frame to the chair’s seat frame using wood glue and screws for a firm hold.
Step 4: Assemble and Install Arm Rests
- Retrieve and trim the remaining 1×8 board to 30 inches in length and rip it in half.
- Use these halves as the arm rests, attaching a 1×3 board across the backs to form a U-shaped frame.
- Carefully place the arm rests onto the chair, ensuring they are level before screwing them into place.
Step 5: Add Back and Seat Slats
- Use 1×6 cedar fence pickets cut to specific lengths (25 inches for back slats and about 23 inches for seat slats).
- Evenly space and secure the back slats, then proceed to attach the seat slats, ensuring even gaps for aesthetics and comfort.
By following these steps, you will construct a modern DIY Adirondack chair that is not only functional but also a testament to your woodworking skills. Enjoy crafting your new favorite spot to unwind outdoors!
Leave a Reply