
Transforming your living space, whether it’s indoors or outdoors, adds a fresh perspective and functionality that reflects your style. What better way to start this transformation than by introducing a piece of handcrafted furniture that not only serves a practical purpose but also stands as a testament to your craftsmanship? A DIY trestle table and bench set is a perfect project to undertake. It’s not just furniture; it’s a conversation starter, a place of gathering, and a showcase of your woodworking skills. Here’s how to bring this idea to life with the right materials and tools, following a straightforward, step-by-step guide.

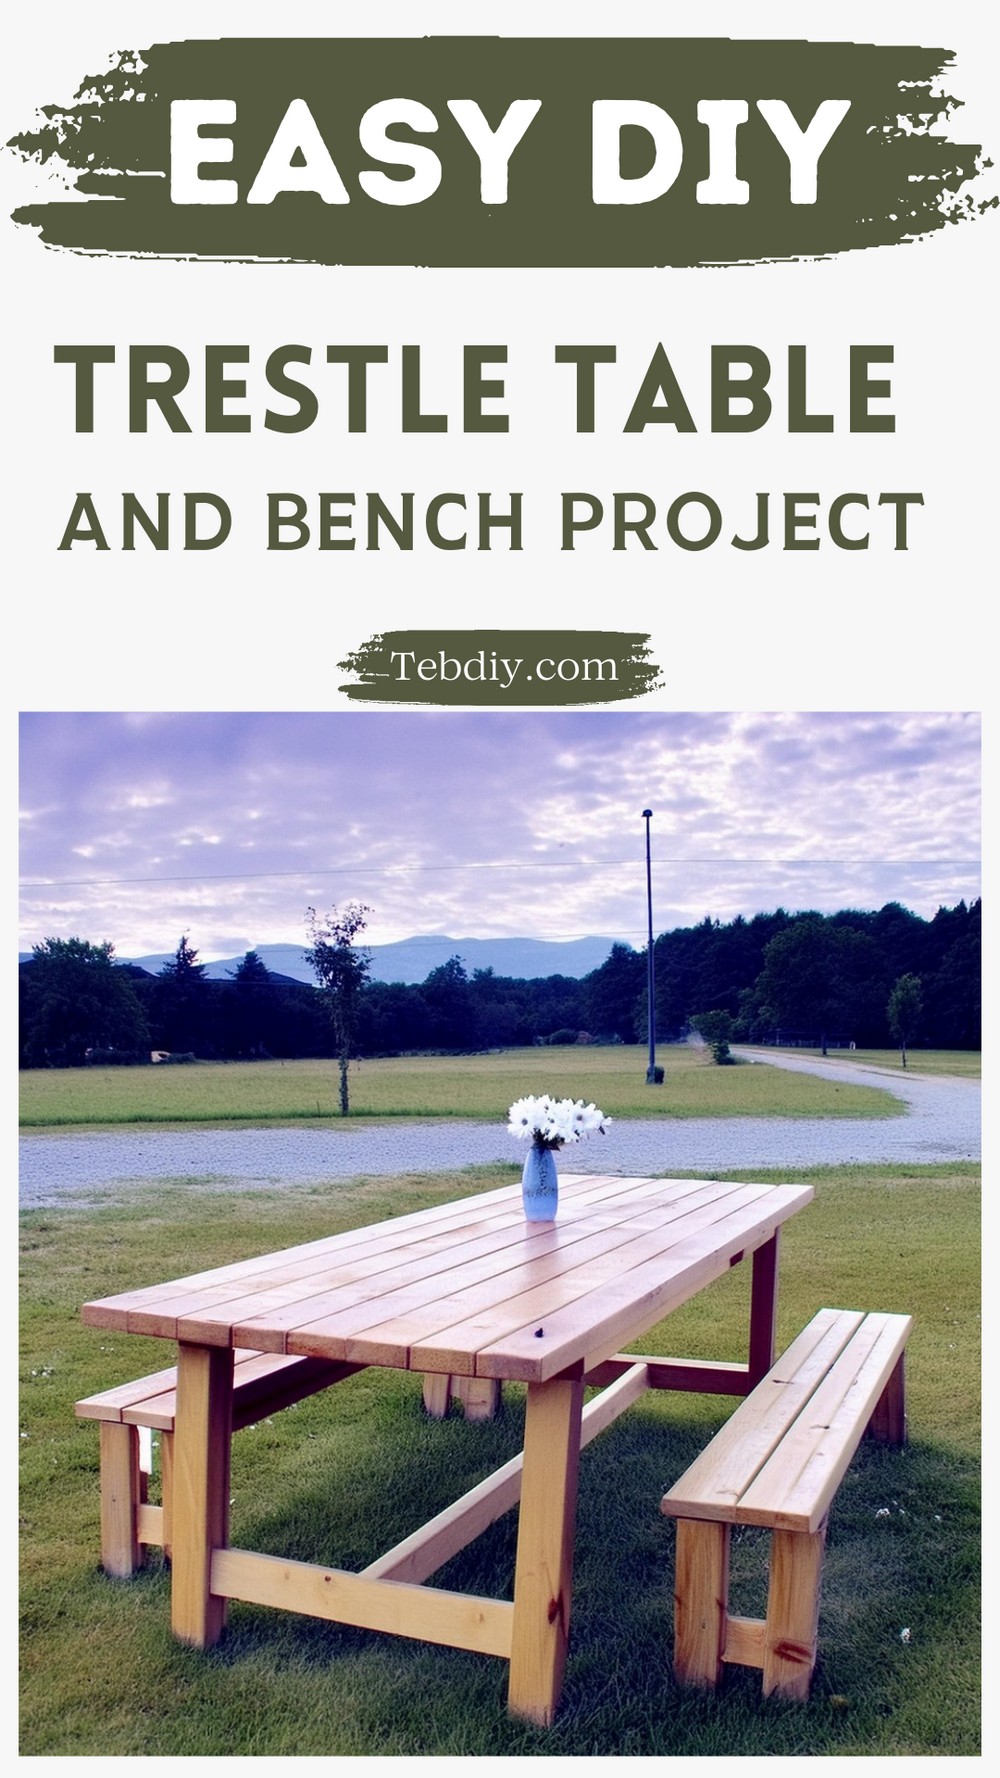
DIY Trestle Table And Bench
Materials Needed:
- (4) 2x10x8 Boards
- (3) 4x4x8 Posts
- (8) 2x4x8 Boards
- (4) 1x6x8 Boards (Use 5/4x6x8 boards for treated wood)
- 2 ½″ Pocket Hole Screws (Use exterior screws for outdoor projects)
- 2″, 2 ½″, 3″, and 4″ Wood Screws (Use exterior screws for outdoor projects)
- Wood Glue
Tools Required:
- Pocket Hole Jig
- Miter Saw
- Drill/Driver
Step-by-step Crafting Process
Step 1: Assembling Trestle Table Ends
Start by cutting down the table legs from the 4×4 posts at a 7-degree angle using a miter saw to achieve a slight slant. Use this same angle for both the table and bench legs. Cut two top aprons and two bottom stretchers from 2x4s to fit between the legs. Drill pocket holes at the ends of these 2x4s and join them with pocket screws and wood glue, though treating the wood can make the glue less effective due to moisture.
Step 2: Adding Decorative Ends to Table Base
To enhance the aesthetic, attach decorative ends to the table base to mimic the appearance of the long apron pieces extending through the legs. Use 4” wood screws for this task, pre-drilling to ensure a secure fit. This adds a custom, handmade touch to your table.
Step 3: Completing Table Base Assembly
Connect the two table sides by cutting and attaching two long apron boards between them, ensuring they have 7-degree miters on each end. Use pocket holes and screws for assembly. Install two stretchers across the top for additional support when attaching the table top and add a long stretcher at the bottom for enhanced stability, securing everything in place with wood screws.
Step 4: Attaching the Table Top
With the table base ready, center and attach the top boards, leaving small gaps (about ⅛″) between them to allow for water drainage, particularly important for outdoor tables. Secure these in place using 3” wood screws.

Step 5: Building the Matching Bench Frame
The bench assembly mirrors the table but on a smaller scale. After cutting the bench legs, attach the long aprons first, followed by installing short blocks between them to maintain structure and prevent bowing. This method simplifies the assembly in tight spaces.
Step 6: Securing the Bench Tops
For each bench top, use two 1x6s (5/4 thickness for treated lumber) and leave a small gap between boards for drainage when used outdoors. Secure them to the base with 2″ wood screws.
Step 7: Adding the Final Touches with a Bottom Bench Stretcher
To match the bench with the table and add structural integrity, attach 2×4 stretchers at the bottom of the bench legs. Angle screws through the bottom for a clean look, or for a hidden alternative, use pocket holes and screws.
Step 8: Finishing with Stain and Sealer
Finish your trestle table and bench set with an appropriate outdoor stain and sealer to endure the elements. If the wood is wet or green, be prepared for uneven absorption and consider a second application for better coverage.

Leave a Reply