
Now, you can use those fabric straps to make a bow without using a sewing machine. Yes, you heard right! We are here with the simplest step-by-step pattern to make a double-toned bow that you can create within 10 minutes or less. Our No Sew Hair Bow is not only two-toned but also very durable and doesn’t change shape while washing. So, select the color combination you want for your bow for the dress, hair accessories, apparel, home decor, or for whatever you desire and start converting scraps into magical accessories!

Making the Easy No-Sew Hair Bow:
Making your own bow has never been easier than the method given below. Whether you are a pro crafter or a novice, you can easily replicate this creative DIY craft.
Materials:
- Ribbons in different colors and Sizes
- Binding Clips
- Needle and thread
- Scissor
- Hot glue
- Measuring Tape
- Your precious 10 minutes
Step-by-step process
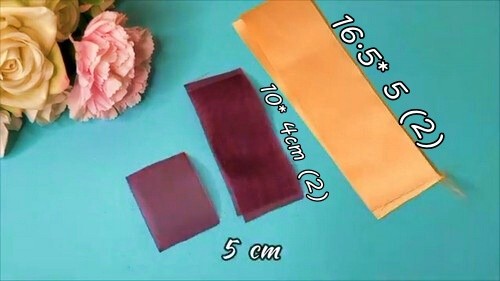
Step 1: Cutting the Fabric Pieces
Use a pair of scissors to cut the ribbons according to the given dimensions. To prevent fraying, use a lighter to carefully sear the ends of the ribbons, effectively fusing them.
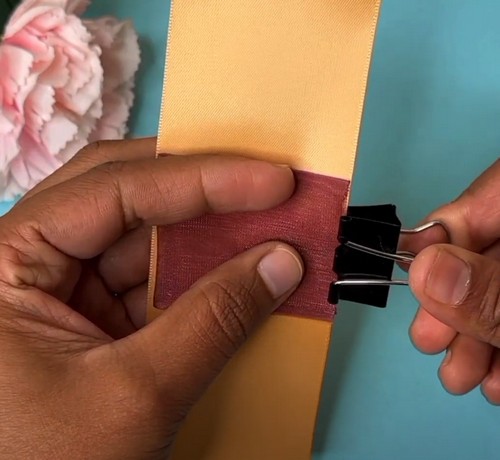
Step 2: Adjust the Fabric
Fold the largest piece of fabric in the middle to find the midpoint. Fold the smaller piece in the middle as well and place it on the larger one, aligning the endpoints in a vertical direction and the larger straps in a horizontal position. Use a binder clip to secure this arrangement.
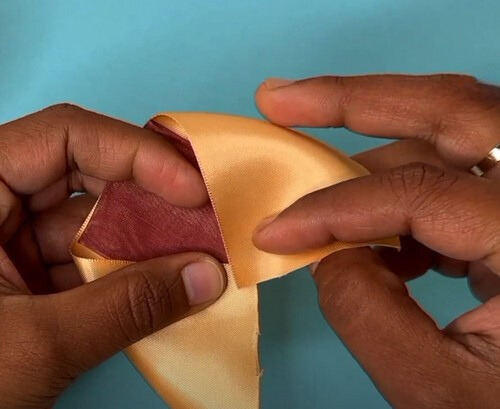
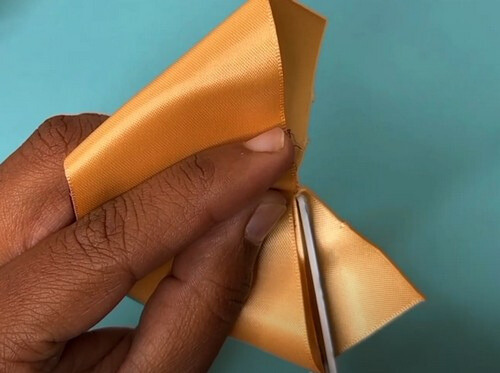
Step 3: Folding the Fabric
Proceed to fold the ends of the larger strap towards the middle, in a way that each end of the strap meets at the midpoint while the opposite end lies down.
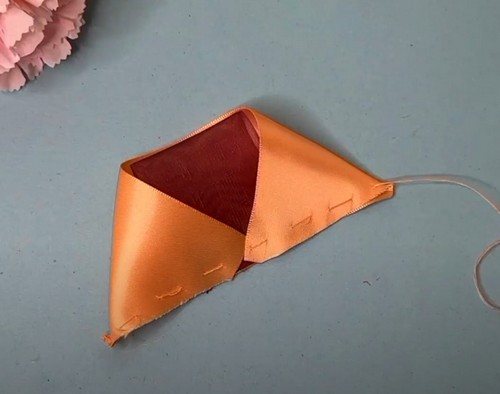
Step 4: Trimming the Extras
Cut away any excess fabric lying downward with a pair of scissors. While doing so, you must hold the bow firmly for precise cutting otherwise the cut could be irregular.
Step 5: Sewing the base
Using your thread and needle, stitch the base length of the triangular fabric. Repeat Steps 2, 3, and 4 with the other pieces until you have two triangles.
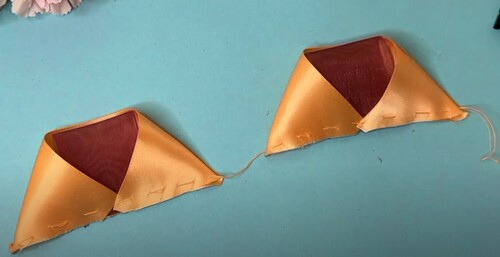
Step 6: Sewing the Two Pieces Together
The string used to sew the base of one triangle should now be used to sew the base of the other one. This will result in two triangles stitched together on the same string.
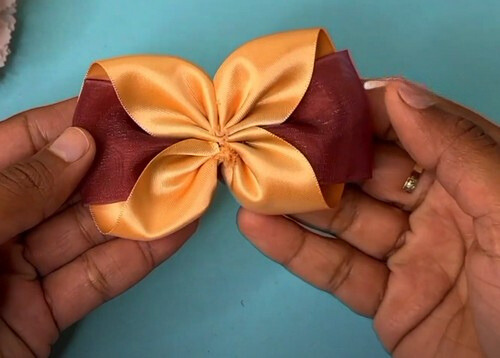
Step 7: Creating the Bow Shape
With a gentle touch, pull the strings that attached both triangles together. By manipulating the fabric, you’ll start to see the basic bow shape forming. Adjust the fabric accordingly for the desired bow size and look.
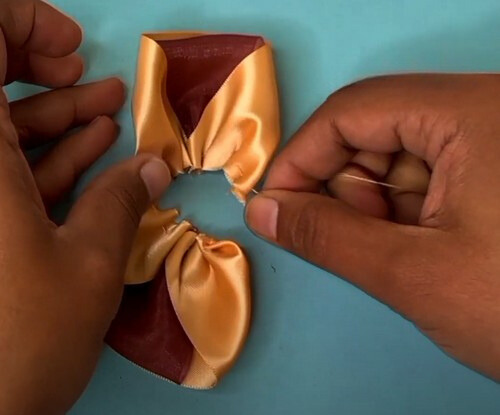
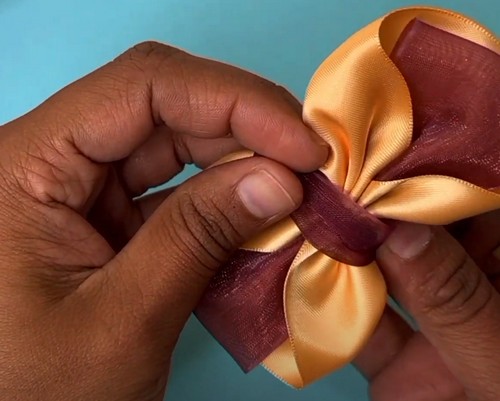
Step 8: Securing the Shape
Use the thread to bind the bow at the middle point, securing it in the desired shape.
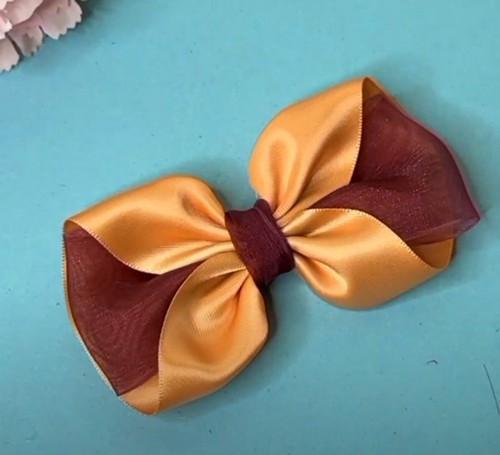
Step 9: Adding the Middle Stripe
For a polished finish, take the smallest fabric strip. Apply hot glue at one end and carefully wrap it around the bow’s center, ensuring the glued end sticks securely. This serves both aesthetic purposes and as reinforcement for the bow’s structure.
The Finished Look:
Congratulations, you’ve completed your no-sew bow! This is not only an aesthetically pleasing accessory, but also versatile. It can be used to embellish gift boxes, hair accessories, apparel, home decor and much more. Enjoy the fruit of your craft!
Video Tutorial:
Leave a Reply