

Follow these easy steps to create your fizzy bath bombs at home, a perfect DIY project using simple kitchen ingredients. They are best to turn bath time into a luxurious, spa-like experience with these homemade delights. No special skills are needed; it’s just a little fun and creativity!
Making bath bombs at home is not just a gateway to this fizzy bliss but a fun adventure into DIY skincare that anyone can embark on. With a sprinkle of creativity and a dash of household ingredients, you’re on your way to creating magical spheres that turn your tub into a potion of relaxation and aroma. Let’s explore the process of making these fun delights, shall we?
Materials & Tools Needed
Dry Ingredients:
- Baking Soda (Sodium Bicarbonate): 8 ounces
- Citric Acid: 4 ounces
- Corn Starch: 4 ounces
- Salts: 4 ounces (Dead Sea Salts are used here, but mineral salts are a great substitute)
Wet Ingredients:
- Water: 0.75 tablespoons
- Essential or Fragrance Oil: 2 teaspoons (Ginger Peach for this project)
- Oil: 2.5 tablespoons (Cherry kernel oil here, though any light vegetable oil is fine)
- Food Coloring: 1-2 drops (Opted for one drop red and two drops yellow for a light peach color)
Tools:
- A big glass bowl (Glass is preferred as it does not react with ingredients)
- A whisk or pestle for blending
- A small jar with a lid for mixing liquids
- Molds of your choice (Round Christmas ornaments, muffin tins, candy molds, etc.)
Step-by-Step Guide
1. Blending the Dry Ingredients
Kick off your bath bomb creation by whisking together all the dry ingredients in a large glass bowl. Eliminate any clumps to achieve a smooth, uniform mixture.
2. Mixing the Liquid Ingredients & Combining with Dry
In a small jar, shake up all your liquid ingredients until well-mixed (full emulsion isn’t necessary). Gradually incorporate these wet ingredients into your dry mix, whisking continuously. A slow pour helps prevent premature fizzing.
3. Keeping the Fizz in Check
If the mixture starts to foam, you add the liquid too briskly. Slow down and mix thoroughly to stop the reaction. Aim for a damp sand-like consistency that holds when pressed.
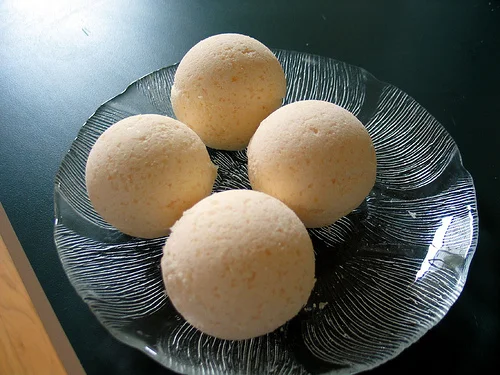
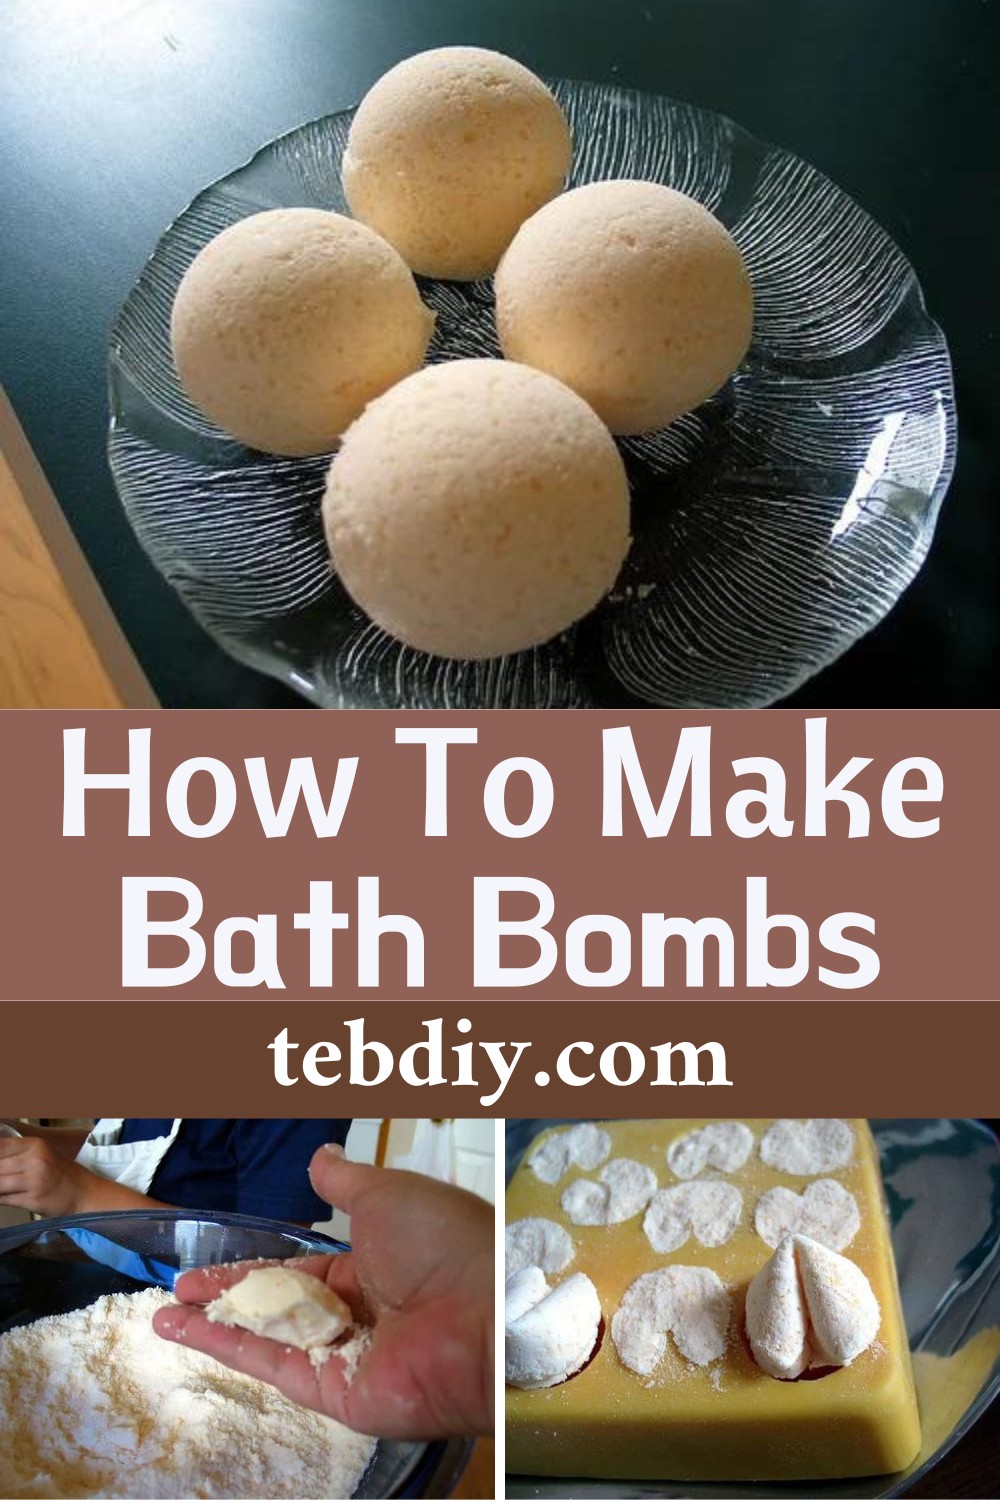
4. Molding Time
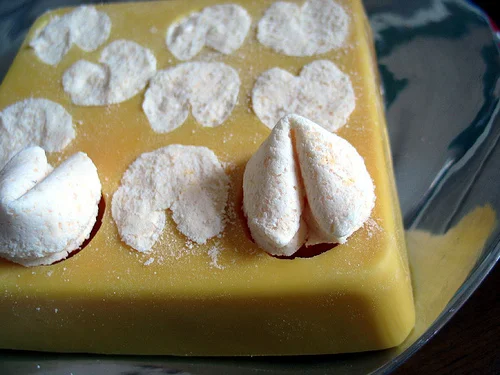
Now, swiftly mold your mixture before it dries out. Overpack slightly at the center for a hollow sphere, then press two mold halves together. It might take a few tries, but you’ll find the perfect balance for solid, intact bombs.
5. Unmolding and Drying
Remove your bath bombs from their molds quickly; they don’t need to settle too long. If you’ve used intricate molds or silicon trays, let them dry in the mold to maintain shape. Fully dry before storing to avoid fizzing.
6. Storage
Keep your bath bombs in an airtight container to protect them from humidity. With the mix of oil and water but no preservatives, aim to use them within six months — if you can resist them for that long!
Conclusion
Drawing a bath with your handmade bath bomb is like rewarding yourself with a spa day. From their aromatic allure to the therapeutic qualities of the essential oils, these fizzies promise relaxation and rejuvenation. So why wait? Dive into your crafting zone, and let the fizzy magic unfold.
Leave a Reply