
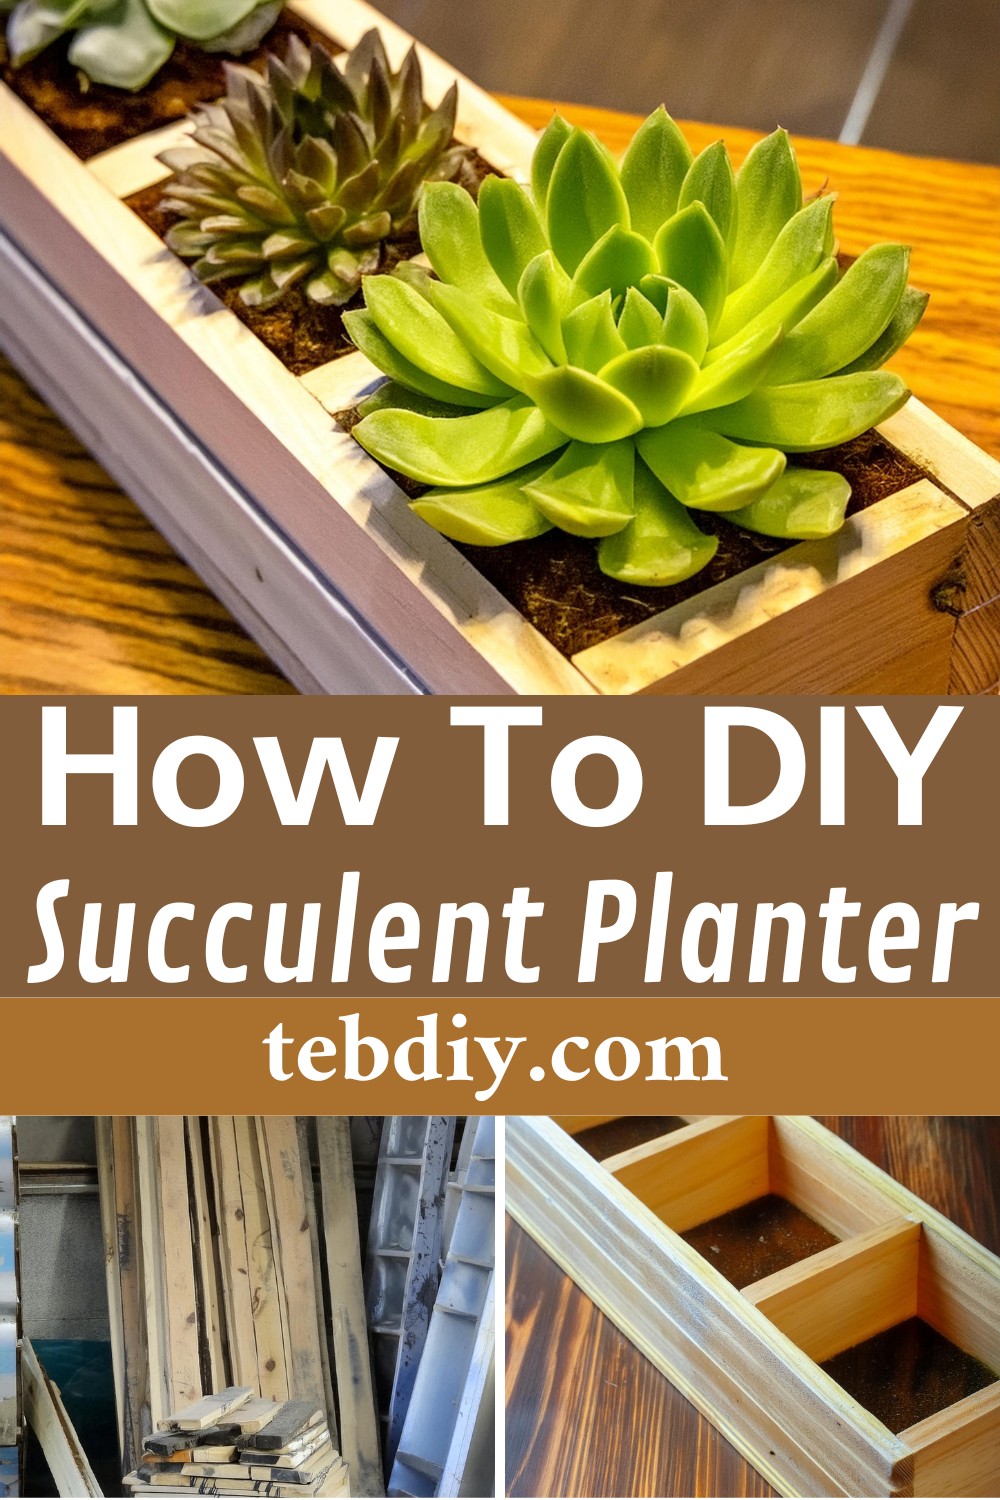
Head on to a creative project that not only taps into your creative spirit but also provides an exemplary way to upcycle materials like pallets, transforming them into eye-catching and functional items for your space. If you’ve been contemplating a refreshing addition to your garden or indoor décor, constructing a DIY succulent planter from salvaged pallet wood is a delightful project to consider. This project is particularly perfect for those beginning their woodworking journey, presenting a straightforward and inexpensive pathway to creating something beautiful and practical.
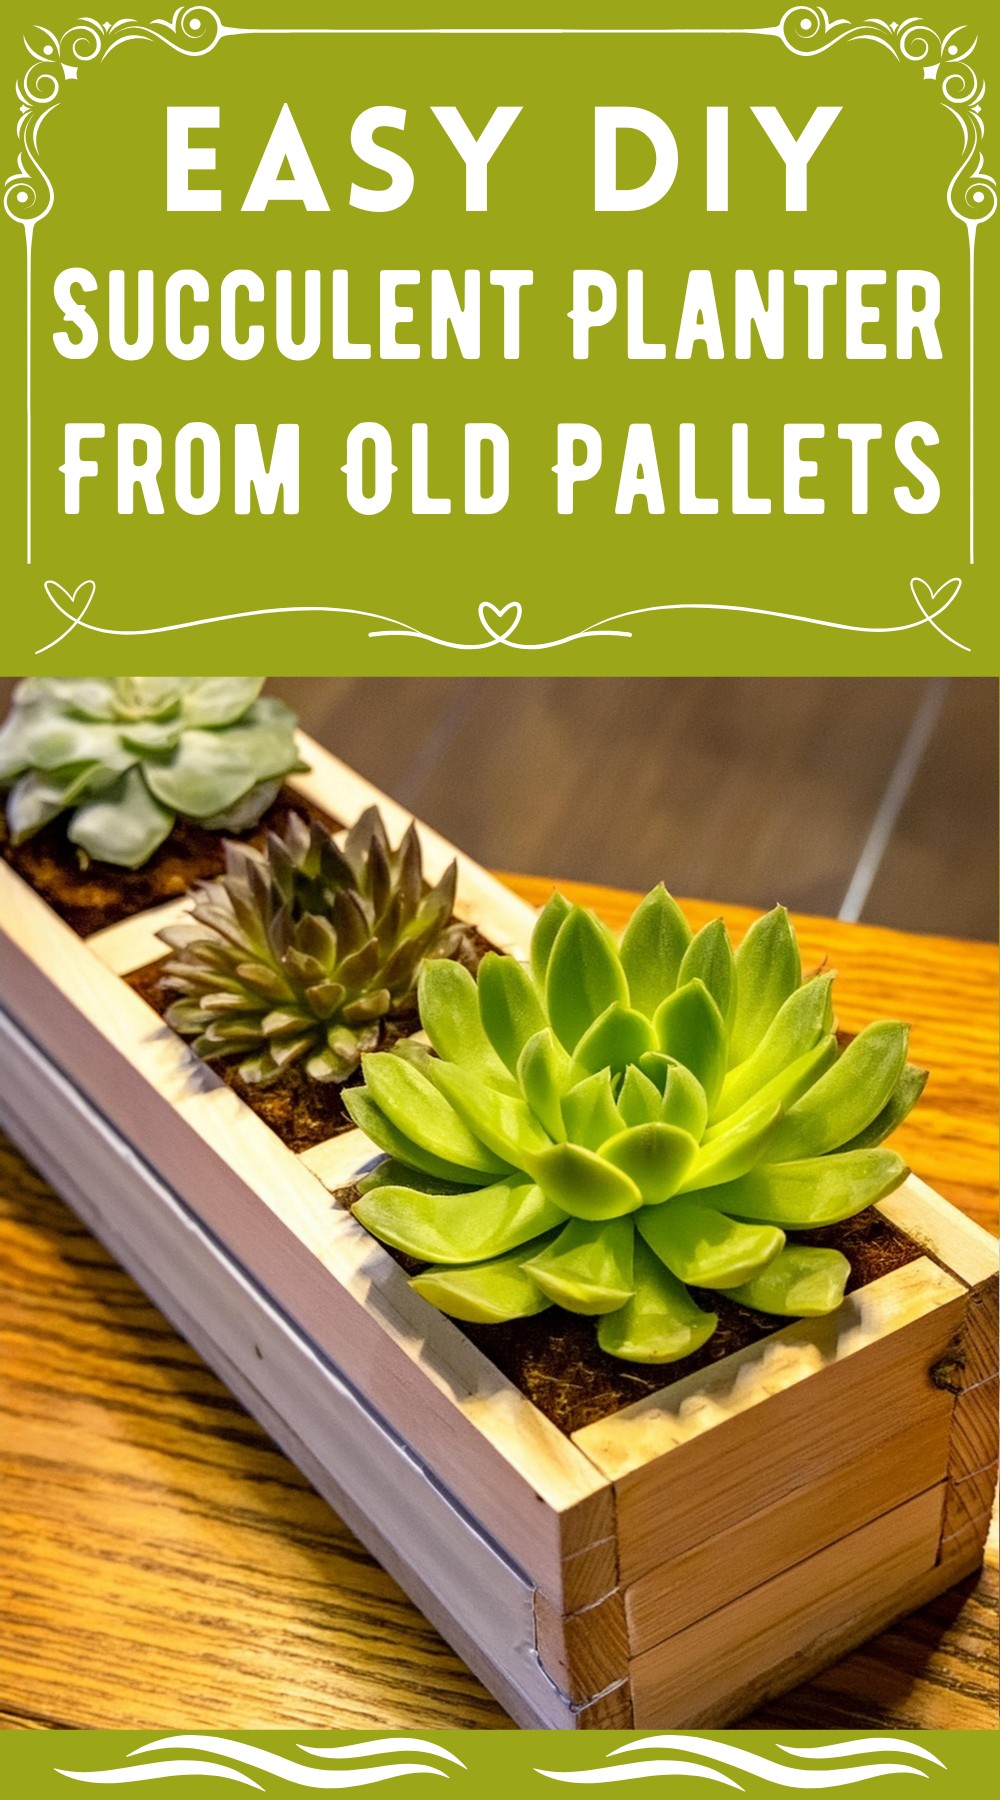
DIY Succulent Planter From Old Pallets
Tools:
- Table Saw
- Sander
- Wood Clamps
- Hammer (optional)
- Tape Measure
- Pencil
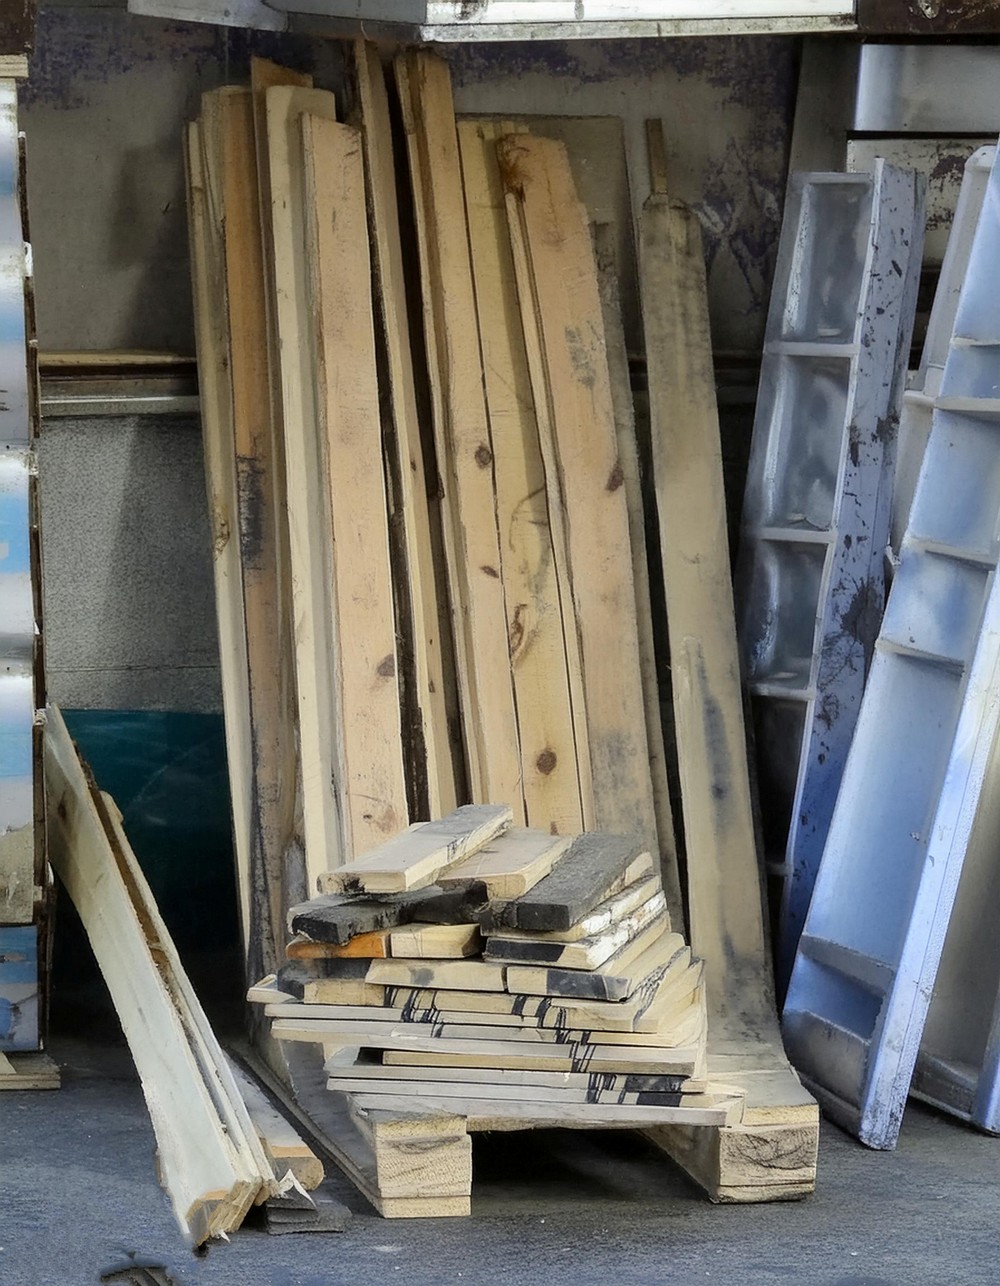
Materials:
- Pallet Wood: 3.5″ wide x 3/4″ thick and 3″ wide x 7/16″ thick
- Water-proof wood glue
- Nails (optional)
- Paint or Stain (optional)
Detailed Process
Plan Your Project
Review the plan which includes color-coded parts for easy identification. The dimensions provided are flexible, and you can adjust the scale to suit your needs or space.
Craft the Base
Using a table saw, cut the base to the specified dimensions ensuring precision for a stable foundation.
Shape the Sides
Process the sides of the box, incorporating any desired decorative grooves. Although these details can be added near the project’s end, planning them is crucial.
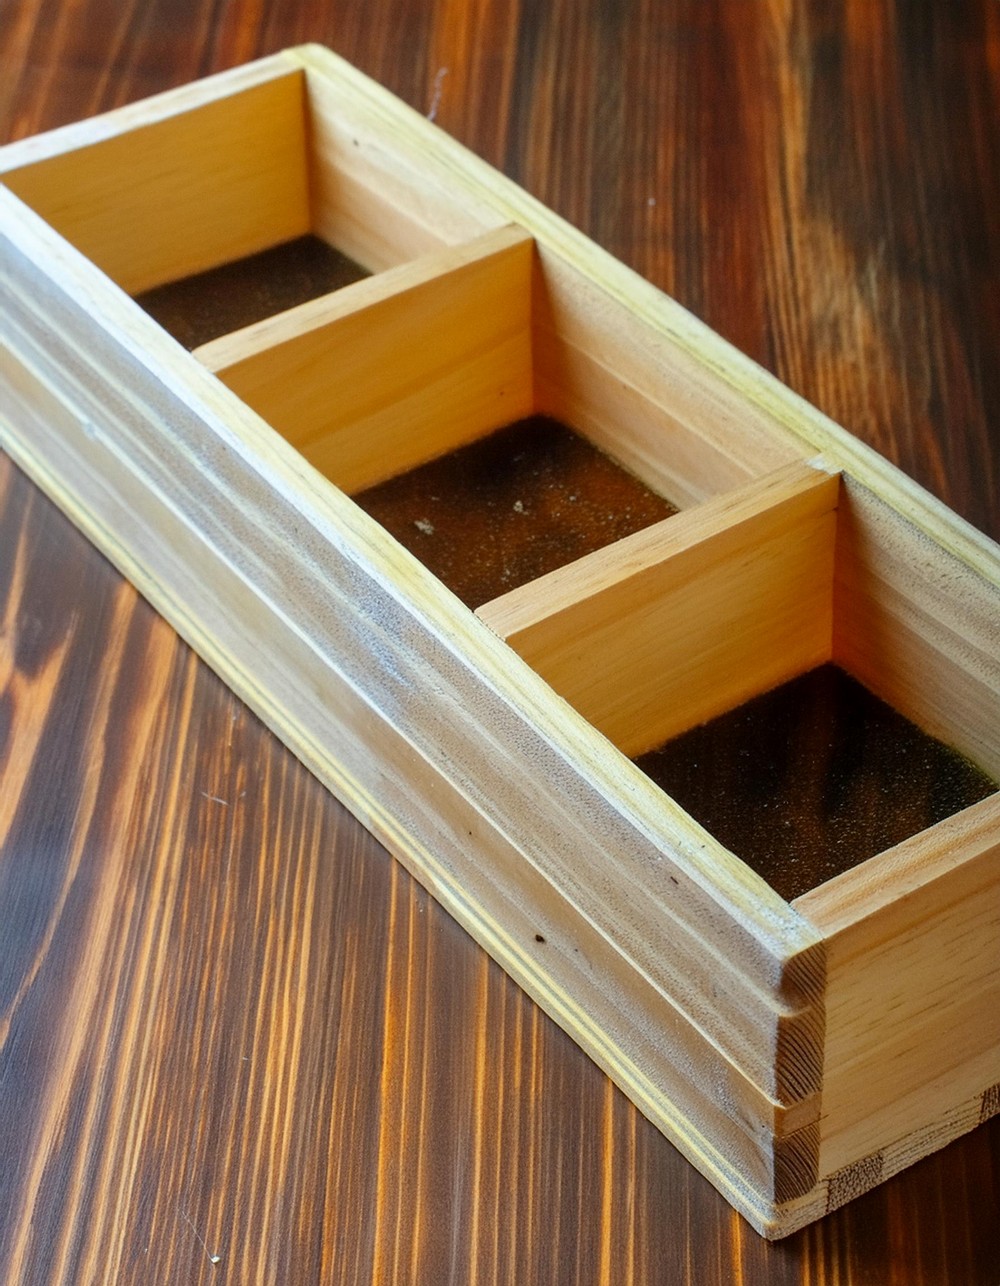
Construct Inner Walls
These partitions are optional and depend on whether you prefer to compartmentalize your planter. Cut the wood to the desired thickness and height, accommodating the internal structure of the box.
Assemble the I-Long Sides to the Base
Begin the assembly by securing the long sides to the base using glue, clamps, and nails if chosen. Incorporating temporary supports can help maintain a right angle at the joints.
Assemble II – Add Remaining Sides
Attach the other sides following the method in the previous step. Adjust any oversized pieces to ensure cleanliness and symmetry.
Assemble III – Include Inner Walls
Insert the inner walls by fitting them snugly, using wood glue for attachment. Ensure they are tightly secured to enhance the planter’s structural integrity.
Create Decorative Notches
Run the assembled box through a table saw set to a blade height of 1/4″ to add aesthetic grooves or notches to the exterior.
Sanding
Sand down the planter to soften edges and smooth out joints, preparing the surface for finishing.
Painting or Staining
Paint or stain your planter according to your aesthetic preference. Applying a light coat of paint, followed by slight sanding, and another coat can achieve a rustic look.
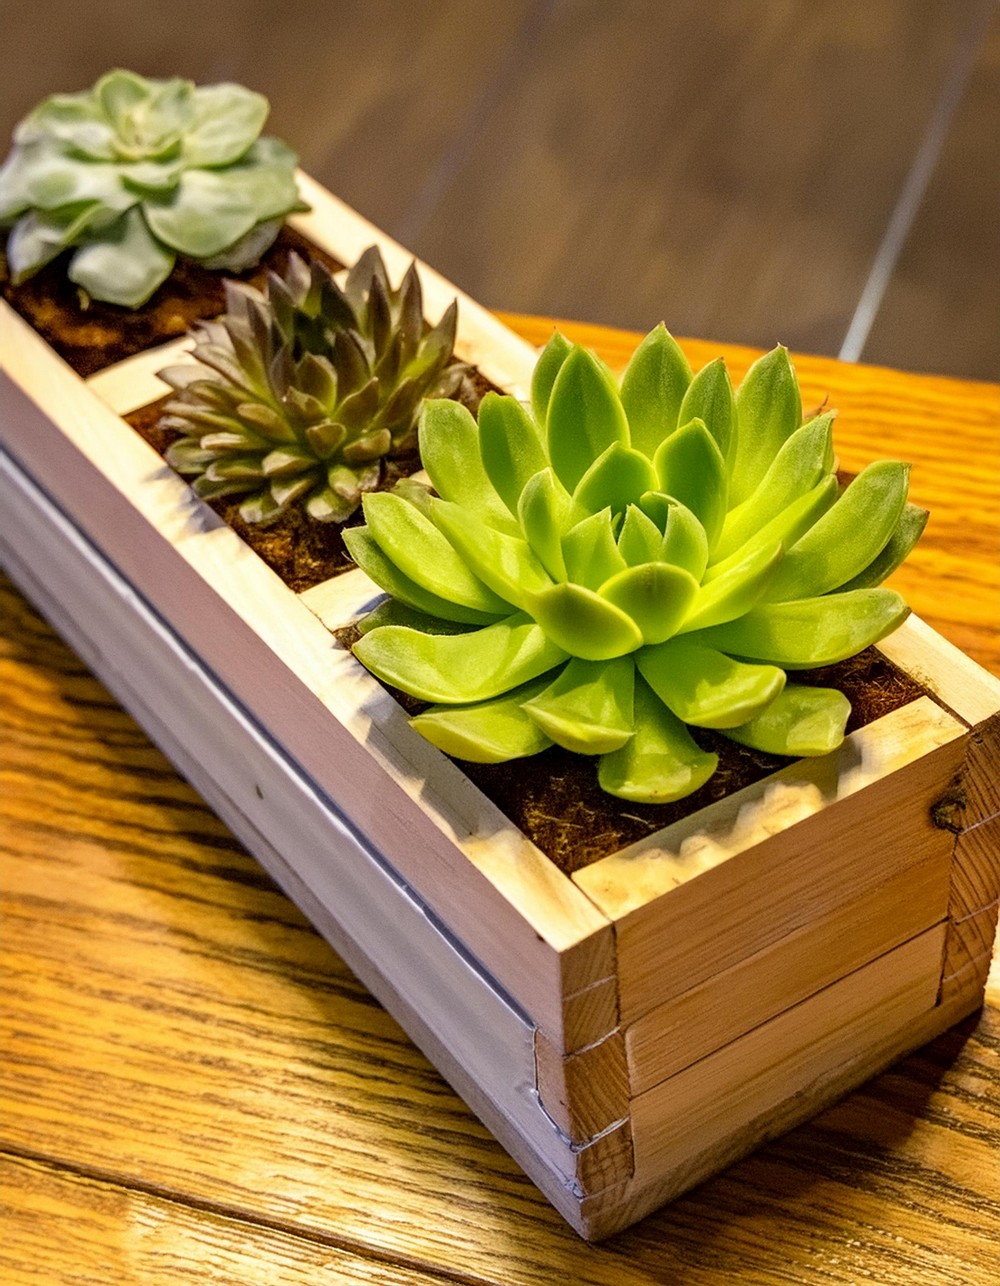
Plant Installation
If necessary, line the box with plastic to protect the wood. Then fill with succulent soil mix and arrange your plants, ensuring they are evenly spaced.
Adding Decorative Rocks
Finish by placing small rocks around your plants. This not only beautifies the planter but also helps retain soil during watering.
Leave a Reply