
Experience the elegance of a DIY Pine Wood Cat House with a seamless wood design and cat-cozy features, ensuring a tidy space and a happy feline friend.
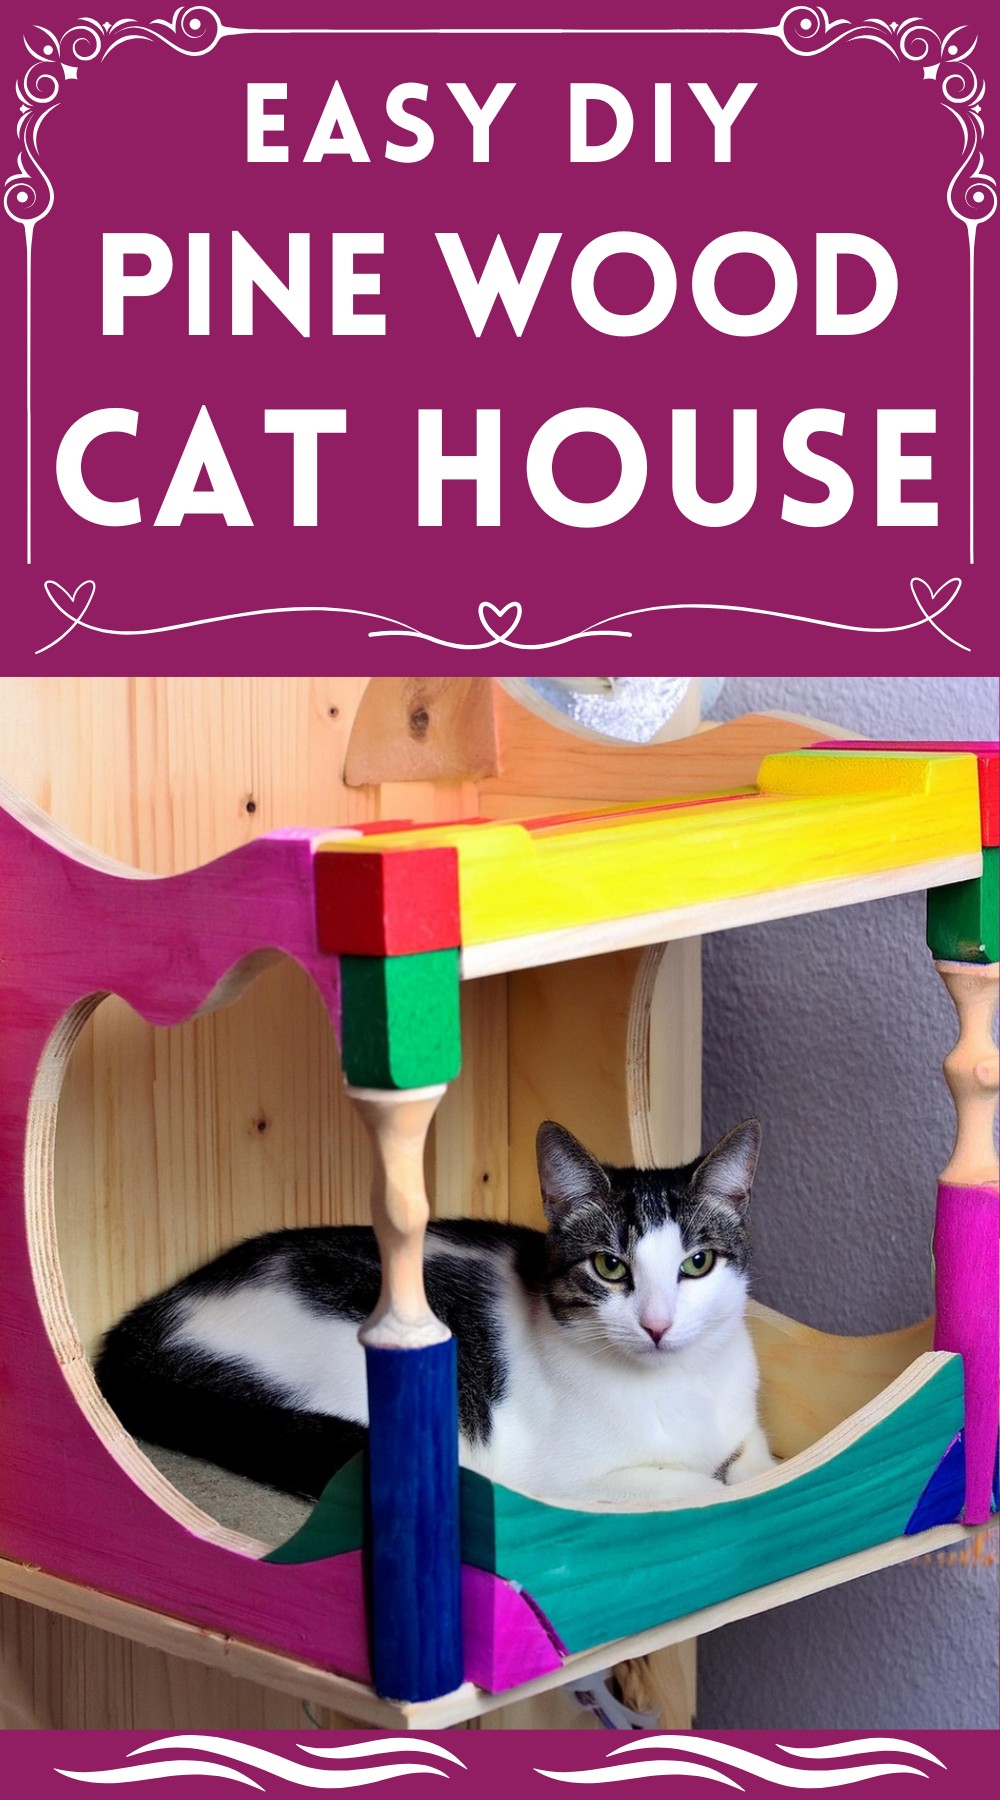
DIY Pine Wood Cat House
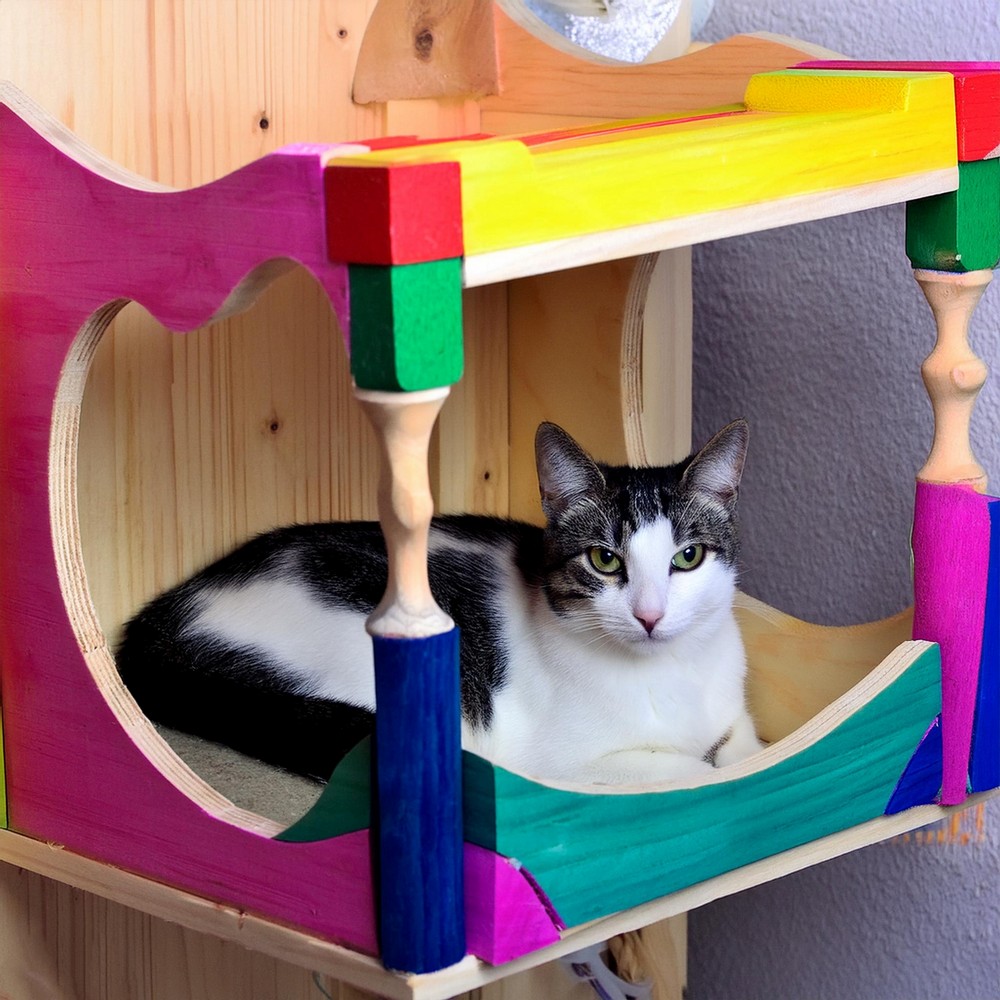
The house’s exterior showcases soft, circular shapes carved with precision, offering a smooth and inviting look. The absence of visible screws, thanks to the clever use of pocket holes, enhances the sleek design, maintaining an unbroken flow of wood from every angle. This pet-friendly shelf keeps your kitty cozy and ensures your space stays neat. Designed to be cat-friendly, it won’t fail to win the heart of your whiskered friend.
Materials List
- 3-layer pine wood, 19 mm (3/4″)
- 6 mm threaded rod, 4 nuts, and 4 washers
- Scrap wood for the columns
- An old curtain rod
- Screws
- Watercolors
Tools Required
- Table saw
- Beam compass (Optional, for large circles)
- Jigsaw table
- Cordless drill
- The pocket hole drill station
- Angle grinder
- Random orbit sander
Step-By-Step Guide
Planning Your Project
Start with a clear plan in mind. You’ll need measurements in cm for precision. The design is straightforward, focusing on creating a structural yet elegant cat house.
Cutting the Wood and Rods
Using the table saw, cut the pine wood boards to size according to the plan. Then, employ the jigsaw table to cut circular shapes, adding a unique design touch to the cat house.
Assembling the Framework
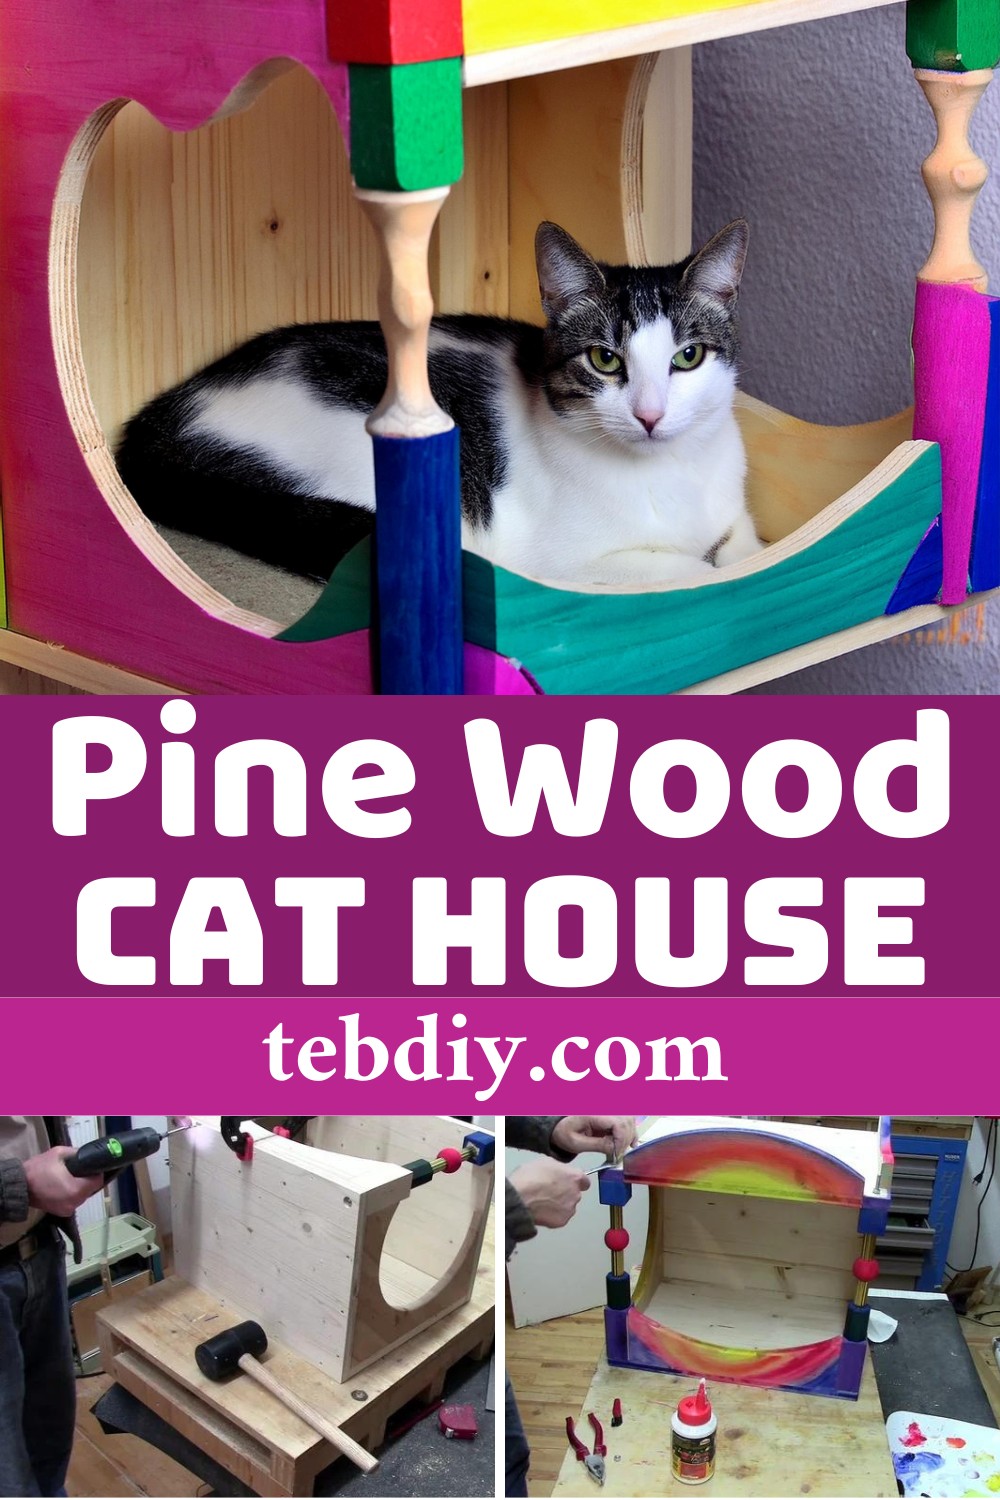
Proceed to assemble all parts! The sides and back panels are joined via screws, cleverly hidden using pocket holes to ensure a clean finish. The simplicity of this step belies the sturdiness it imparts to the structure.
Crafting the Columns
The columns introduce an artistic yet functional aspect to the project. Threaded rods, supplemented with blocks of wood and segments of the curtain rod, are cut to size. Angle grinding ensures the perfect length, enhancing the overall stability.
Sanding for Smoothness
Dedicate time to sanding all components meticulously. This not only prepares the surface for painting but also ensures a pet-friendly smoothness, eliminating any splinters or sharp edges.
Adding Color and Protection
Watercolors bring the structure to life, allowing for customization to match and decor. A subsequent coat of linseed oil adds a protective layer, ensuring longevity and ease of cleaning.
Finalizing the Columns
Drill a larger hole at the bottom of each column to accommodate the nut. The lid of the cat house will see the threaded rod passing through, with a nut securing it on top. A small cube, drilled through the center, elegantly conceals the top of the rod.
Wall Mounting
The final step involves securely mounting the cat house to a wall. This requires careful planning to ensure stability and safety for your feline companion.
Leave a Reply