
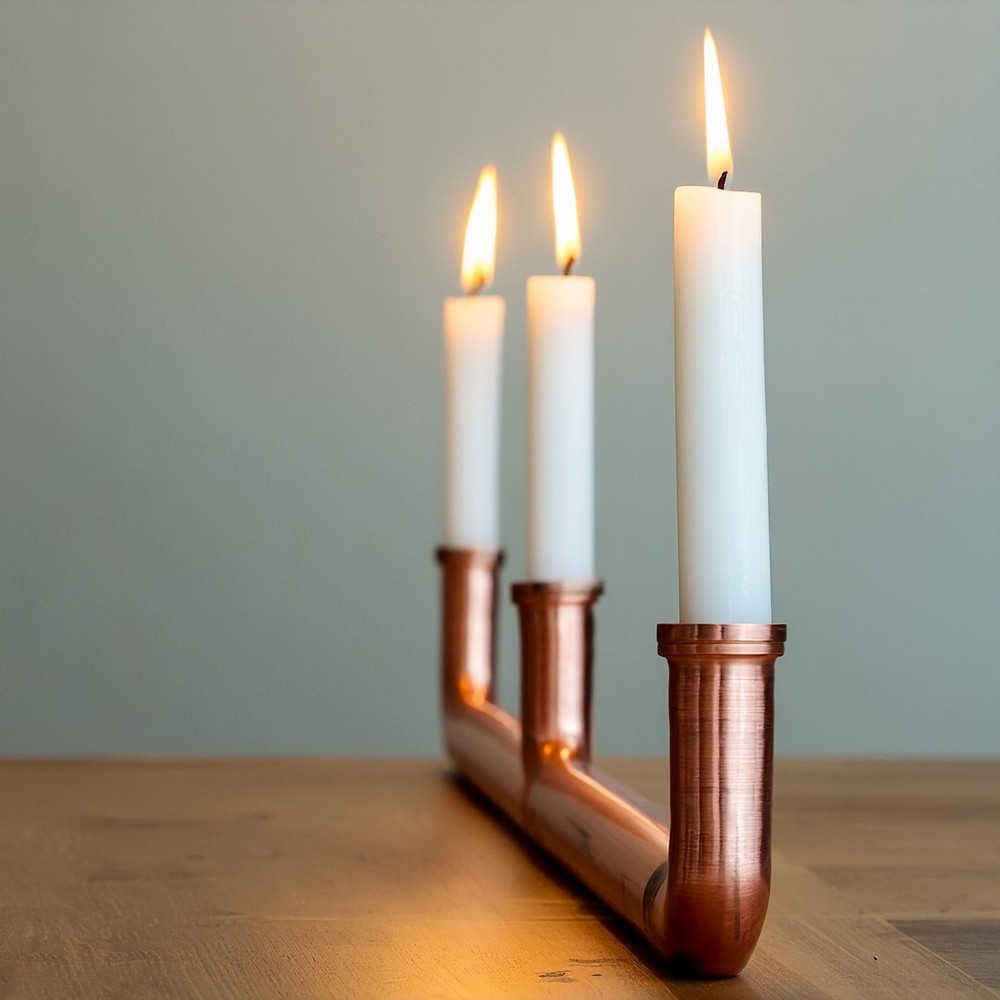
Making your copper pipe candelabra is a fun and creative way to add a special touch to your home! Imagine crafting something beautiful with your own hands that can light up your room with a warm glow. Our guide is super easy to follow, with step-by-step instructions that make it simple for anyone to create their candelabra. Not only is this project rewarding, but it’s also a great way to decorate your space uniquely. By the end of our guide, you’ll have a gorgeous copper pipe candelabra that you made all by yourself, perfect for setting a cozy ambiance or giving as a thoughtful gift.

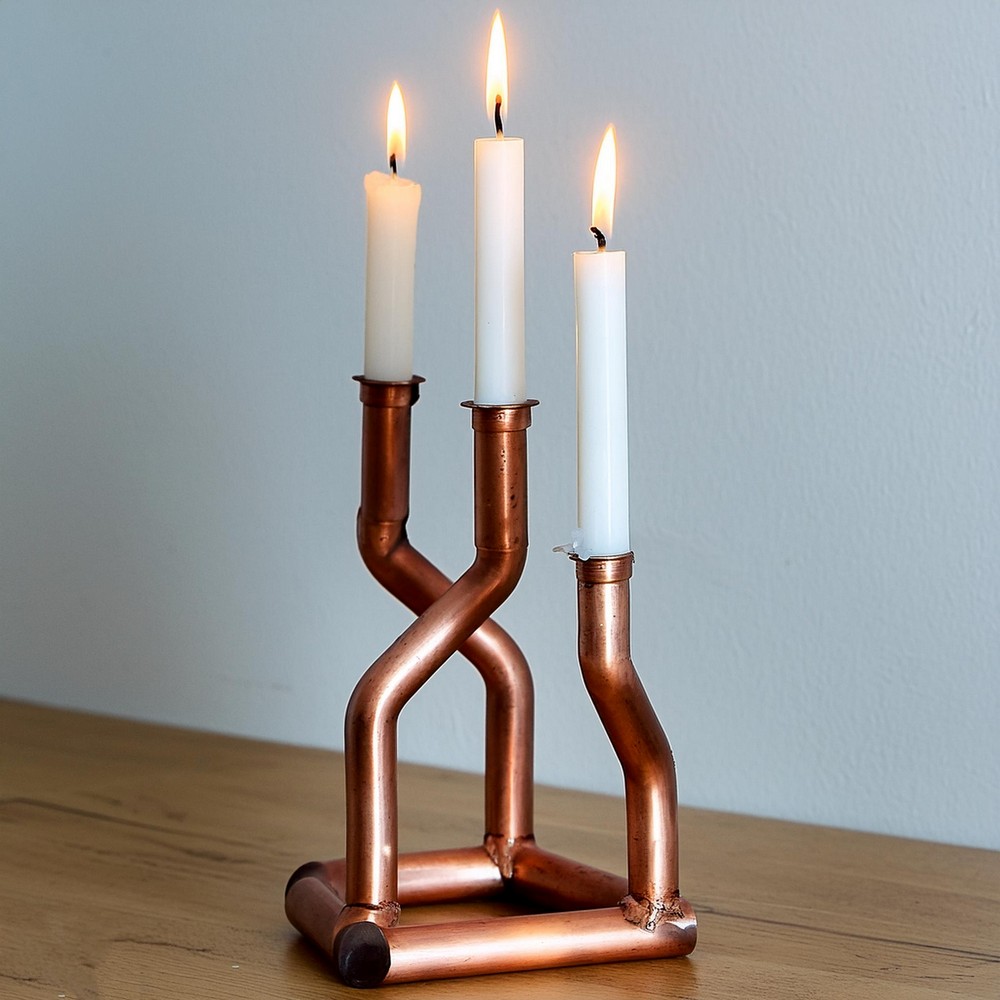
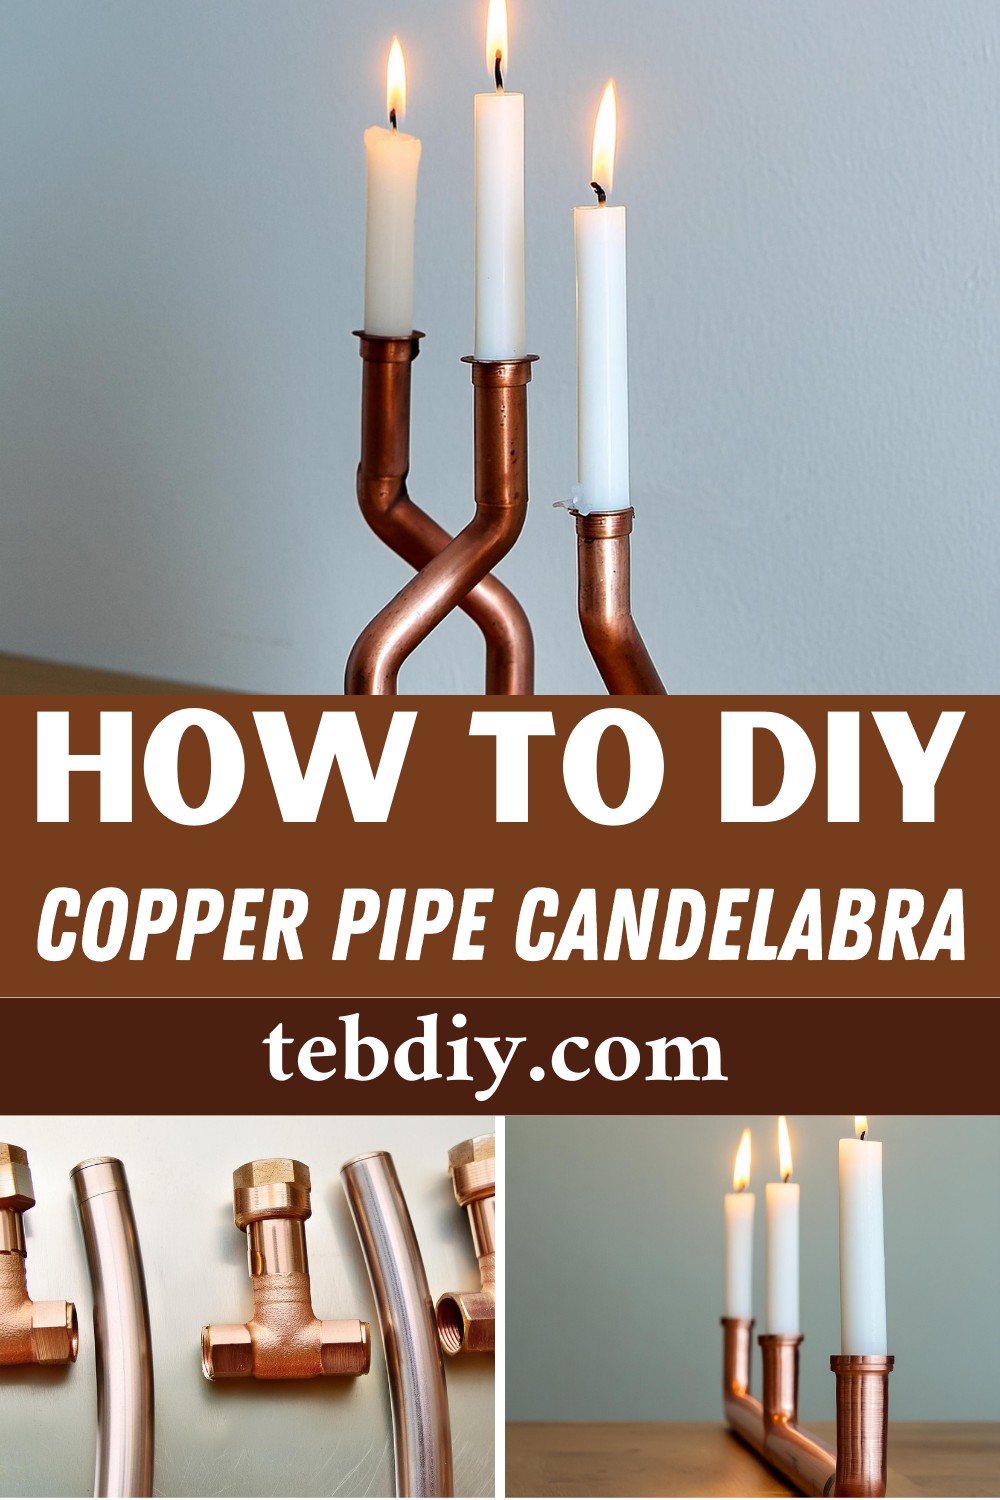
DIY Copper Pipe Candelabra
Materials and Tools
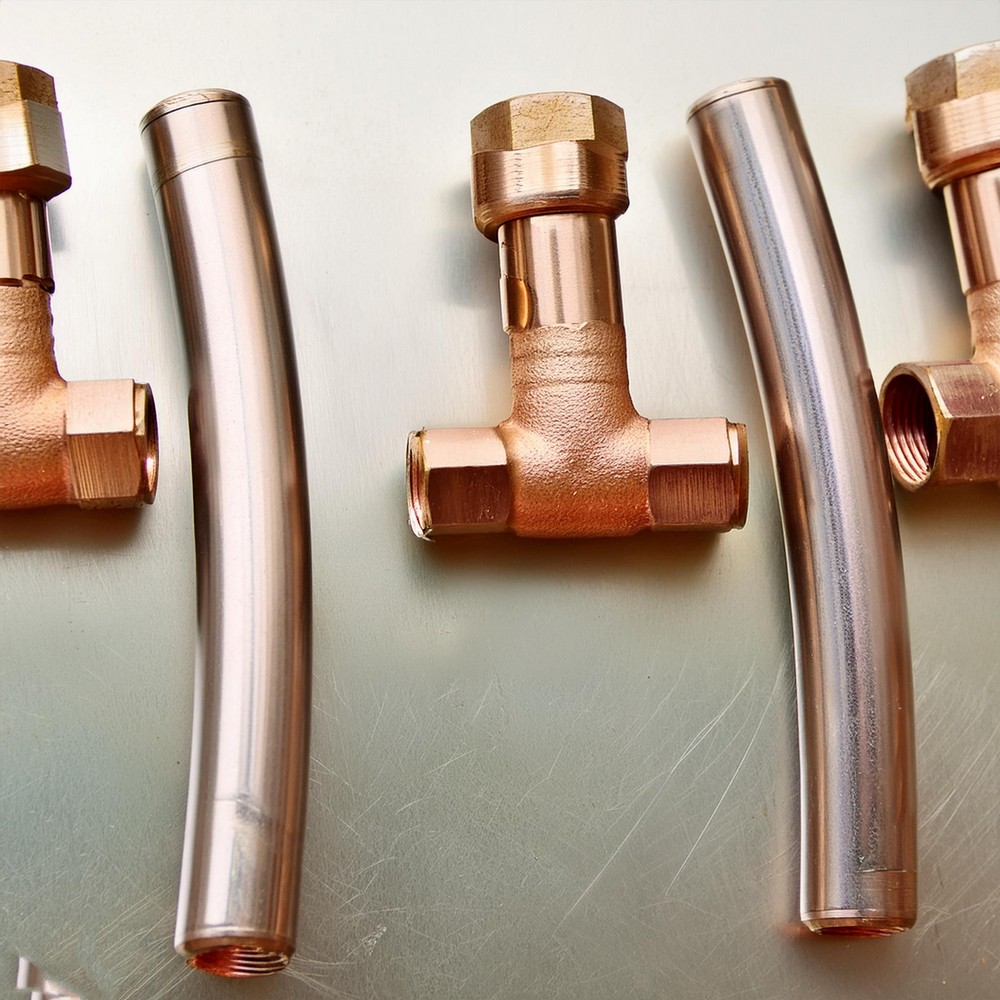
- 3/4″ Copper pipe
- 3/4″ Copper pipe fittings (45°, 90°, T, and screw connectors)
- Copper pipe cutter
- 2-part epoxy adhesive
- Clear coat finish spray
- Felt feet
- Copper treatment solution (based on desired finish preference)
Step-by-Step Process
Shopping for Copper Fittings
Start at a local hardware store’s plumbing aisle. You’ll need a couple of copper pipe fittings and a 3/4″ copper pipe measuring about 3 feet long. The ¾” pipe size is perfect for fitting tall candles.
Cutting the Connecting Pipe
Measure a segment of pipe and firmly attach the pipe cutter. Slowly twist the cutter around the pipe until a score imprint is noticeable. Tighten the cutter and repeat the procedure until you cleanly cut through the pipe. Do this for all the pipe sections required for your design.
Planning the Connections
It’s wise to lay out your design so you can judge if all elements are cut and measured accurately; this will prevent any unnecessary hassle later on.
Bonding the Elements
You’ll need a suitable epoxy to create a permanent bond between metal components. Start with simple connections: put a small dab of two-part epoxy on the inner sides of the connectors and join them with the cut copper pieces. Allow the epoxy to cure before proceeding to the next stage.
Finalizing the Connections
Bend the copper pipe to the required shape. Mixing more epoxy can fasten your connected pieces to the larger pipe segments. Depending on the design, you may need to use tape or clamps to retain the shape until the epoxy dries fully.
Protecting the Creation
A clear coat finish maintains the lustrous look. Spray the candelabra in a well-ventilated area, allow the coat to dry, and repeat the process if necessary.
Adding Felt Feet
For the final touch, add felt feet to save your tabletop from scratches.
Leave a Reply