
Have you ever wanted to make your wall decorations? Well, you’re in luck! This fun project will let you create a beautiful wooden wall art piece that you can display in your home. You don’t need to be an expert, and it’s a great way to use different pieces of wood you might have lying around. With a little bit of cutting and gluing, you can put together a unique piece that shows off your style. Whether you like modern looks or rustic charm, you can make this wall art yours.
Wooden Wall Art

Tools Used:
- Miter saw
- Tablesaw
- Brad Nailer (optional)
- Pin Nailer (optional)
- Web Clamp
- Keyhole Router Bit
- Router
- Random Orbital Sander
Materials/Supplies:
- Various Scrap Wood Pieces
- (4) 9″ x 1-3/8″ x 1/4″ frame pieces
- (1) 8.5″ x 8.5″ 3/4″ Plywood
- Super Glue
- Sandpaper
Step-By-Step Process for Making the Wooden Wall Art
Prepping the Backing:
Begin by cutting a 3/4″ plywood square to 8.5″ x 8.5″. Mark the central point of each side of the square to later help you center your wood pieces correctly.
Preparing the Wood Pieces:
Collect a variety of wood offcuts and ensure they are planned to the same thickness for a uniform finish.
Rip these wood pieces into different widths to enrich the artistic variety of the piece.

The Assembly:
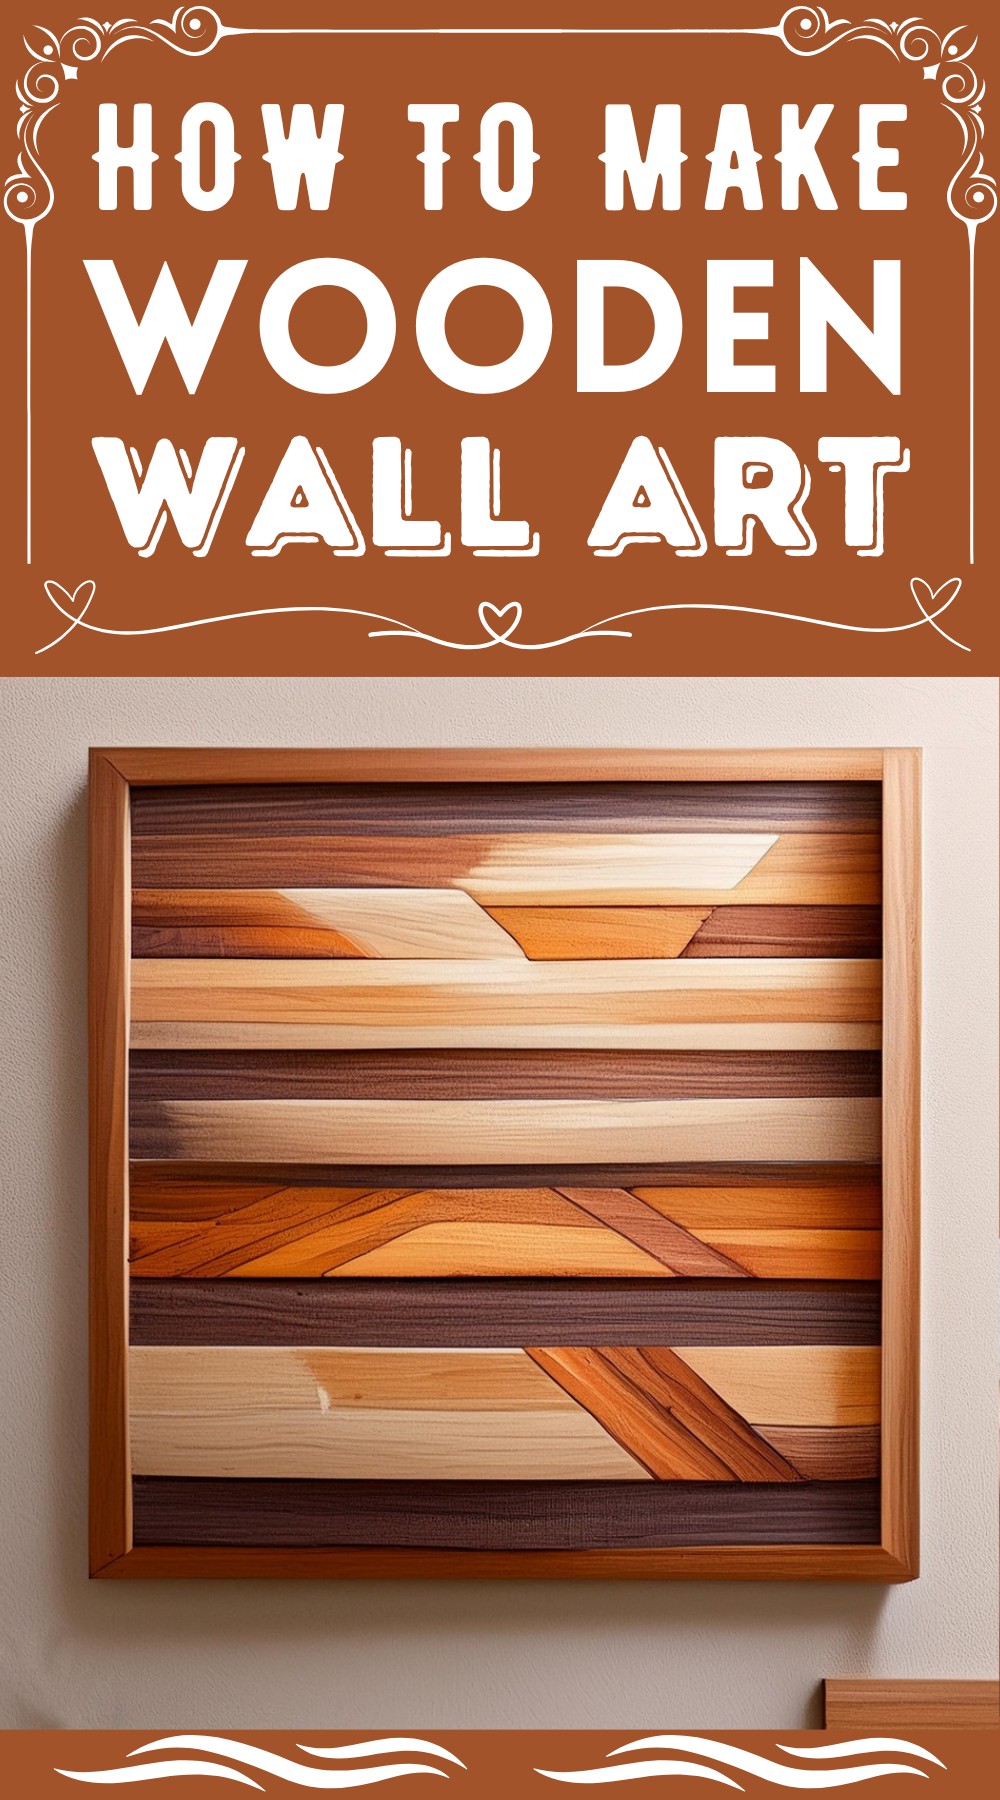
Match different types and colors of wood, setting them at contrasting angles using a miter saw to create distinct visual interest.
Affix your paired pieces onto the plywood backing with super glue, starting from the marked center and working outward to achieve symmetry.
Trimming and Finishing:
Once the plywood is covered, trim the protruding edges on the table saw to achieve clean lines.
Sand the entire surfaced area smoothly, progressing up to a 220-grit finish.

Mounting the Masterpiece:
Create keyhole slots for hassle-free mounting, ensuring your artwork hangs snugly against the wall.
Sealing with Beauty:
Apply a wood finish for enhanced protection and a warm, natural glow.
Framing the Art:
Fashion and attach the frame using walnut for a stark, defining border, clamping, and gluing meticulously.
And Voila!:
The final step is to sand and apply finish to the frame, and your sensational piece of wooden wall art is ready to be mounted and admired.

Leave a Reply