
Let’s head on to crafting a cozy abode for our feline friends. Cats have an intrinsic penchant for finding the most comfortable spots to curl up in. What if you could enhance their relaxation experience by building a custom DIY cat hammock designed specifically with their contentment in mind? Delve into this guide where utility meets creativity, providing your pet with the ultimate relaxation spot. By the end, not only will you have satisfied your DIY cravings, but your cat will find a new favorite haunt.
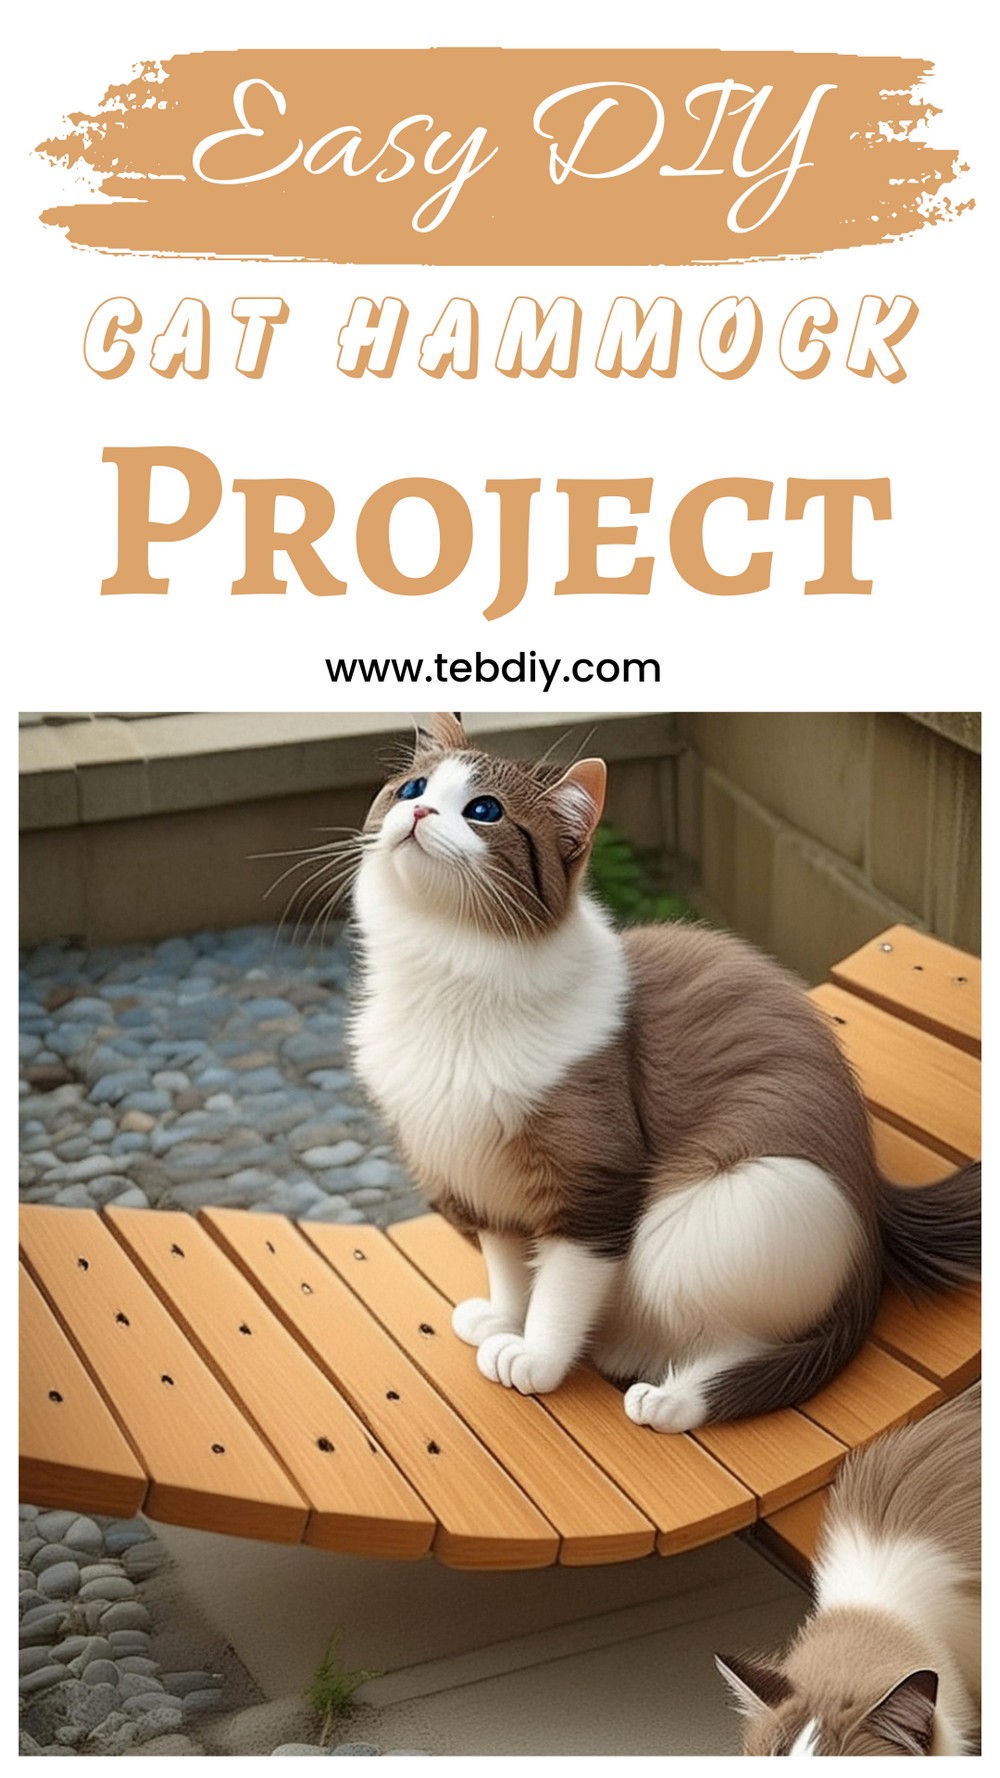
DIY Cat Hammock Project

Materials:
- Wooden bars
- Rope
- Wood glue
- Washers
Tools Used:
- Compound saw
Step-by-Step Guide:
Shaping the Wood
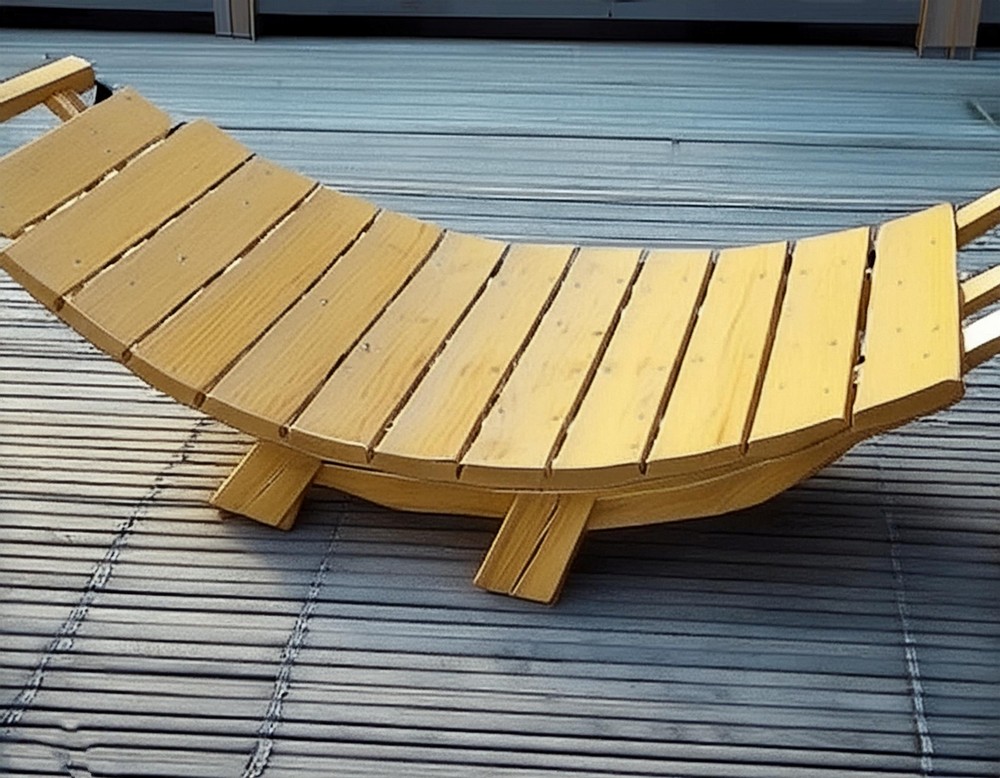
- Frame Construction: Select wooden bars for the frame. Accurately measure and cut these bars to required lengths. A 20-degree angle is cut at one end of three main construction bars, giving a 140-degree angle at the connection points. The ends of two smaller bars are also cut at an angle to ensure they lie flat on the ground.
- Surface Bars: Evaluate the distance between the frame bars to ascertain the number of surface bars needed. Cut these bars accordingly. For a tapered surface, draw and cut a line at the end of each bar. Drill a couple of holes through every bar at identical distances.

Constructing a Stable Stand
Carve out two squares from your material to accommodate the wooden bars. These squares serve as a foundation, preventing the structure from tipping over.
Crafting the Rope Mount
Take two smaller bars designated for rope mounting. Drill two holes through each bar to facilitate the rope attachment.
Assembling the Structure
Begin by gluing the three primary wooden bars together—this forms the core of your hammock’s frame. Once the glue has set, further secure the structure by attaching the anti-tilt bars and the rope mounting bars. During the drying process, apply weight to the construction to ensure strong adhesion and stability.
Adding Color and Protection
Opt for a water-based wood paint that not only adds beauty to your creation but also protects the wood from rot. Apply it thoroughly and allow it to dry.
Final Assembly
Thread two ropes through the wooden bars and washers, alternating between them. Secure the ends of the ropes with knots. This step involves a bit of finesse to ensure everything stays evenly spaced and balanced.
The Finishing Touch
To invite your cat onto this new perch, place their favorite bed or blanket atop the hammock. Initially, they may regard it with suspicion, but with a bit of patience, they’ll soon embrace it with enthusiasm.
Crafting this hammock presents a wonderful blend of functionality and creativity. Not only does it provide a custom relaxation spot for your pet, but it also adds a handmade charm to your living space. So, grab your tools, and let’s make your cat’s day!

Leave a Reply