
Build your greenhouse from old windows for year-round gardening as a simple, eco-friendly project to grow plants in any weather, boosting green thumb joy.
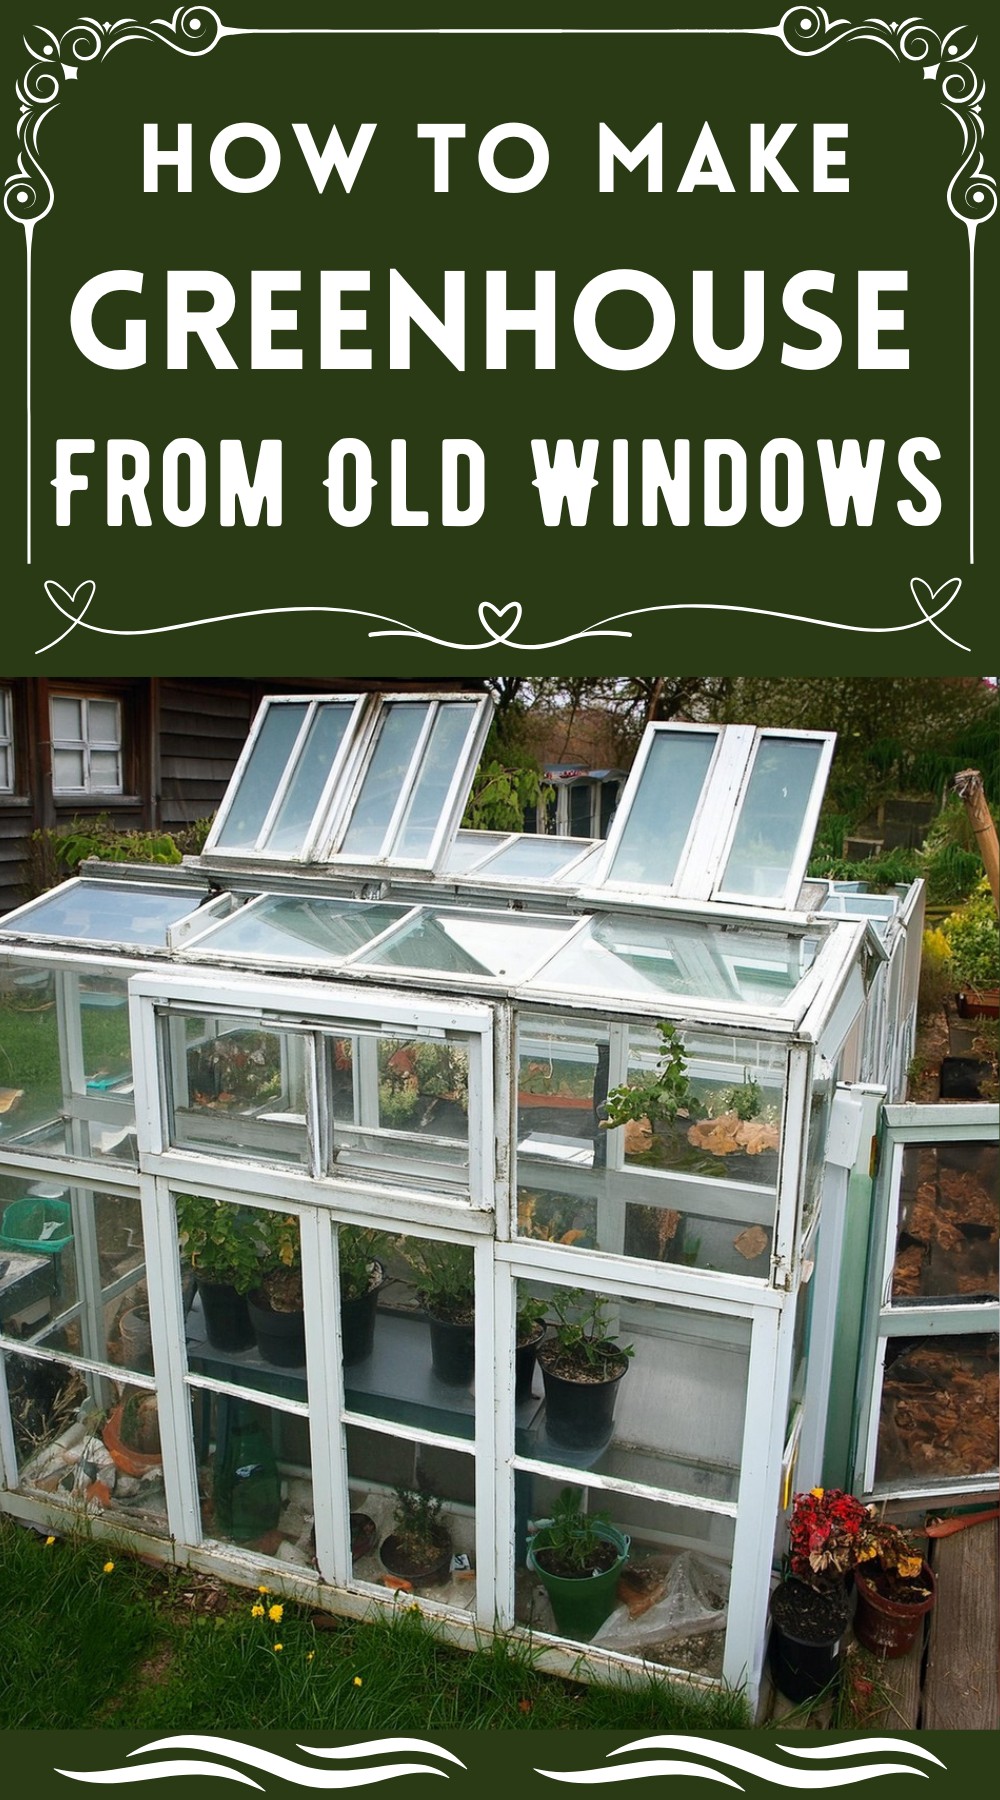
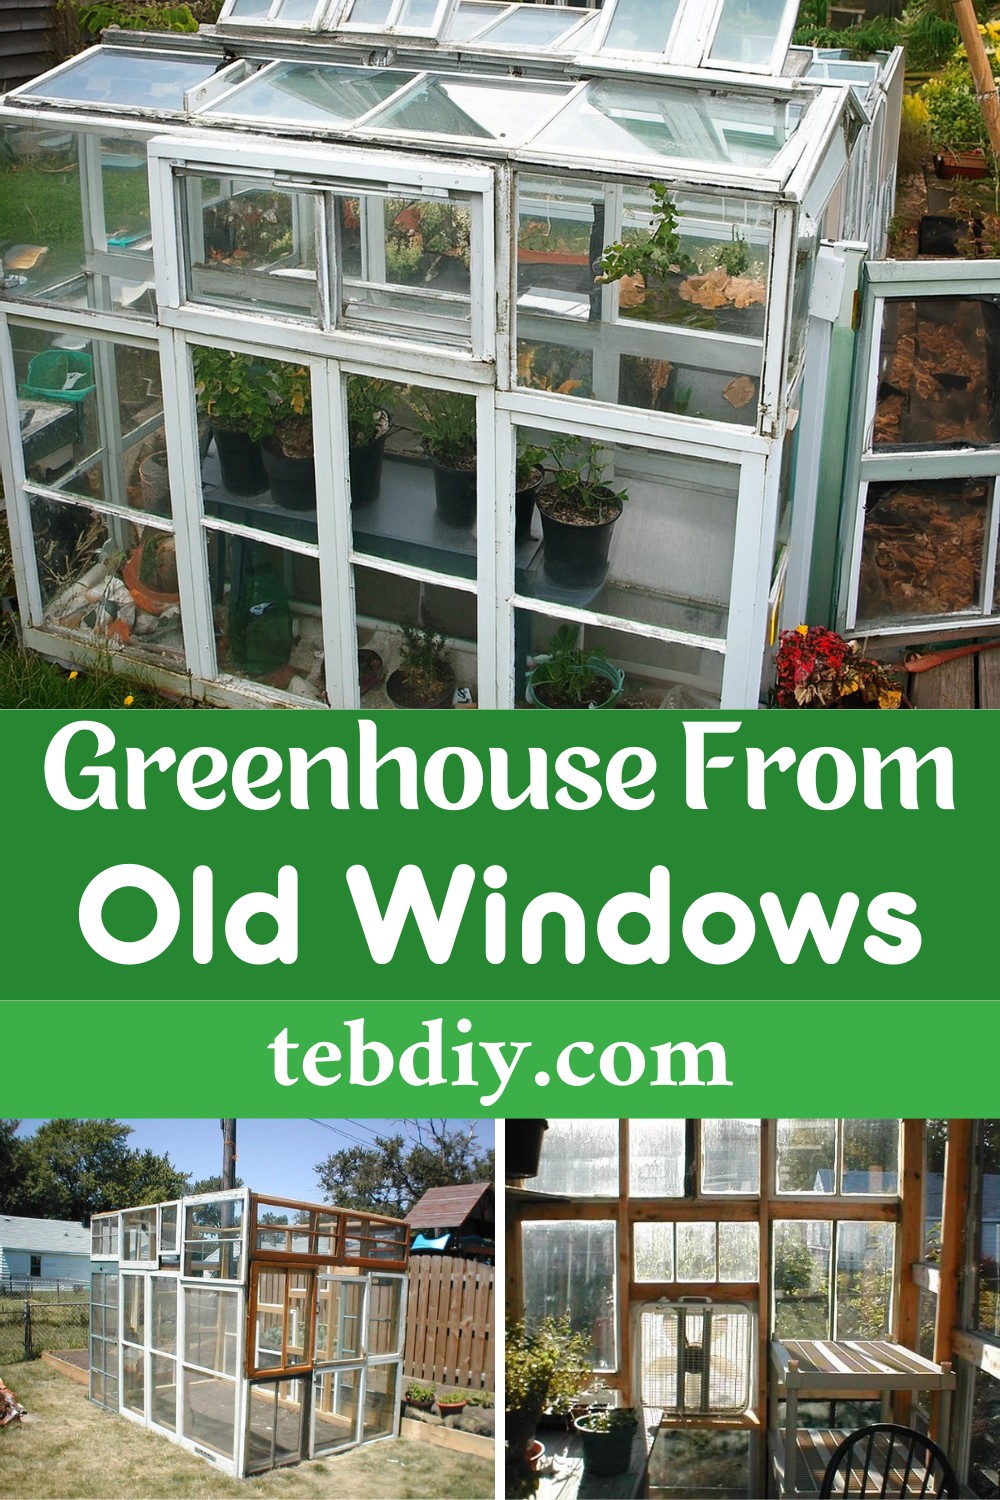
Make Greenhouse From Old Windows
Sit back in your garden, surrounded by the peaceful quiet of a space that blooms all year round, no matter what the weather forecast says. This is not just a perk only for the rich. With the given step-by-step instructions, a bit of hard work, and a story about turning leftovers into a treasure, you can create a green space that’s good for the environment.
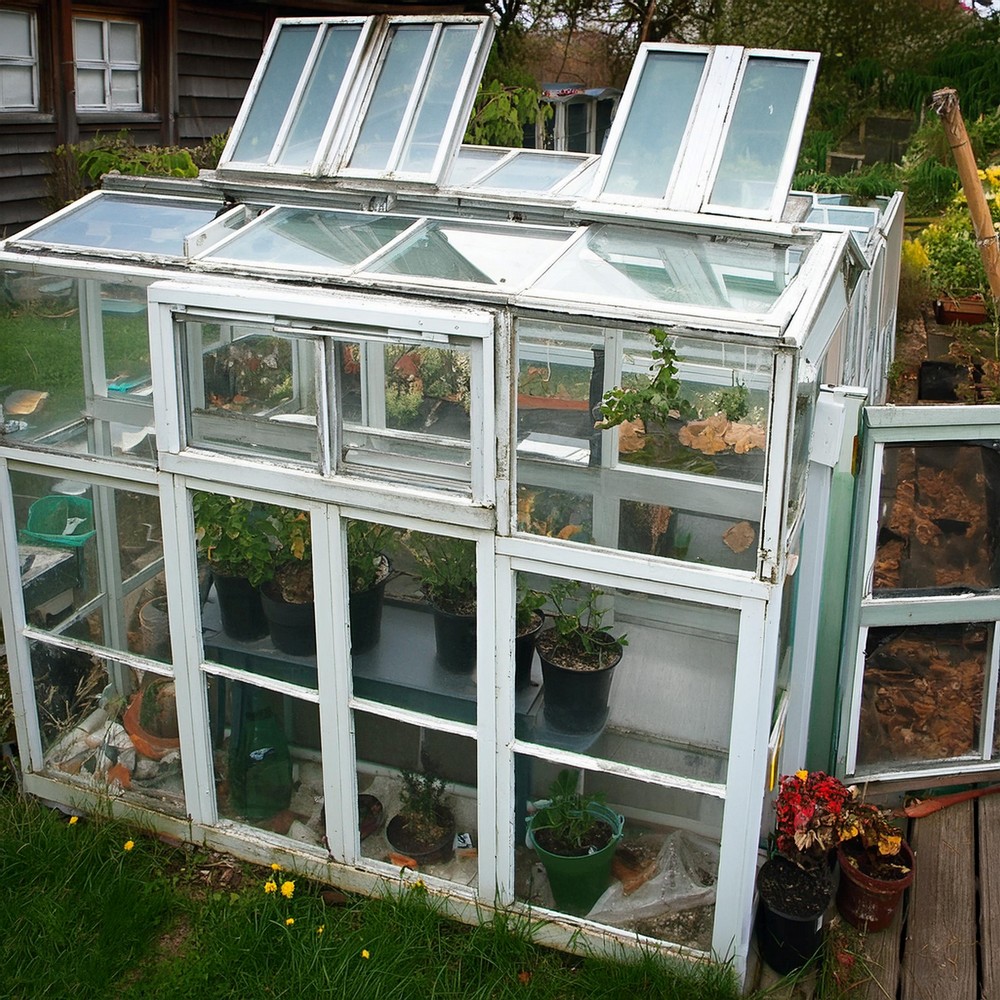
We are presenting making a greenhouse out of old windows that people threw away when they were renovating their homes. It’s not just about recycling; it’s about giving these old items a new purpose, turning the thrown-away windows into a home for plants.
Materials Needed:
- Old Windows: Gather as many as you can; varying sizes are fine.
- Lumber: Enough 2x4s for the frame and 4x4s for the corner posts.
- Screws: Get coated deck screws for attaching the windows and other components.
- Caulk: Opt for a good-quality outdoor caulk.
- Latches: To secure the windows and doors.
- Cinder Blocks: Used for stabilizing the structure without a concrete foundation.
- Rocks or Stones: For flooring that provides proper drainage and retains heat.
- Roofing Material: Something lightweight and waterproof, preferably with the ability to be propped open for ventilation.
- Fans: For ventilation during the warmer seasons.
- Shelves: Salvaged or repurposed for internal storage and space efficiency.
- Chain: To secure the roof elements against strong winds.
- Hinges: Salvaged from any old furniture, for attaching elements that need to swing or move.
- Pulley System: For ease of opening vent windows.
- Paint: Protect the wood against the elements.
Tools Used:
- Drill: For screwing together the frame and attaching the windows.
- Level: Ensuring everything is even and plumb.
- Saw: To cut the lumber to the needed dimensions.
- Caulking Gun: For applying the outdoor caulk.
Step By Step Process
Windows as Puzzle Pieces
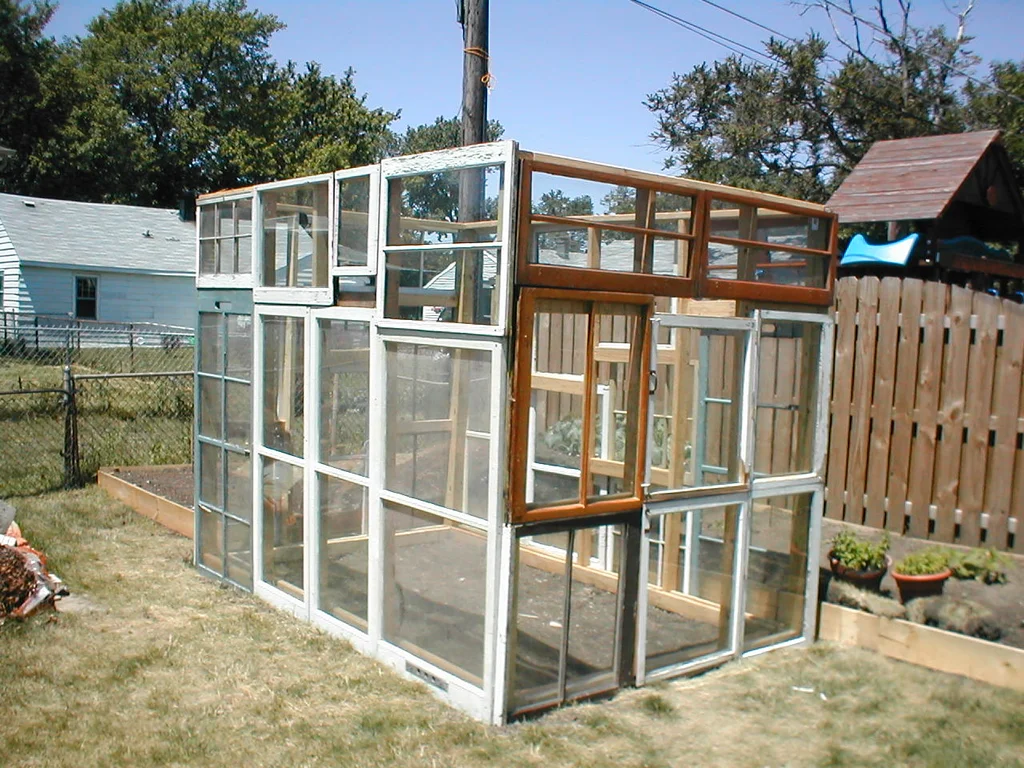
Initiate the project by gathering a multitude of old windows. Arrange them creatively to form two pairs of walls of equal height, bridging small gaps with wooden extensions. Remember to designate a window for fan installation and another for the entrance.
Crafting a Skeleton
Utilize the assembled windows to construct a sturdy wooden frame using 2x4s for studs and 4x4s for corners, ensuring deep embedding into the ground for a solid base.
Erecting the Walls
Position and brace the walls meticulously, ensuring a level setup that defines the greenhouse’s enduring posture.
Building a Steadfast Foundation
Opting for a wise avoidance of bureaucratic red tape, use cinder blocks buried in the earth to fortify the 4×4 posts, promoting unwavering stability over a concrete pour.
Affixing the Windows
Secure each window to the wooden frame with coated deck screws, which allows both stability and the convenience of replacement if necessitated by wear or breakage.
Laying the Groundwork
Source rocks or stones, an ideal foundation layer that supplies stellar drainage for wet seasons and thermal mass to retain heat during cooler nights.
Architecting the Canopy
Constructing the roof demands ingenuity, repurposing lightweight siding materials while incorporating a ventilation strategy that mitigates overheating with an angled design promoting rain runoff.
Engaging with Extras
Enhance your greenhouse’s functionality by installing shelving for plants and a salvaged fan for temperature regulation, fostering an optimal growing environment.
Seals and Shields
A meticulous application of outdoor caulk prevents moisture intrusion, and a fresh coat of paint shields the wood from weathering and decay.
Evolution Through Seasons
As years unfold, the greenhouse adapts and evolves: reinforced window-roofing, strategic ventilation alterations, and reflective cooling measures illustrate a tailored approach to local climatic challenges.
The Concluding Canticle
The evolution of your greenhouse won’t cease upon completion of the initial structure. It matures with each modification, adapts to every weather whim, and responds to your personal cultivation style. Each season will unfurl new chapters of growth and discovery within the glass walls of your verdant haven. It’s more than a greenhouse—it’s a living narrative, and it starts with the turn of a window-pane page.
How To Select The Best Spot For Maximum Sun Exposure?
To select the best spot for your greenhouse project to ensure maximum sun exposure, identify an area in your garden where the structure can receive ample morning sun. This is crucial for plant growth while avoiding harsh afternoon heat that could harm your plants. The ideal location is often a south-facing area (for the northern hemisphere) that gets unobstructed sunlight throughout the year. Pay attention to nearby trees and structures that could cast shadows, especially during the winter when the sun is lower in the sky. Aligning your greenhouse with its longest side facing east-west can also capitalize on the sun’s path, providing a consistent and beneficial light source for all plants inside.
Leave a Reply