
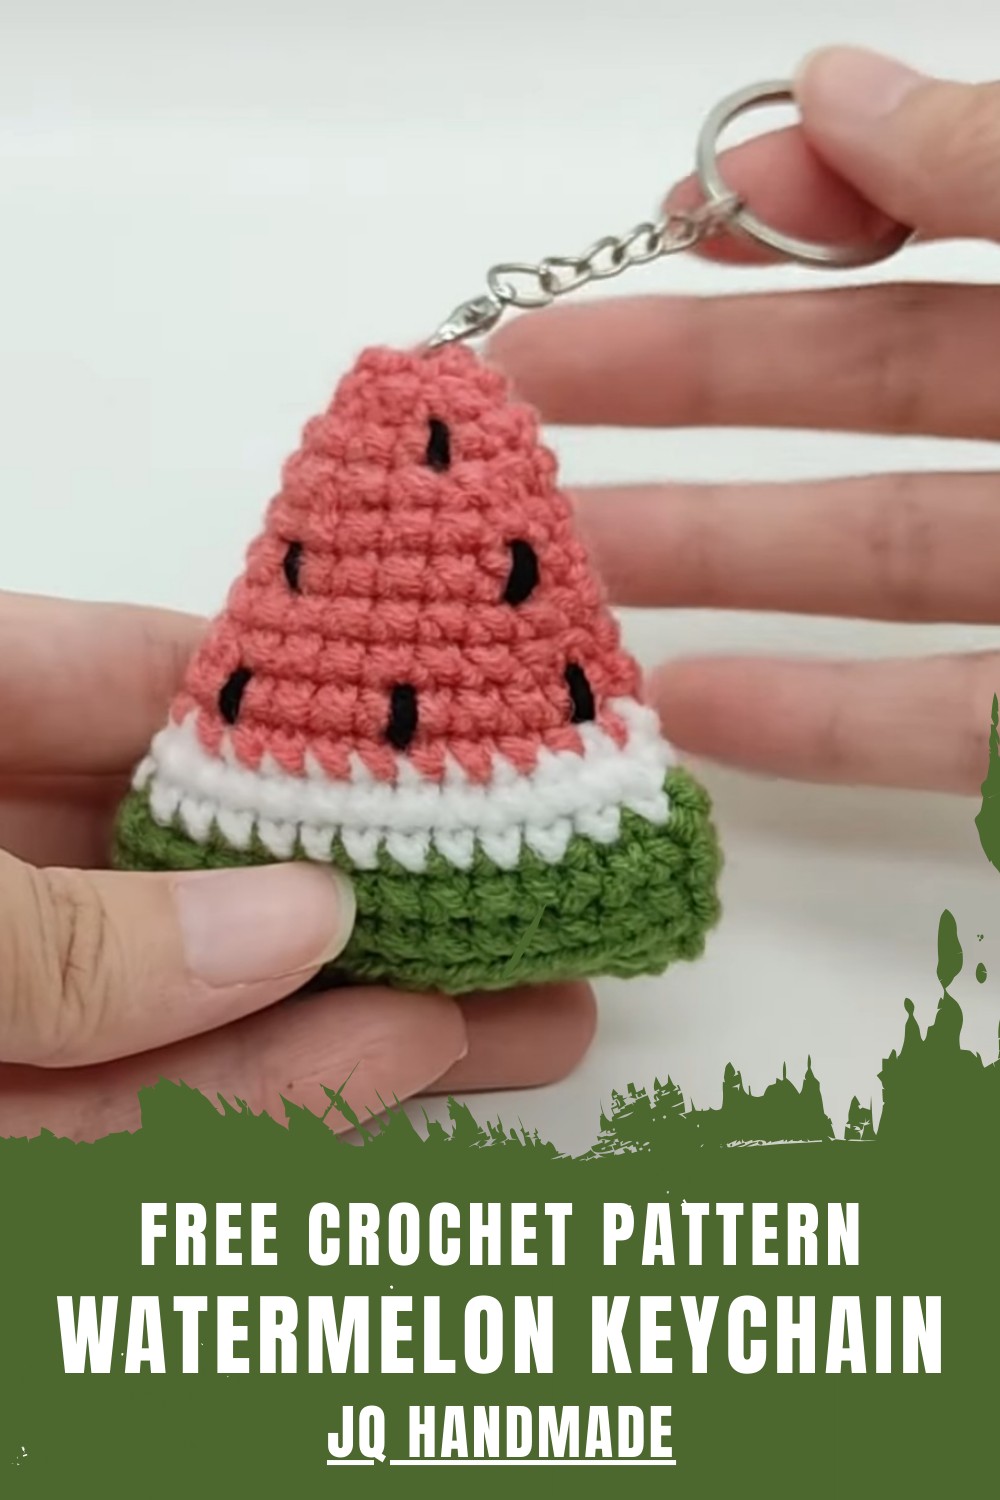
Brighten your day with this Free Crochet Watermelon Keychain Pattern and making a playful accessory that adds a splash of color to your keys.
A tiny slice of bright color can bring big smiles to your day and give your keys a cheerful new friend. Small but full of charm this little piece looks like a real fruit with red green and black colors that pop out and catch your eye. The Crochet Watermelon Keychain pattern makes it possible for anyone to carry something playful and sweet wherever they go. It is soft and light which means it will not weigh down your bag or pockets.
Fast and Fun Watermelon Keychain Free Crochet Pattern
This fun pattern lets you add a touch of summer happiness to backpacks purses or even give as a cute gift to someone special. Because it is simple you can make more than one quickly to share with friends and spread a little extra joy. People love its bright look and how it makes finding their keys easier each and every day.
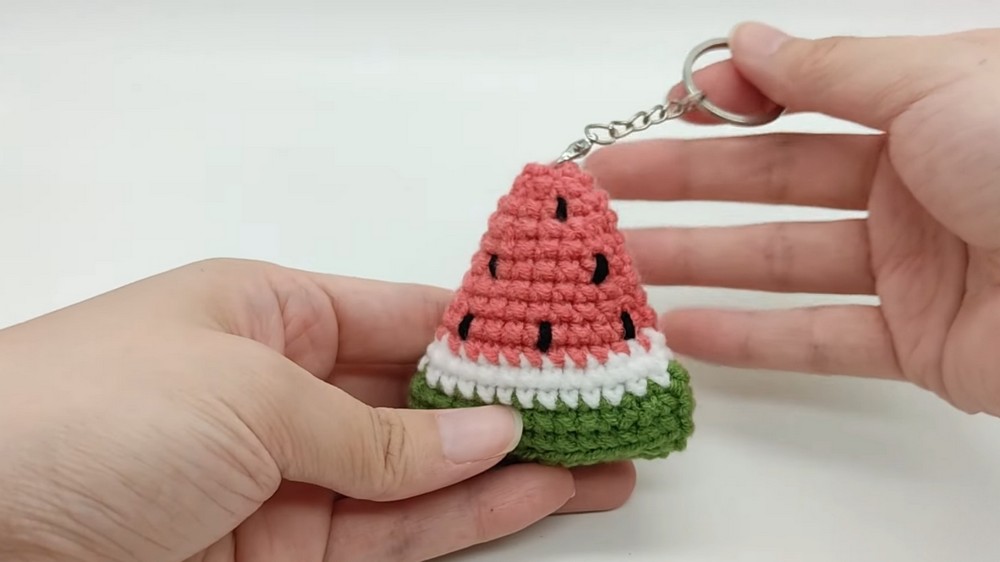
Free Crochet Watermelon Keychain Pattern
Materials
- Yarn: Worsted weight (category 4) yarn
- Green (rind)
- White (border)
- Red or pink (flesh)
- Black scrap (seeds)
- Hook: 3.0 mm–3.5 mm crochet hook
- Fiberfill (polyester stuffing)
- Tapestry needle
- Scissors
- Keychain ring (optional)
Key Abbreviations (US Terminology)
- ch – chain
- sc – single crochet
- inc – increase (2 sc in same st)
- dec – decrease (sc2tog)
- st(s) – stitch(es)
- FO – fasten off
- sl st – slip stitch
Special Notes
- The piece is made in rows, working around both sides of a foundation chain to form an oval.
- Stuff gently before completing closing rounds.
- A stitch marker is useful as the shape becomes less distinct in decreasing rounds.
- Color changes should be worked by yarn over with the new color in the last stitch before the change.
Pattern
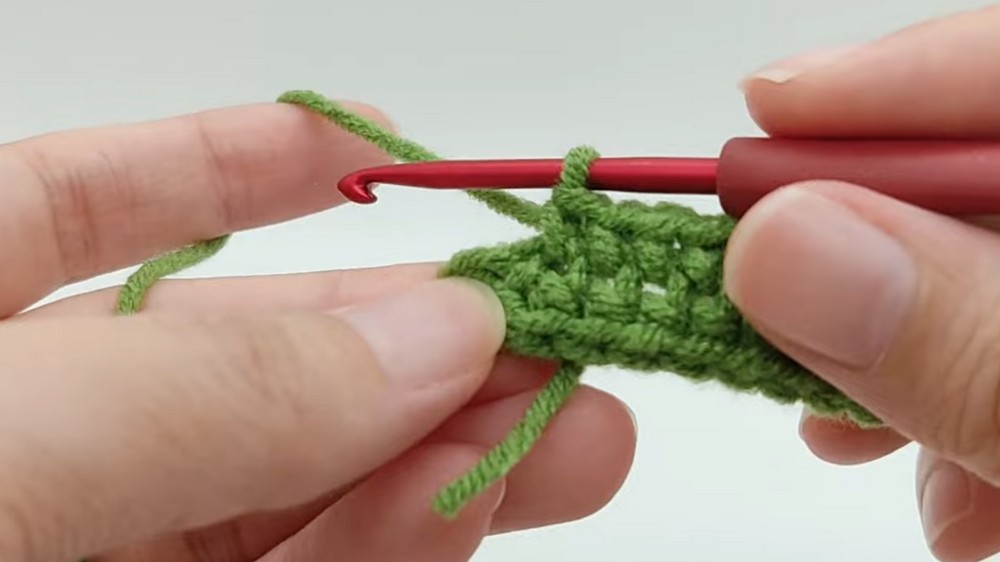
Base (Green Rind)
Step 1:
- With green yarn, make a ch 13.
Step 2:
- Row 1: Starting in the second chain from hook, sc in next 11 ch,
- 3 sc in last ch (turning around the end),
- Working along the underside of chain, sc in next 10 ch,
- inc (2 sc) in last ch. [24 sts total]
- Sl st to first sc to join.
Step 3:
- Row 2:
- Ch 1, inc in first st,
- sc in next 10 sts,
- 3 inc (2 sc in each) in next 3 corner sts,
- sc in next 10 sts,
- 2 inc (2 sc in each) in last 2 sts.
- Sl st to first sc. [32 sts]

Step 4:
- Row 3:
- Ch 1.
- Work sc in inner loop only (back loop): sc in each st around. [32 sts]
- Sl st to first sc.
Body
Step 5:
- Row 4:
- Ch 1, sc in each st around. [32 sts]
- Sl st to join.
Step 6:
- Change to white yarn in the last sl st of previous round.
- Row 5:
- Ch 1, sc in first st, then work decreases and sc following this sequence:
- 1 sc, 1 dec,
- 9 sc,
- 1 dec, 2 sc,
- 1 dec,
- 10 sc,
- 1 dec, 1 sc.
- Sl st to join.
- Ch 1, sc in first st, then work decreases and sc following this sequence:
Step 7:
- Row 6:
- Ch 1, sc in each st around. [28 sts]
- Sl st to join.
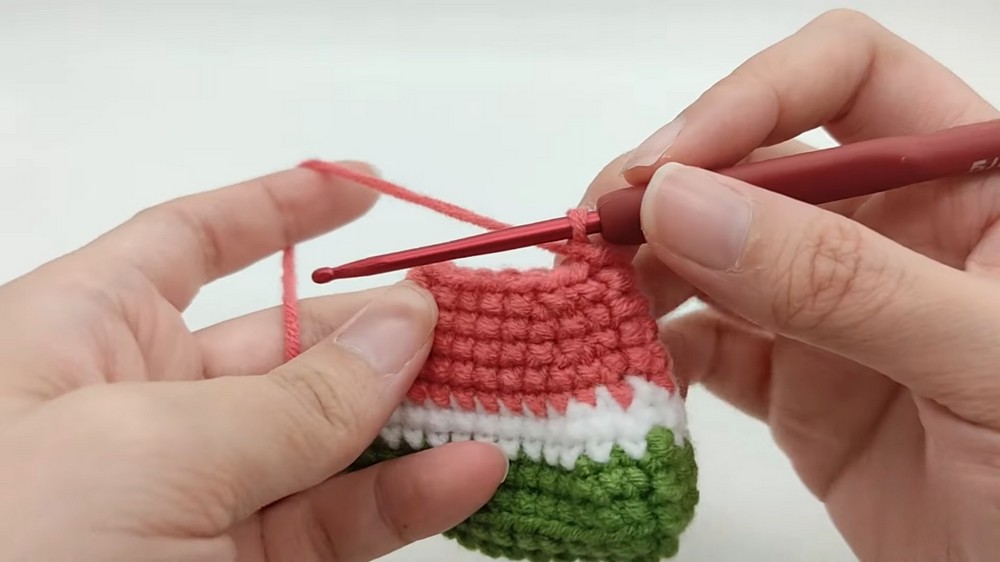
Flesh
Step 8:
- Change to red/pink yarn in last sl st.
- Row 7:
- Ch 1, follow sequence for shaping:
- 1 sc, 1 dec, 8 sc, 1 dec, 2 sc, 1 dec, 8 sc, 1 dec, 1 sc
- Sl st to join.
- Ch 1, follow sequence for shaping:
Step 9:
- Row 8:
- Ch 1, sc in each st around. [24 sts]
- Sl st to join.
Step 10:
- Row 9:
- Ch 1, follow sequence for further shaping:
- 1 sc, 1 dec, 6 sc, 1 dec, 2 sc, 1 dec, 6 sc, 1 dec, 1 sc
- Sl st to join.
- Ch 1, follow sequence for further shaping:
Step 11:
- Row 10:
- Ch 1, sc in each st around. [20 sts]
- Sl st to join.
Step 12:
- Row 11:
- Ch 1, follow sequence:
- 1 sc, 1 dec, 4 sc, 1 dec, 2 sc, 1 dec, 4 sc, 1 dec, 1 sc
- Sl st to join.
- Ch 1, follow sequence:
Step 13:
- Row 12:
- Ch 1, sc in each st around. [16 sts]
- Sl st to join.
Stuffing
- Gently stuff the watermelon with fiberfill.
Closing
Step 14:
- Row 13:
- Ch 1, sequence: 1 sc, 1 dec, 2 sc, 1 dec, 2 sc, 1 dec, 2 sc, 1 dec, 1 sc
- Sl st to join.
Step 15:
- Row 14:
- Ch 1, sc in each st around. [12 sts]
- Sl st to join.
Step 16:
- Row 15:
- Ch 1, 6 dec (sc2tog) evenly around.
- Sl st to join. FO.
Finishing
- Thread the yarn tail onto a tapestry needle.
- Insert needle through remaining stitches at tip, pull tight to close.
- Weave in and hide all yarn tails inside the watermelon.
- Use black yarn and tapestry needle to sew several “seeds” (small stitches) randomly onto one side of flesh.
- Attach a keychain ring or loop as desired.
Conclusion
Your crochet watermelon keychain is now finished—a vibrant and fun accessory for bags, keys, or gifts! This project is ideal for beginners and offers opportunities to practice color changes, increases/decreases, and surface embroidery.
Pattern Corrections & Tips
- Adjust stuffing for a puffier or flatter wedge.
- Leave tails for easier closure.
- For neater color changes, always begin new color on the last yarn-over of the previous stitch.
- If stitch count is off, check for skipped increases/decreases and ensure both sides remain symmetrical.
- Add extra seeds or use a bead for more realism.
Leave a Reply