
Protect earbuds in style with Free Crochet AirPod Bag Pattern featuring secure storage compact size and everyday convenience wherever you go.
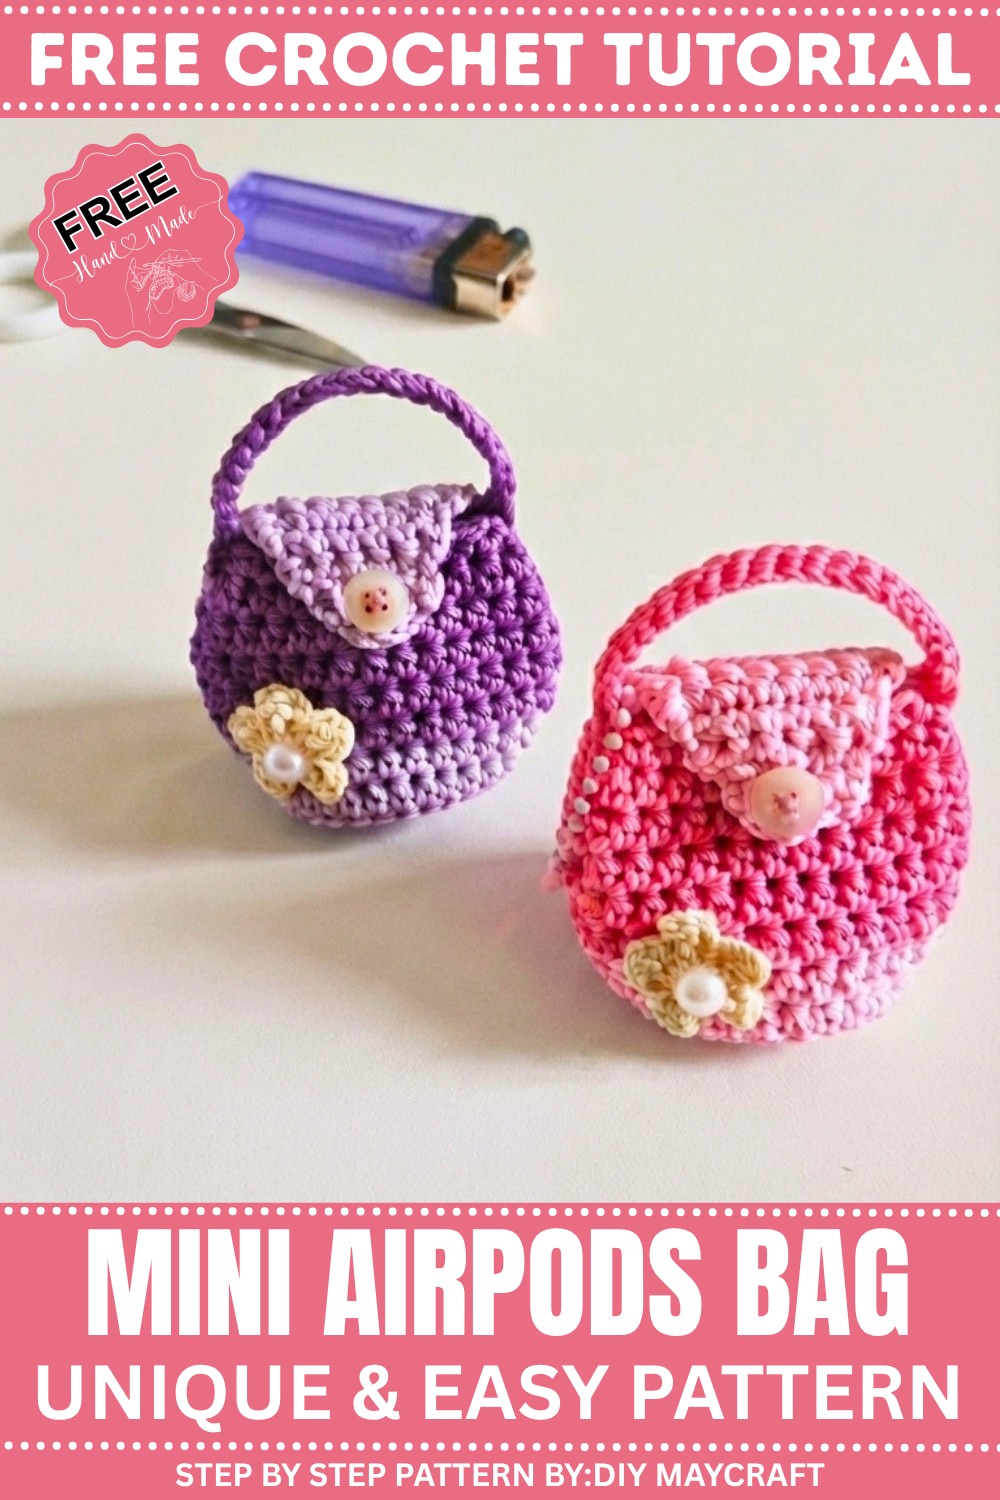
Having a stylish case for your Airpod that’s both functional and charming can make daily life a little brighter. This free crochet AirPod bag pattern offers just that—a cozy, handmade cozy specifically designed to keep your Airpod safe and easy to find. Many crocheters enjoy making small accessory projects like this because they’re quick, satisfying, and allow room for creativity. The finished AirPod bag isn’t just a protective cover; it’s a cute statement piece that adds a personal touch to your tech essentials.
The design of this AirPod bag is compact yet thoughtfully crocheted to fit snugly around your Airpod case. The texture combines smooth and slightly raised stitches to give it a soft, sturdy feel that protects against scratches and minor bumps. It features a secure flap or zipper closure to keep your device in place and a convenient loop or keyring attachment, making it easy to clip onto bags or belts.
Easy AirPod Bag Crochet Pattern with a Secure Fit
What’s wonderful about this project is its flexibility—whether you want to make it in vibrant colors, neutral tones, or even add decorative appliqués or initials, customization is straightforward and fun. Whether you’re new to crochet or have been stitching for a while, this pattern offers approachable steps you can comfortably follow.
So you can build confidence with shaping and simple detailing, all without needing advanced techniques. By working through this project, crocheters can sharpen their skills while creating a practical, personalized accessory that keeps tech gear stylishly protected.
Crochet Mini Bag Hanger Pattern
This comprehensive crochet pattern guides you step-by-step in making a charming crochet mini bag hanger, perfect for organizing small essentials or decorating your space. This project blends textured stitches with decorative floral elements, making it a wonderful accessory for crochet enthusiasts of beginner to intermediate skill level.
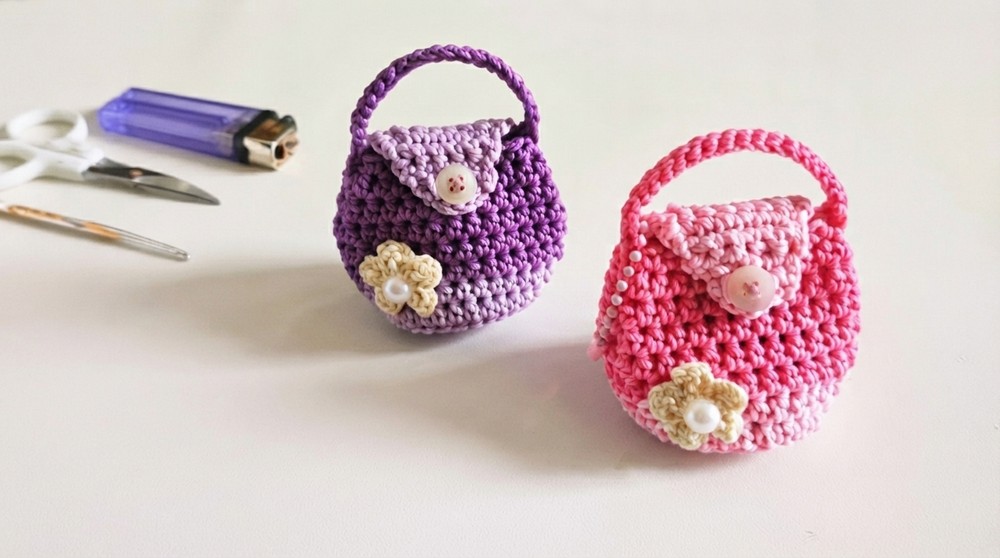
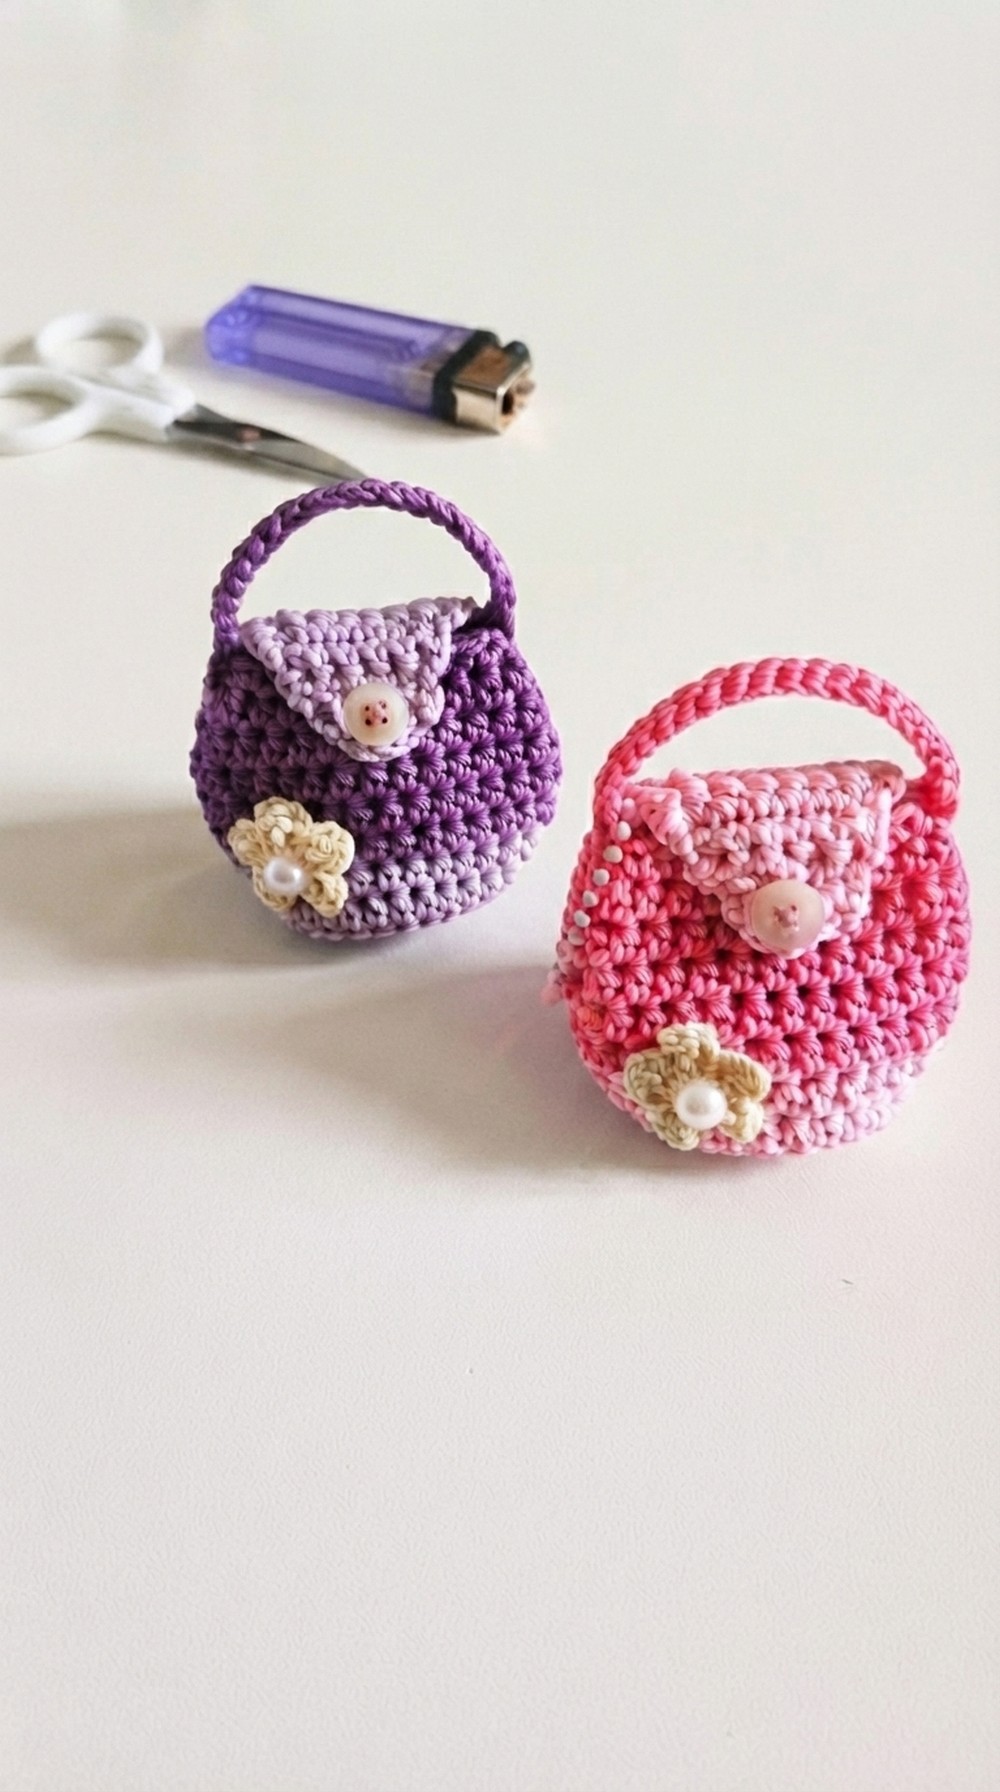
This crochet mini bag hanger combines practicality and aesthetic appeal. It features a sturdy bag body worked in half double crochets with increasing rounds, a textured overlay, a cozy flap with button closure, and a lovely flower decoration. Additionally, the hanger strap is crafted for convenient display or carrying. The piece is compact but highly functional and perfect for gifting or personal use.
Skill Level & Terminology
- Skill Level: Beginner to Intermediate
- Terms: US crochet terms
Materials & Tools
- Polycherry yarn or similar medium-weight yarn
- Crochet hook size 4.0 mm (4/0) – Tulip brand suggested
- Button for flap closure
- Sewing needle and thread
- Scissors
- Stitch marker
- Lighter (for tidying finished ends)
Gauge
The finished fabric should have a firm but flexible tension that holds shape well. Using half double crochet (hdc) and double crochet (dc) stitches consistently helps maintain the structure.
Abbreviations
- ch: chain
- sc: single crochet
- hdc: half double crochet
- dc: double crochet
- sl st: slip stitch
- fp: front post
- dec: decrease
Special Stitch Instructions
- Magic Ring: Used to start the work with a tight center.
- Half Double Crochet Increase: Work two hdc stitches into the same stitch.
- Back Loop Only: Working into the back loop creates a ribbing texture.
- Front Post Stitch: Work around the post of the stitch to create raised ridges.
- Single Crochet Decrease: Combine two incomplete sc stitches into one to reduce stitch count.
Finished Size
Approximately a small bag size, enough to hold miniature items or be used decoratively, with a hanger strap suitable for wall or hook hanging.
Pattern Instructions
Part 1: Starting the Mini Bag Base
- Make a magic ring.
- Chain 2 (not counted as a stitch).
- Work 10 half double crochets (hdc) into the magic ring.
- Place a stitch marker in the first hdc to mark the beginning of the round.
- Pull the short yarn tail and tighten the ring to close the center.
- Join with a slip stitch (sl st) to the marked first hdc.
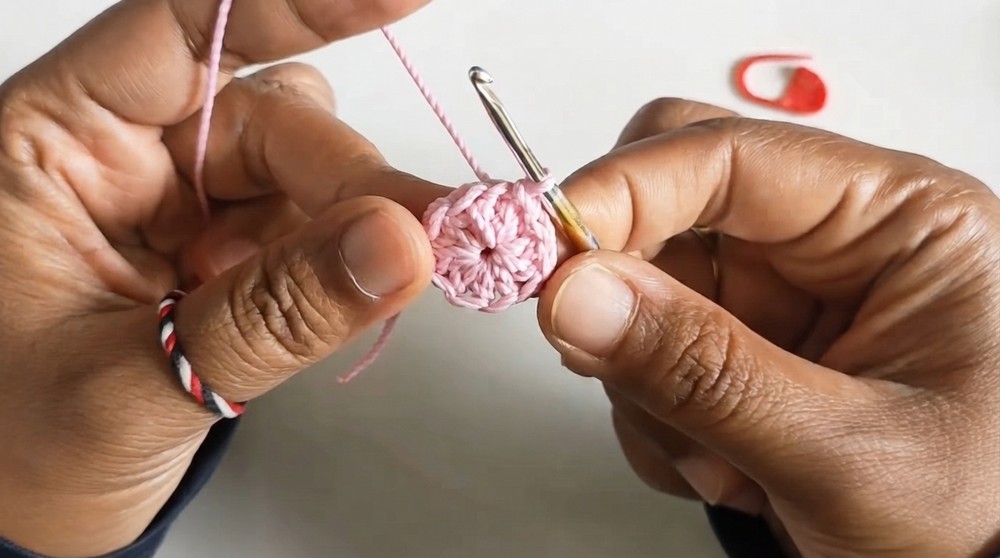
This round forms the rounded base of the mini bag, creating a neat and secure foundation.
Part 2: Increasing Half Double Crochets – Round 2
- Chain 2 (does not count as a stitch).
- Work 2 hdc in each stitch around (hdc increase), total 20 hdc.
- Join with a sl st to the beginning of the round.
This round doubles the stitch count, expanding the base circumference evenly.
Part 3: Increasing with Half Double Crochets – Round 3
- Chain 2.
- In the same stitch, work 1 hdc.
- Next stitch, work 2 hdc in the same stitch (increase).
- Repeat the sequence (1 hdc, increase) nine more times, producing 30 hdc stitches total.
- Join with a sl st.
Further expands the bag base, creating a smooth round shape.
Part 4: Working Back Loop Half Double Crochets – Round 4
- Chain 2 (does not count as a stitch).
- Work 1 hdc in the back loop only (BLO) of each stitch around (total 30 hdc).
- Join with a sl st.
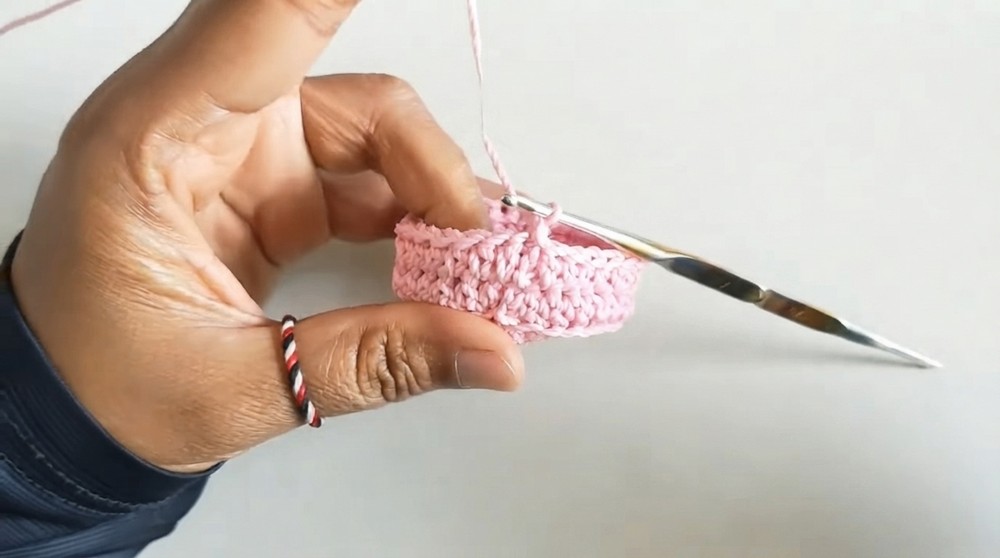
Working in back loops only creates a subtle ribbed texture for interest and flexibility.
Part 5: Regular Half Double Crochet – Round 5
- Chain 2.
- Work 1 hdc in both loops of each stitch around.
- Join with a sl st.
- Chain 1 and fasten off.
Restores the fabric to a smooth texture and builds bag sides.
Part 6: Changing Yarn Color for Body – Rounds 6 to 11
- Attach bright pink yarn with slip knot at the sl st join.
- For Round 6, chain 2; work 1 hdc in each stitch around; join with sl st.
- Repeat this process for rows 7 through 11 (a total of 6 rounds), chaining 2 at the start of each round.
Rounds 7
- Attach bright pink yarn with slip knot at the sl st join.
- For Round 6, chain 2; work 1 hdc in each stitch around; join with sl st.
- Repeat this process for rows 7 through 11 (a total of 6 rounds), chaining 2 at the start of each round.
Rounds 8
- Attach bright pink yarn with slip knot at the sl st join.
- For Round 6, chain 2; work 1 hdc in each stitch around; join with sl st.
- Repeat this process for rows 7 through 11 (a total of 6 rounds), chaining 2 at the start of each round.
Rounds 9
- Attach bright pink yarn with slip knot at the sl st join.
- For Round 6, chain 2; work 1 hdc in each stitch around; join with sl st.
- Repeat this process for rows 7 through 11 (a total of 6 rounds), chaining 2 at the start of each round.
Rounds 10
- Attach bright pink yarn with slip knot at the sl st join.
- For Round 6, chain 2; work 1 hdc in each stitch around; join with sl st.
- Repeat this process for rows 7 through 11 (a total of 6 rounds), chaining 2 at the start of each round.
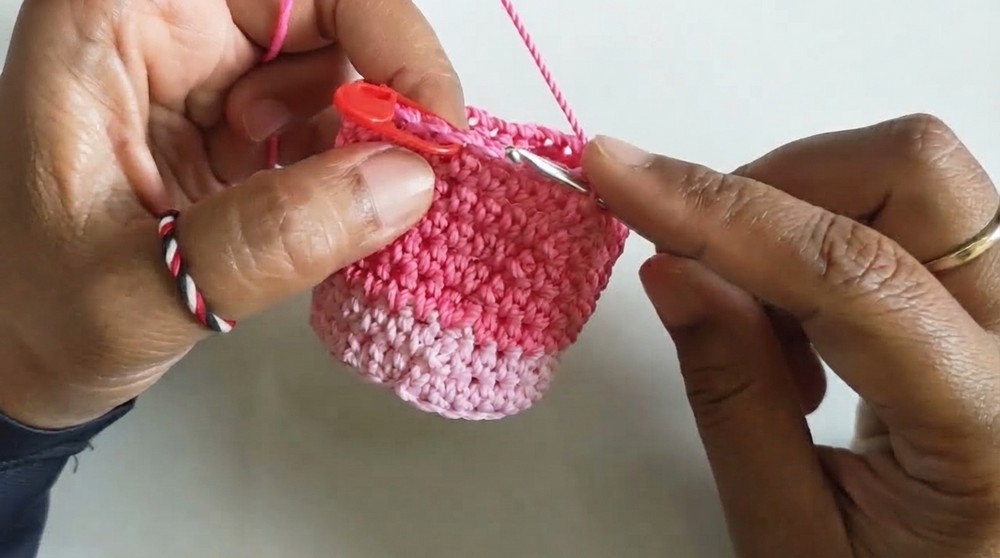
Adds visual interest and highlights with a contrasting color.
Part 7: Creating Front Post and Single Crochet Pattern – Round 11
- Count 5 stitches from the slip stitch, mark the 6th stitch.
- Chain 1.
- Work 1 front post double crochet (fpdc) in the marked stitch and the next one.
- Skip stitches 3 to 6; then work 1 single crochet (sc) to join.
- Work 9 sc in the next stitches.
- Count another 5 stitches, mark the 6th stitch again.
- Repeat front post double crochets and sc as above.
- Finish by joining the first sc with a sl st.
Combines raised texture with smooth sc bands to add style to the bag body.
Part 8: Making the Hanging Strap
- Chain 20 starting from the middle fold between the marked stitches.
- Slip stitch to the opposite side at the fold.
- Chain 1, then work a slip stitch in every chain across (20 slip stitches).
- Join with sl st, chain 1, and fasten off.
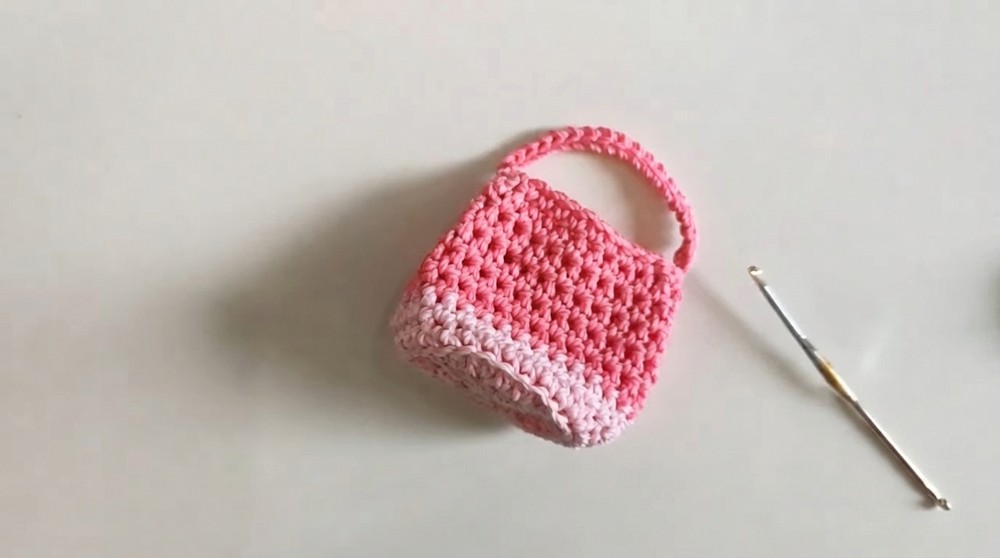
The strap loop is sturdy and neatly attached, perfect for hanging.
Part 9: Crocheting the Bag Cover (Flap)
- Attach yarn beside the strap.
- Chain 1, work 9 sc across.
- Turn.
Part 10: Decreasing Flap – Row 2
- Chain 1, turn.
- Make single crochet decrease (sc dec) over first two stitches.
- Work 5 sc.
- Decrease over last two stitches.
- Turn.
Part 11: Flap Rows 3 to 6
- Row 3: Chain 1, turn, work 7 sc.
- Row 4: Chain 1, turn, make sc dec, then 3 sc, then sc dec (total 5 sts).
- Row 5: Chain 1, turn, work 5 sc.
- Row 6: Chain 1, turn, make sc dec over first 2 sts and last 2 sts.
- Chain 1 and fasten off.
These rows shape the flap into a neat triangle, ensuring the button closure fits snugly.
Part 12: Attaching Button
- Sew the button on the front of the flap aligning with the opposite edge of the bag.
This secures the flap and provides functional bag closure.
Part 13: Flower Decoration
- Start with a magic ring.
- Chain 2, work 1 dc into ring, chain 2, slip stitch (sl st) to ring—this makes one petal.
- Repeat this: chain 2, dc, chain 2, sl st five times, for a total of 5 petals.
- Pull the short tail to tighten the ring.
- Fasten off, tidy ends.
- Sew flower onto the mini bag flap; decorate with beads if desired.
Adds a delicate, charming floral embellishment, enhancing the aesthetic appeal.
Assembly & Finishing
- Weave in all yarn ends securely using a tapestry needle.
- Attach the button firmly to the flap.
- Sew the flower and beads onto the flap for decoration.
- Attach the strap in the center fold of the bag firmly.
- Use lighter cautiously to fix any loose yarn ends and tidy the piece.
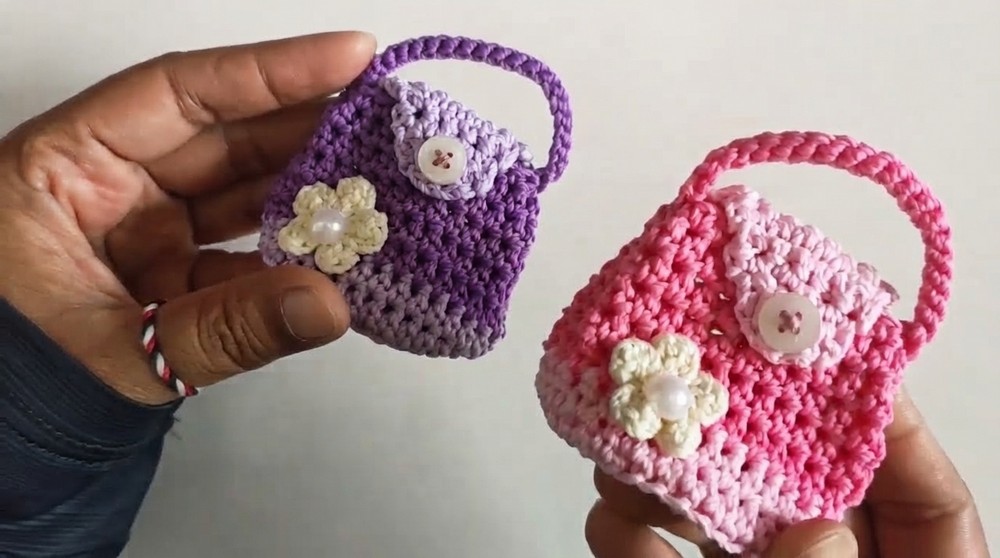
Stitches Used
- Slip Knot
- Chain (ch)
- Half Double Crochet (hdc)
- Double Crochet (dc)
- Slip Stitch (sl st)
- Front Post Double Crochet (fpdc)
- Single Crochet (sc)
- Single Crochet Decrease (sc dec)
- Magic Ring
Starting Tips
- Begin by working into a magic ring foundation with half double crochets to establish a smooth, circular base.
- Use stitch markers to help track rounds and beginning points.
- Alternate rounds with back loop and full stitches to achieve textured and smooth areas.
- Be mindful of counts during increases and decreases for a consistent shape.
- Use a lighter carefully to secure ends for a professional finish.
This crochet mini bag hanger project offers a fulfilling mix of classic stitch work, creative texture, and decorative detail. Perfect for beginners expanding skills or intermediates wanting a quick stylish project. Enjoy fashioning your crocheted mini bag with this easy-to-follow pattern!
Leave a Reply