
Learn how to make a custom wooden window screen frame to keep bugs out and let fresh air in. This DIY guide gives you a step-by-step guide on how to make your wooden screen using handy tools. These screens permit you to enjoy the fresh air without worrying about pesky bugs buzzing around your room. In addition to raising the aesthetic appeal of your home, they fully respect the old-fashioned look of older houses, preserving their historical charm.

DIY Wood Window Screens
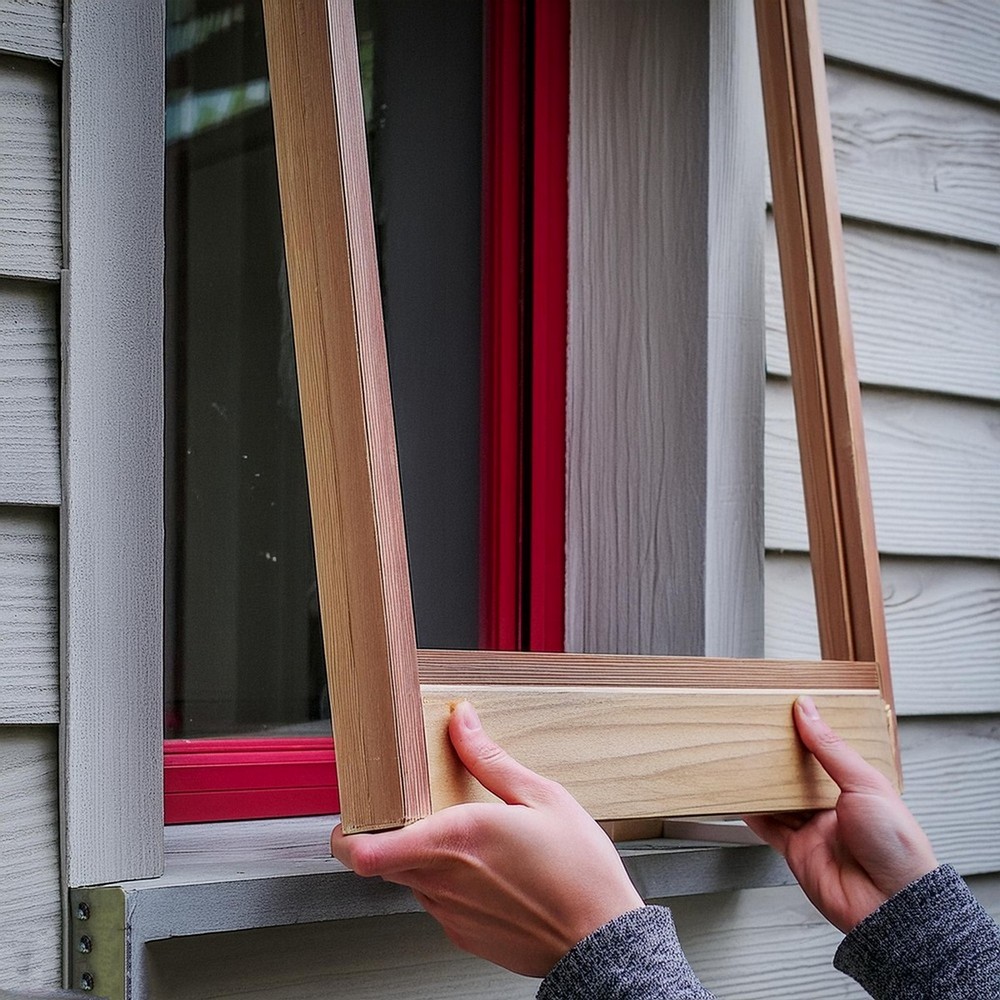
This DIY Wood Window Screen Frame is a custom-built, wooden, easy-to-install screen for windows, providing a rustic look fitting for antique-style homes. It’s designed to allow fresh air and sunlight in while keeping bugs out. The DIY wooden approach is cheaper than commercial screens, and the guide makes the project simple with step-by-step instructions and pictures. Moreover, the screen is robust and durable, assuring long-term use. The project comes with a free plan detailing the entire process.
Making Your Wood Window Screens
Materials Needed:
- Wood (per printed plan)
- #10 Plate Joiner Biscuits
- #20 Plate Joiner Biscuits
- Exterior Wood Glue
Tools:
- Tape Measure
- Miter Saw
- Biscuit Joiner
- Router with Fence
- 1/8″ Straight Router Bit
- Kreg Multi-Mark
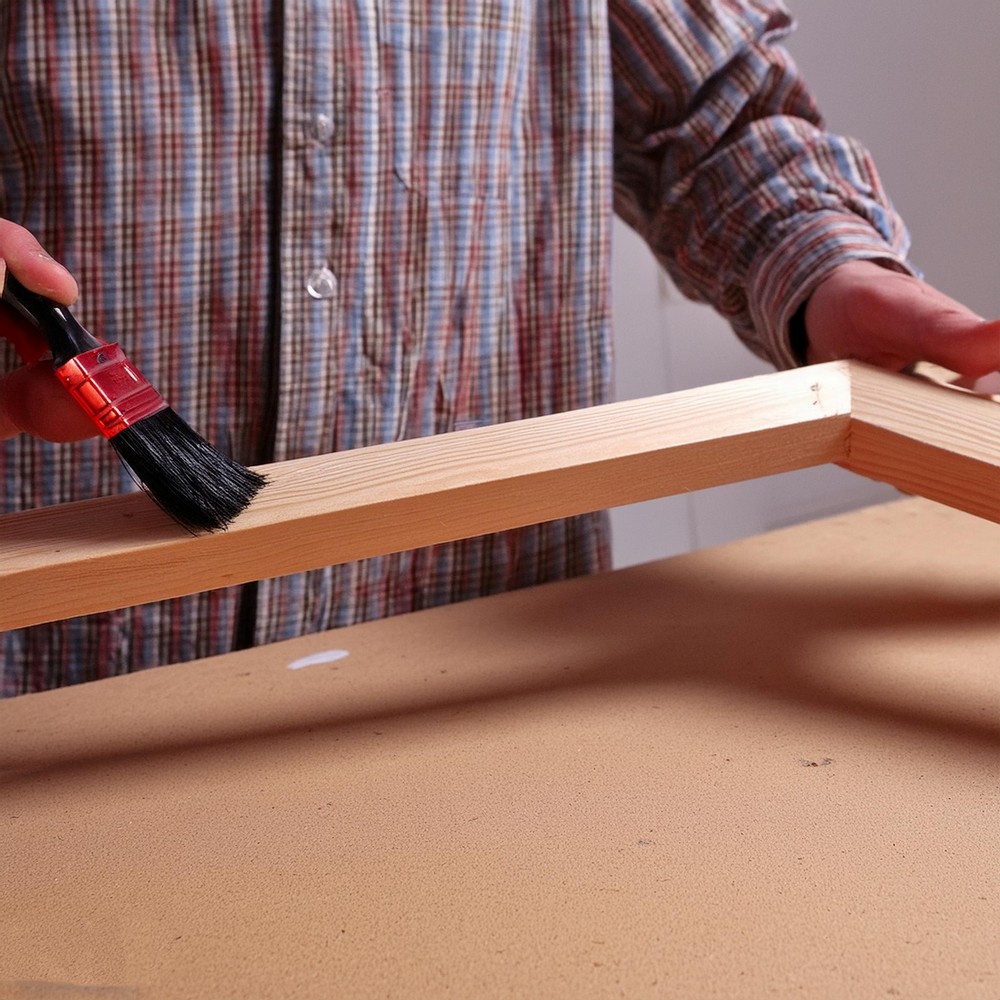
- Purdy Cub Paint Brush
Step-by-Step Guide
Step 1: Measure the Opening
- Dive in by measuring the space between the exterior window trims at the top and bottom for the width and from top to bottom for the height. To ensure a perfect fit that accounts for any seasonal wood movement, subtract a quarter-inch from the smallest width and height measurements.
Step 2: Cut the Window Screen Parts
- Time to turn measurements into wood. Trim:
- 2 stiles out of 1×3 to your height measurement.
- 2 rails out of 1×3 to your width measurement.
- 1 bottom rail from 1×4 to your width measurement.

Step 3: Cut the Biscuit Joints
- With your pieces measured and cut, mark the center of each rail using the Kreg Multi-Mark, transferring these marks to the stiles. Set your biscuit joiner for #10 biscuits for the 1×3 joints and #20 for the 1×4 joints, and plunge in to create snug homes for your joiner biscuits.
Step 4: Assemble the DIY Window Screen
- Lay out your window screen parts in a frame shape and test the biscuits for fit. After applying glue to the joints and inserting the biscuits, clamp the frame firmly together. To ensure it’s squared, measure diagonally across the corners and adjust as necessary till both diagonals match.
Step 5: Cut the Groove for the Spline
- Measure 3/8″ from the inside edge of the frame and then an additional 1/8″ from that mark—this is where the groove for the spline will sit. Adjust your router bit to a 1/4″ depth and set the router fence using the marks on your frame. Route the sides and top first—they should be the same width—and then do the same for the bottom using these guides and your router.
Congratulations! Your window screen frame, a union of utility and rustic elegance, stands ready to grace your windows and let the fresh air flow freely sans the bugs.

Leave a Reply