Create your very own pizza oven in the comfort of your backyard is more than just a DIY project; it’s an invitation to unlock a world of culinary delights. Imagine the aroma of freshly baked pizza wafting through the air, a crust that’s perfectly charred to your liking, all from an oven you built with your own hands. The process is not for the faint-hearted but promises an immensely rewarding journey for those willing to take the plunge. Not only do you end up with an efficient way to cook pizzas but also a versatile cooking tool that can roast, bake, and delight.
DIY Pizza Oven Project

Materials and Tools Required:
Supplies:
- Cement
- Refractory bricks
- Blocks or bricks of choice for the main body
- REO Bar (Reinforcement Bar)
- Wood for forming up
- High temperature-resistant insulation
- Chimney kit
Tools:
- Brick saw or a grinder with a cut-off disc
- Cement mixer
- Trowel
- Level
- Dust mask (for safety!)
- Eye protection
- Hearing protection
- Gloves

Building Steps:
Choosing the Perfect Location
- Location Is Key: Find a suitable spot. The project initiator chose an old pond area, ensuring it had a decent slope to prevent water runoff towards the patio.
- Prepare the Base: Lay down a road base and compact it. Introduce REO bar for reinforcement and pour tinted concrete, finishing off with a brushed texture.
Foundation and Structure
- Blueprints and Measurements: Outline the base area and calculate the number of blocks needed, aiming to minimize cuts.
- Laying the First Row: Start laying down your blocks, filling each block’s core for added strength. Continue this for a couple of courses.
Achieving Level Perfection
- Compensating for Slope: Use wood to form up a wedge, counteracting ground slopes.
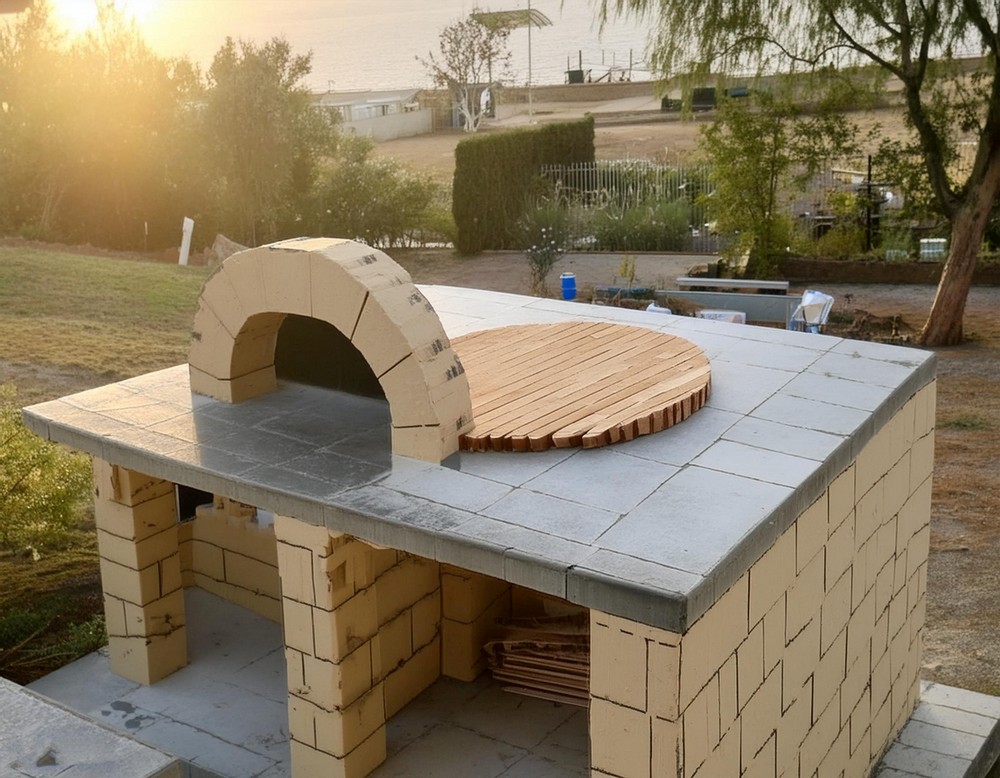
- Build to Desired Height: Continue building up to the top layer, preparing for the oven deck.
Crafting the Top Deck
- Formation: Construct the tabletop with a uniquely curved front edge to break the monotony of right angles. Reinforce with REO bar.
The Heart of the Oven – The Dome
- Mapping It Out: After the tabletop cures, outline the desired base shape with bricks as a guide.
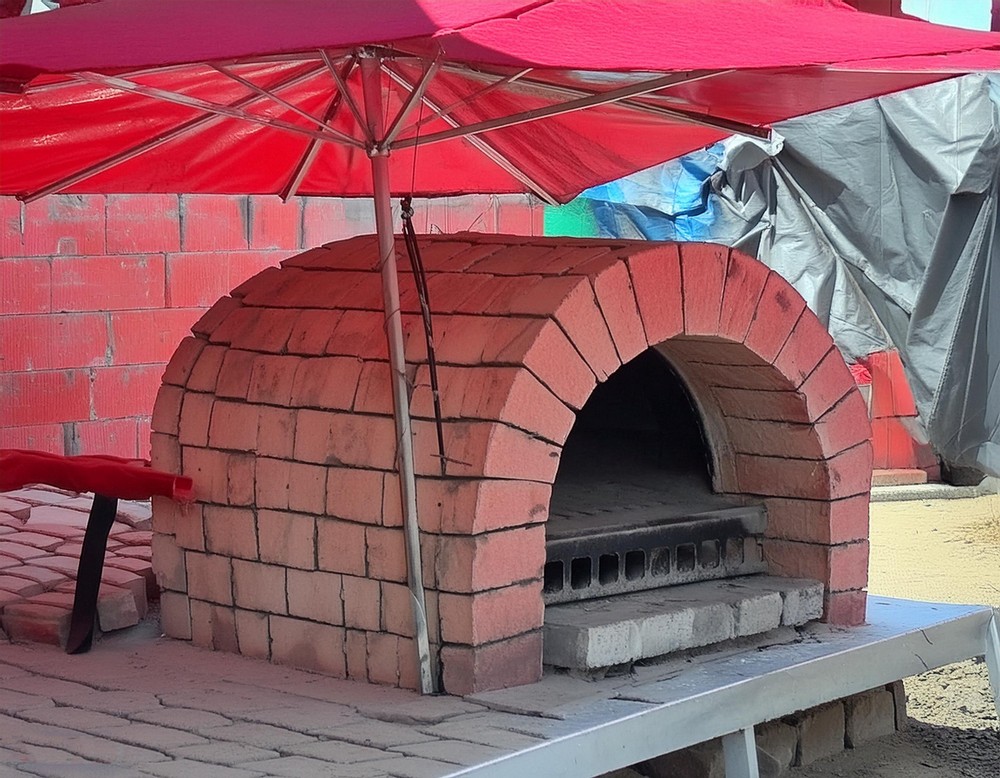
- Arch Support: Use wooden forms to support the arch during construction. Aim for minimal gaps between bricks for efficiency.

The Dome Takes Shape
- Precision Cutting: Halve the bricks, keeping uncut sides inward. Employ a homemade tool for consistent spacing.
- Slow and Steady: As the dome height increases, pace the brick laying to allow proper setting.
Insulation and Exterior
- Filling Gaps: Use broken brick pieces and refractory cement to fill any voids.
- Insulation Wrap: Apply a layer of K-Wool insulation around the dome, secured with chicken mesh.
- Finishing Touches: Render the dome with a mix of cement and optional coloring. Allow curing.
The Maiden Fire
- Cleaning Up: Clean the interior thoroughly. Light a small but prolonged fire to cure and temper the oven’s interior.
Culinary Adventures Begin
- Heating Up: Initially, heat the oven for a few hours before cooking.
- Temperature Check: Use flour to gauge the floor temperature for the perfect pizza bake.
The Finishing Touches
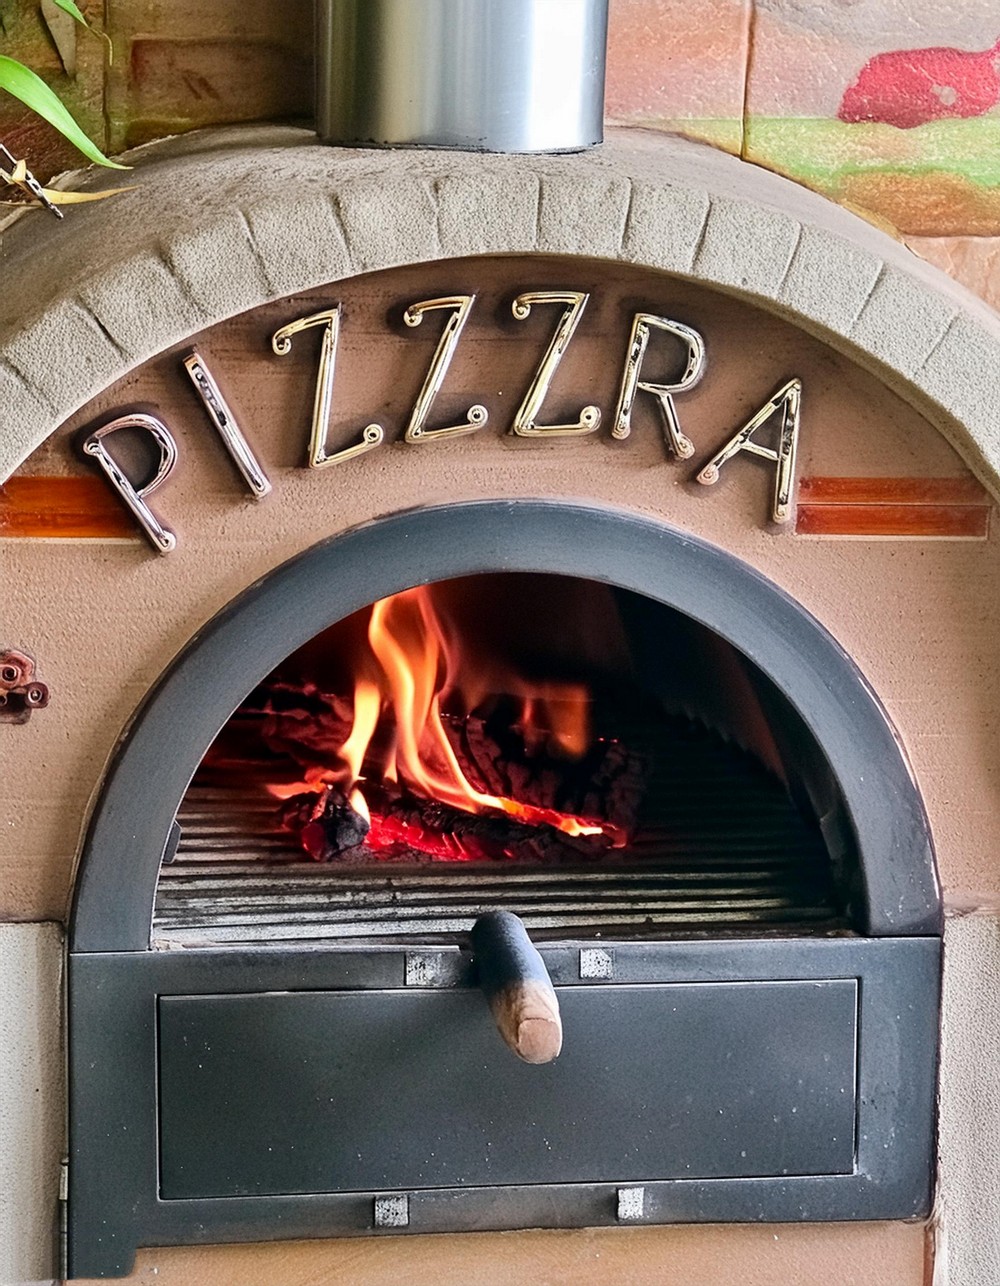
- Customize the Base: Render or tile as preferred. Optional upgrades like a steel door and decorative elements add both function and flair.
Conclusion
Building your own pizza oven is an enriching journey with a delicious destination. It’s about transforming simple ingredients into unforgettable meals under the open sky, in an oven that tells a story of hard work and passion. Fire up your creative spirit, and let’s bake memories that last a lifetime.


Leave a Reply