
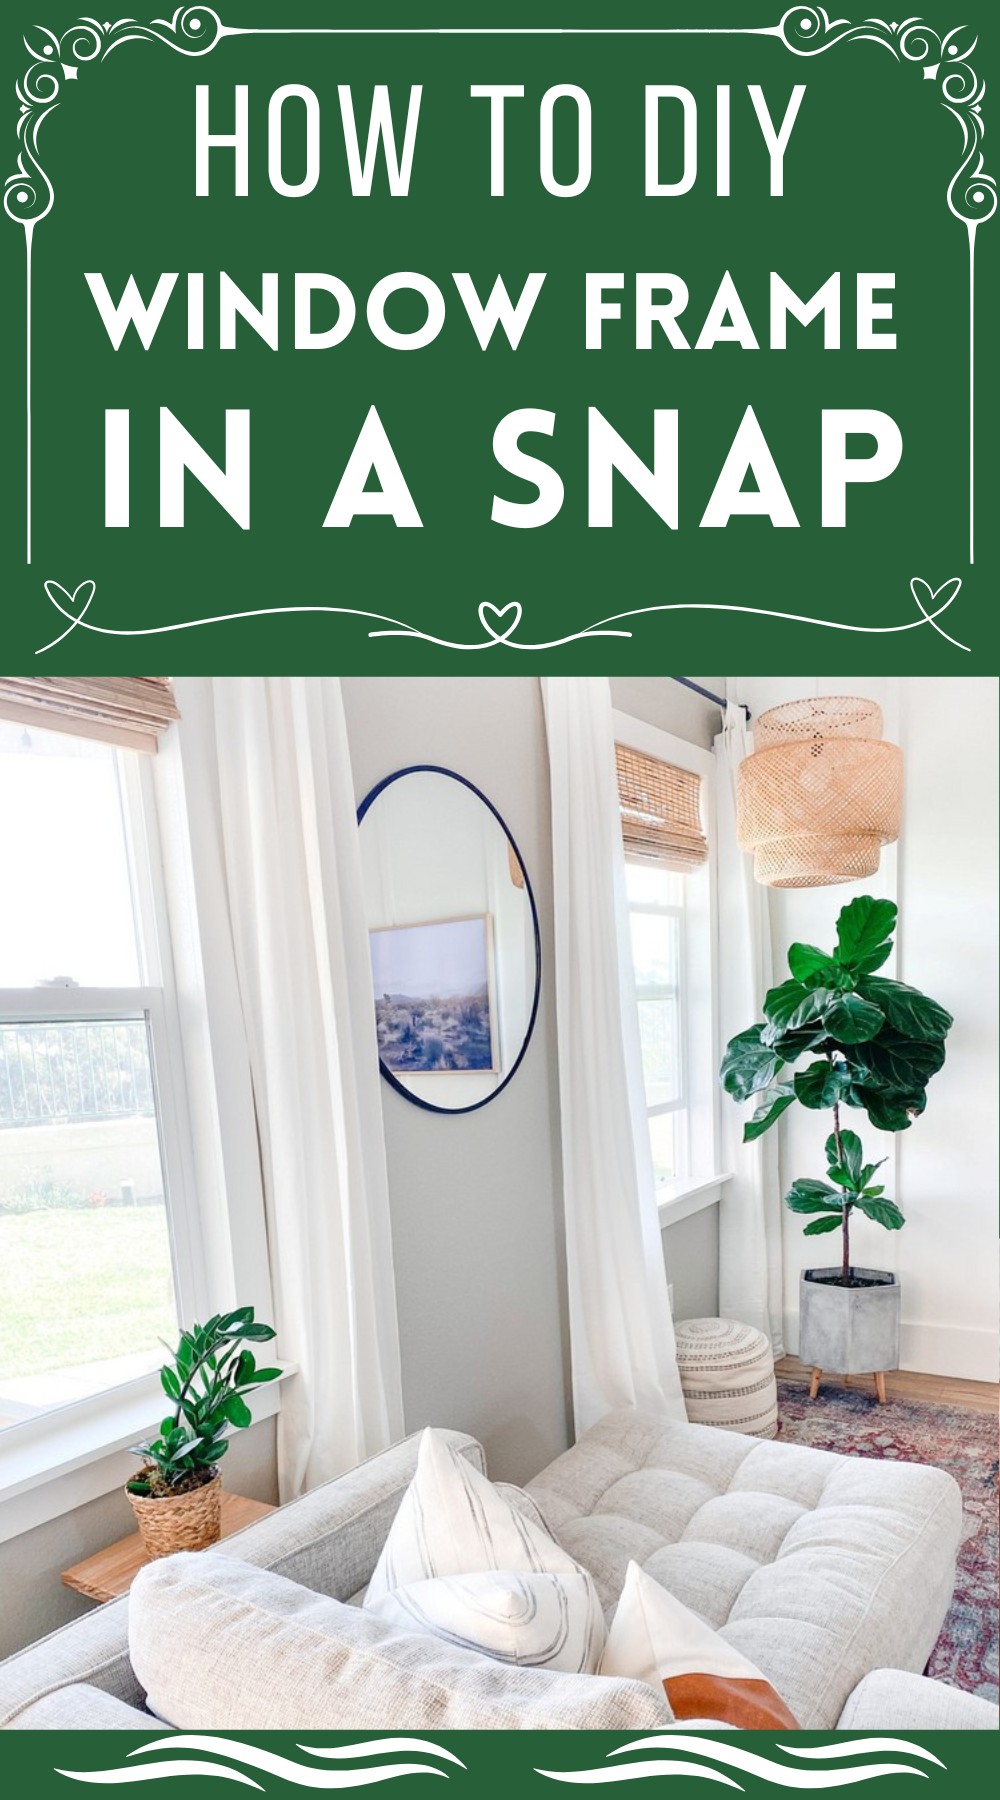
Looking to instantly add a touch of charm and coziness to your space? Look no further than our DIY window frame project, which is both simple to undertake and incredibly effective in transforming any room. By creating your window frame, you’re not just adding an attractive feature to your room; you’re crafting a piece of decor that embodies rustic elegance and can evolve with your seasonal or personal decor preferences. This project promises to combine your space with a warm, inviting atmosphere, making it irresistibly yours.
DIY Window Frame In A Snap

Materials You’ll Need:
1 x 4 Primed MDF or pine boards (enough to frame around your window)
1 x 6 primed MDF board (for the window sill or bottom piece)
White caulking
Wood Filler or Spackle
Paint

Tools Required:
Jigsaw or multi-tool
Chop saw
Brad nail gun
The Making Process:
Step 1: MDF Magic
Firstly, measure from the top of your window. Cut your initial piece of 1×4 MDF to this length. Using the Brad nail gun, attach this board across the top of your window.
Step 2: Precision Cutouts
For the side pieces, mark a cutout on each end measuring 3.5 inches inwards (matching the width of the 1×4 boards) and to the depth of the window frame. This ensures a snug fit against the window.
Step 3: Side Story
Measure the distance from the top of the window sill to the underside of the top board you just attached. Cut two pieces of 1×4 board to this length. Attach these as the side pieces of your frame, using the brad nail gun for a secure fit.

Step 4: Filling and Finishing Touches
Fill any nail holes with your choice of wood filler or spackle. Once dry, caulk around the entire frame and where the boards join to ensure a seamless look. The final step is to paint your new frame and the inside of the window sill to match, pulling the whole room together.
Just like that, you have a window that does more than let the light in. It brings warmth, character, and style to your space, proving that sometimes, the smallest changes have the biggest impact.

Leave a Reply