
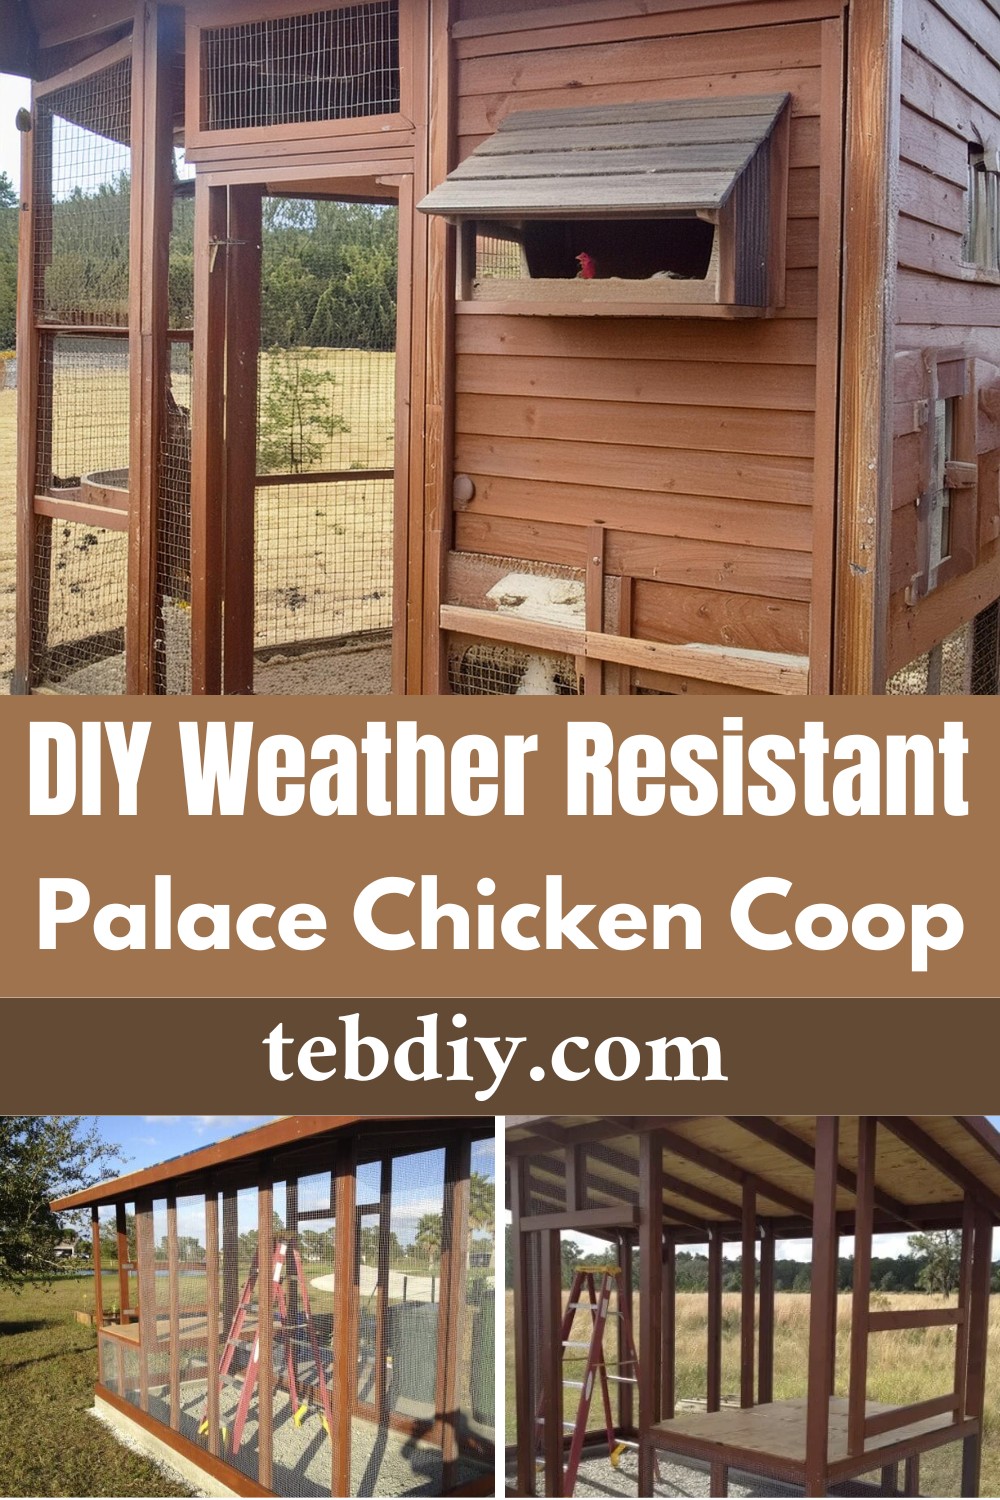
Build a beautiful and spacious chicken coop with this step-by-step guide. Suitable for beginners and experienced builders, The DIY Palace Chicken Coop is designed to be visually appealing, easy to maintain, and perfect for keeping your chickens safe and comfortable.

DIY Palace Chicken Coop
Materials List
- Concrete mixer
- Rebar
- Drainage stones
- Concrete
- PVC pipe for drainage
- Gravel
- Sand
- Wood for framing
- Water sealant stain
- Hardware cloth
- Tools for woodworking and cutting
- Weatherproofing materials
Tools Used
- Powder-activated nailer
- Regular hammer
- Level
- Measuring tape
- Clamps
- Saws
Project Steps
Design Phase: First and foremost, we wanted our coop to tick a few essential boxes:
Pleasing to the Eye: It needed to blend seamlessly with its surroundings due to its prominent location.
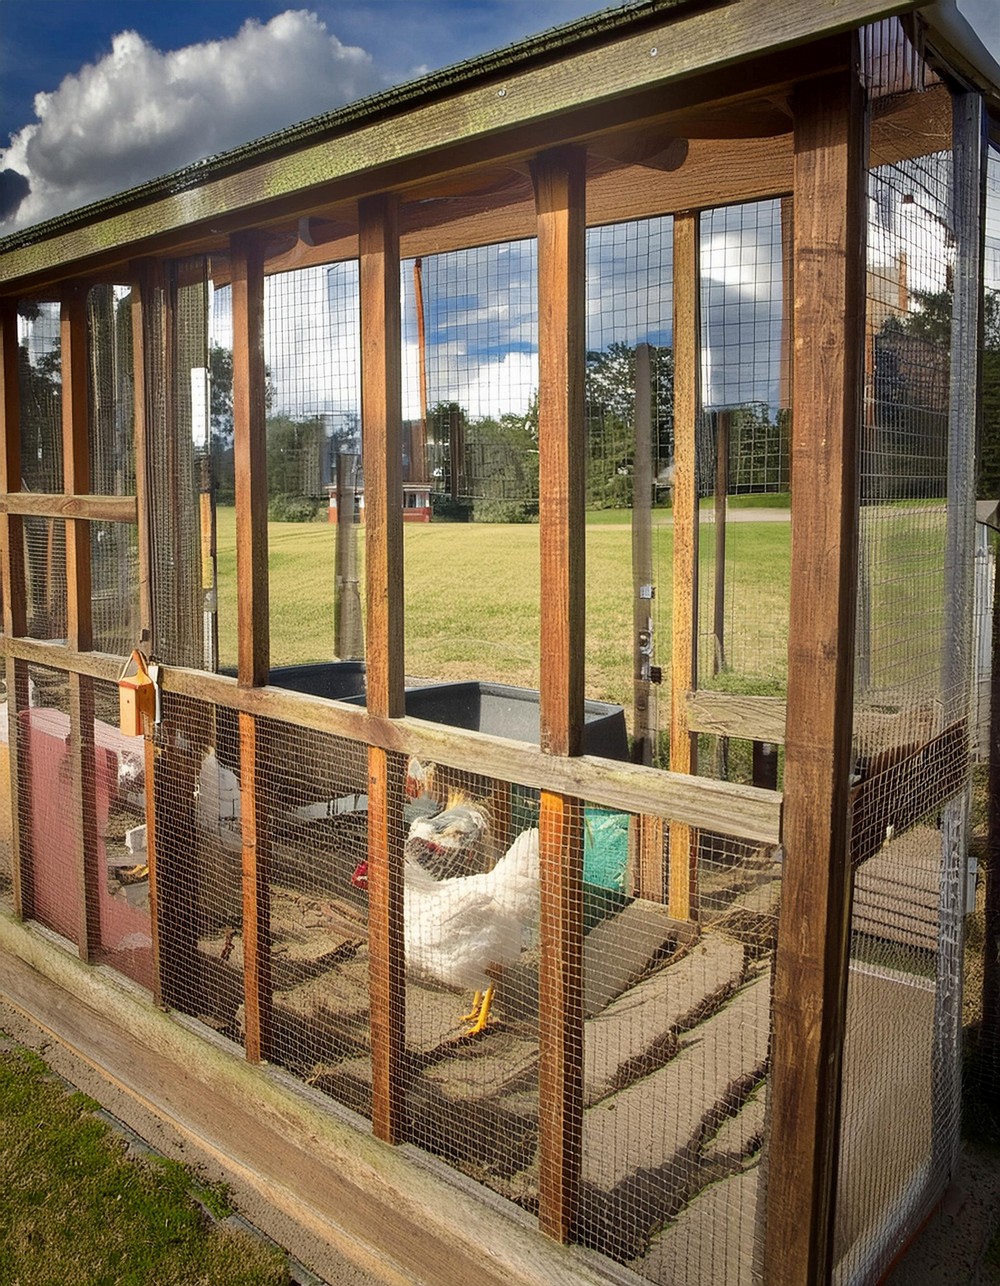
Cleaning Ease: Constructed to allow someone to stand inside for hassle-free maintenance.
Durability: Strength to contend with the occasional tropical weather.
Deep Litter Method Friendly: Designed to support this process both in the coop and run.
Flood Resistant: Built to thrive even during summer rains.
Ventilated: Well-circulated air was a must.
Spacious: Adequate room for 5-7 hens, with the possibility of new addition
Foundation Phase: Due to concerns about potential flooding, we built the coop on a footer connected to an existing pad, raising it about 6 inches off the ground. Ensuring the structure was level and square was paramount. Rebar and drainage stones provided additional support and flow for water. More than half a ton of concrete was mixed and poured for a solid foundation.
Framing Phase:
With no previous experience but plenty of research, all framing elements were cut and pre-stained to protect against the elements. A powder-activated nailer came in handy for securing the frame to the foundation. Each piece was then positioned, clamped, and eventually secured to create the skeleton of The Palace.
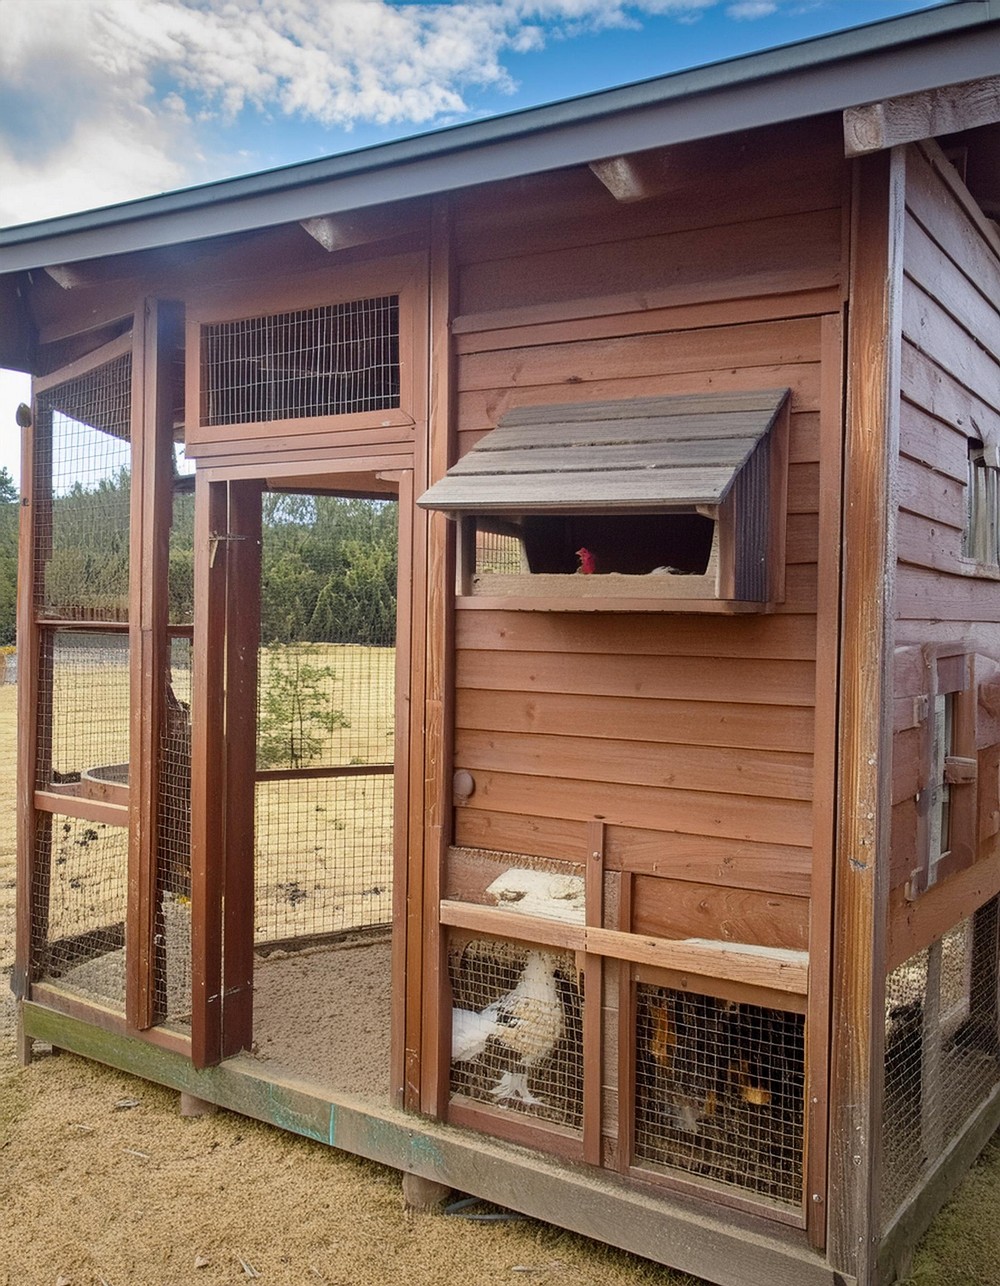
Construction Phase: Following the framing, hardware cloth was added for security against predators. The roof, walls, and nesting boxes took shape, each piece meticulously measured and cut to fit perfectly into place.
Finishing Touches:
Attention was paid to every detail, from ensuring easy access for egg collection to implementing a drainage system for heavy downpours. The construction culminated with weatherproofing efforts, applying sealant, and final inspections to ensure the structure’s integrity and the well-being of its future inhabitants.
Leave a Reply