
Building this secure, comfortable DIY two level dog kennel for your playful pup not only gives them an exclusive lounge to oversee the garden but also offers a cozy retreat for those times of rest and relaxation. It will be an exciting option for spending your weekend and help you make a luxurious yet practical heaven for your furry friend. So, head on to create this hand-crafted kennel and make your labrador’s tail wag with unbridled joy!
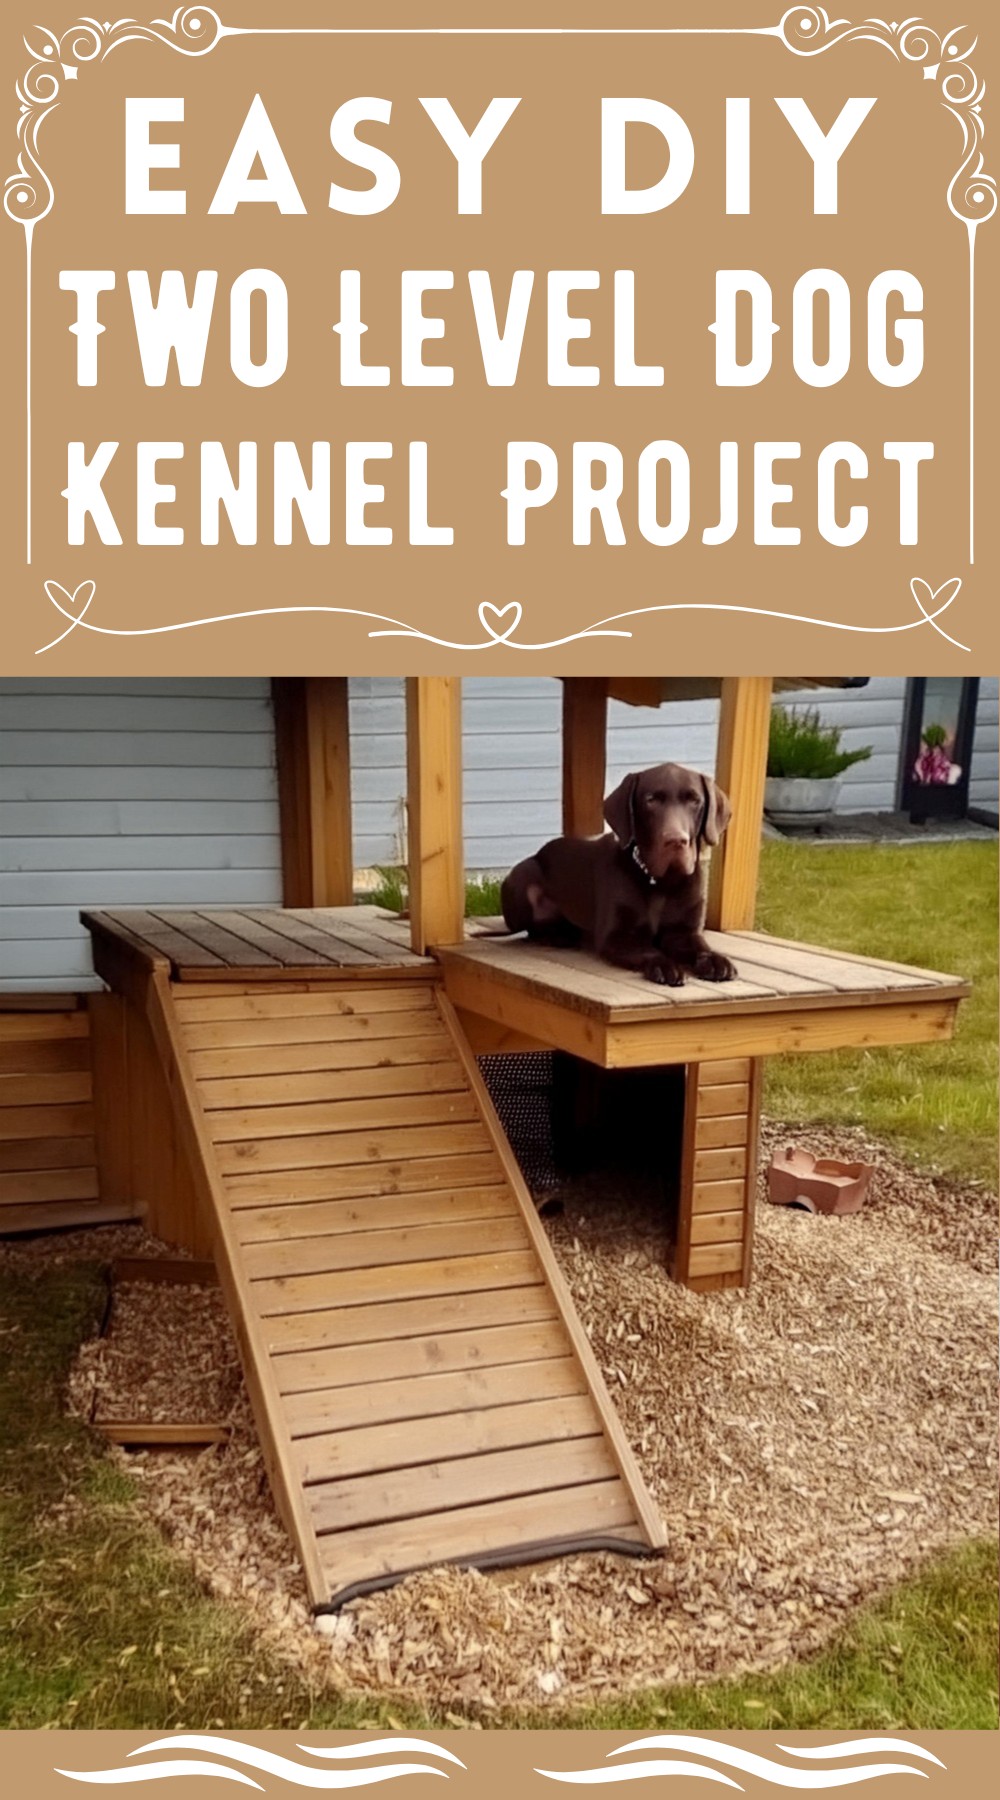
DIY Two Level Dog Kennel Project
Tools:
- Cordless Screwdriver
- Circular Saw
- Jigsaw
- Chop Saw
- Hammer
Materials:
- Screws
- Nails

Step-by-Step Guide to Building Your Dog’s Dream Kennel
Landscaping Foundation
After meticulously selecting an ideal location, we start our construction by removing the turf to create a stable foundation using a spade.
Timber Arrangement
With precision, the main beams for the kennel’s framework are cut. The dimensions include two beams reaching 180cm and another pair stretching 160cm.
Assembling the Frame
First, align the beams perfectly with the ground and then join them at their peaks using formwork boards. These boards will also act as the supportive structure for the future roof.
Intermediate Ceiling Structure
Next, secure 6×8 cm squared timbers on each side of the principal posts, and then affix another three of the same timbers across these to serve as struts for the intermediate ceiling.
Stair Platform Crafting
Create a 40 x 60 cm pedestal using 6 x 4 cm squared timbers. This will set the foundation for the kennel’s elevated level.
Constructing the Staircase
Then, for the staircase leading to the platform, miter cut two 4×6 cm squared timbers at a 40-degree angle and screw them steadfastly to the front of the upper platform.
Planking the Floor
The kennel’s floor comes to life with planks, carefully placed with a consistent 5 mm gap and screwed onto the underpinning crossbars.

Side Panels Installation
Measure the side boards to a length of 90 cm, pre-drill, and countersink them before affixing with a slight 5 mm spacing. This ensures a snug yet breathable construction.
Carving out an Entrance
Define the kennel’s entrance with a 50 cm wide threshold. Match floorboards to the squared timber and cut an exterior plank at the correct angle to neatly cover the timber’s side.
Drinking Nook
Tailor a specially designed corner for a drinking bowl to ensure it stays put, even during your Labrador’s most playful moments, acknowledging the importance of easy hydration access.
Roof Preparation
Start shaping the roof by screwing one-meter-long formwork boards in place, preparing for the shingle application.

Roof Shingling
Apply beaver felt shingles to the roof using a bottom-up approach. Ensure each layer uniformly overlaps the one below it, securing the base layer with roofing nails for durable coverage.
Finishing Touches with Paint
To cap off the project, the entire kennel is coated not once, but twice, with a layer of wood stain in a light oak finish, providing aesthetic appeal as well as protection from the elements.
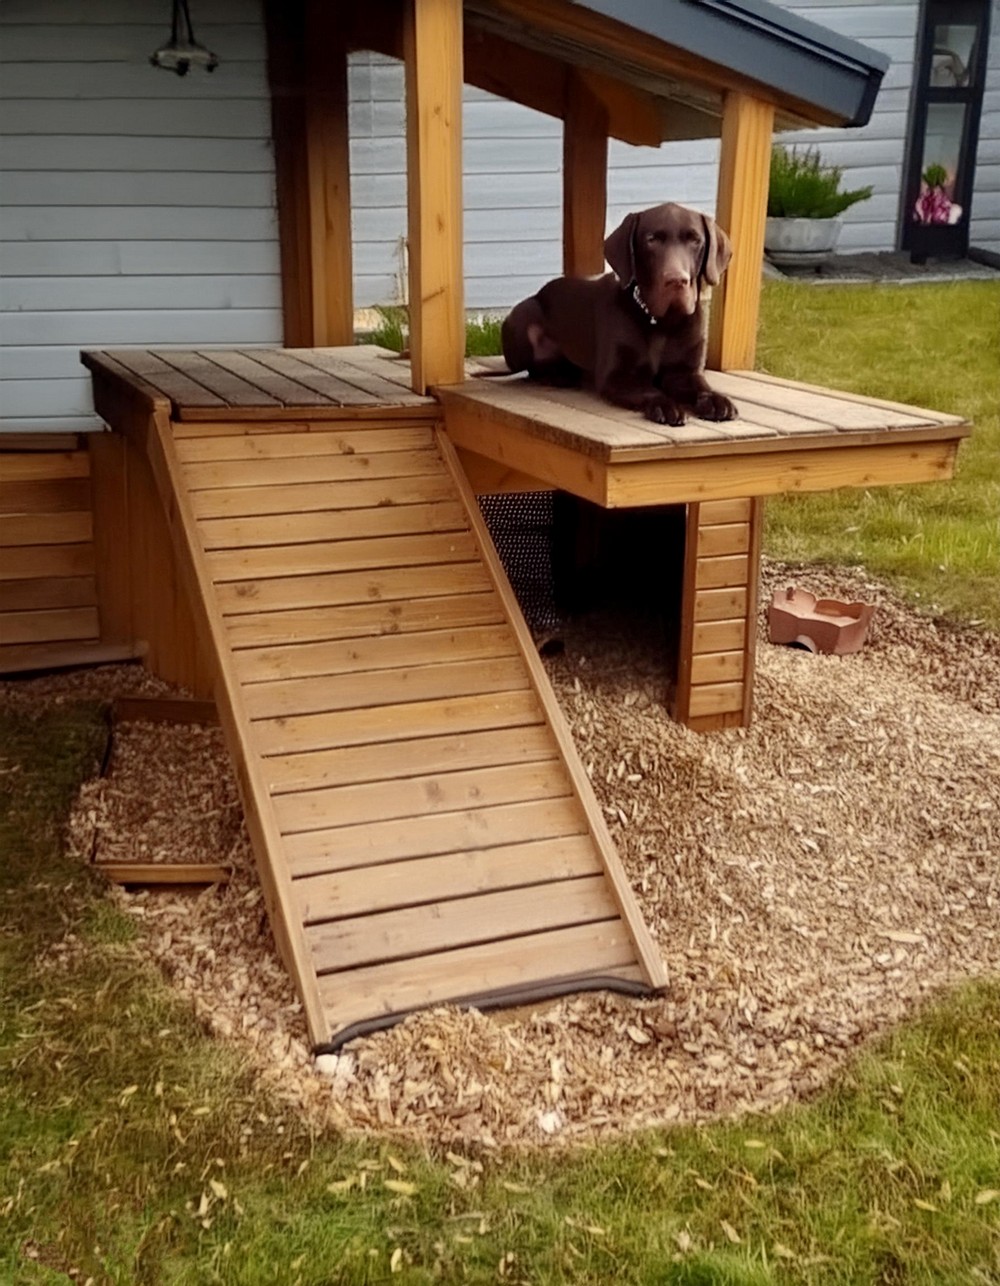
There you have it, step by step, the path to creating a canine castle. A weekend well-spent in the spirit of DIY, resulting in a structure that stands as a testament to love and care for your four-legged family member.

Leave a Reply