
Make a beautiful, functional piece of art for your home with this DIY Rustic Coat Rack Project. Railroad spikes, once used to secure rails across the vast networks of the railroad, can now serve a new purpose in your living space. This guide will lead you through the process of creating a rustic coat rack using these rugged spikes. It’s a project that not only adds character to your home but also gives these historical artefacts a second life. Ideal for woodworking fans and history buffs alike, this project is not just about building a coat rack; it’s about preserving a slice of the past in a stylish, practical form.

DIY Rustic Coat Rack Project

Materials List
While the exact materials from the project are not provided, a typical rustic coat rack crafted with railroad spikes might require the following:
- Vintage Railroad Spikes
- A wooden plank (size of your choice, depending on the desired length of the coat rack)
- Sandpaper (various grits for a smooth finish)
- Wood stain or sealant (optional, for a finished look)
- Screws or bolts (depending on the method used to secure the spikes to the wood)
- Mounting brackets (for attaching your coat rack to a wall)
Tools Used
The tools needed for this type of project usually include:
- Drill (with drill bits sized for pre-drilling holes for the spikes and mounting screws)
- Screwdriver or drill bit for driving screws
- Saw (if cutting the plank to a specific size)
- Measuring tape
- Level (for mounting)
- Safety gear (gloves, goggles)
Step-by-Step Guide
Preparing the Wood
- Select and Measure: Choose a wooden plank based on the intended size and number of hooks (spikes) you desire for your coat rack. Measure and mark the spots for the spikes, ensuring they are evenly spaced.
- Cutting to Size: If your wood plank is not of the desired size, cut it to your specifications. Always wear appropriate safety gear when operating saws.
- Sanding: Smooth the wood using sandpaper, starting with a coarser grit and moving to a finer grit for a smooth finish.
- Staining/Sealing: Apply a wood stain or sealant if desired. Allow it to dry as instructed by the product’s guidelines.

Attaching the Spikes
- Pre-drill Holes: For each railroad spike location, pre-drill a hole to help in inserting the spikes and to prevent the wood from splitting.
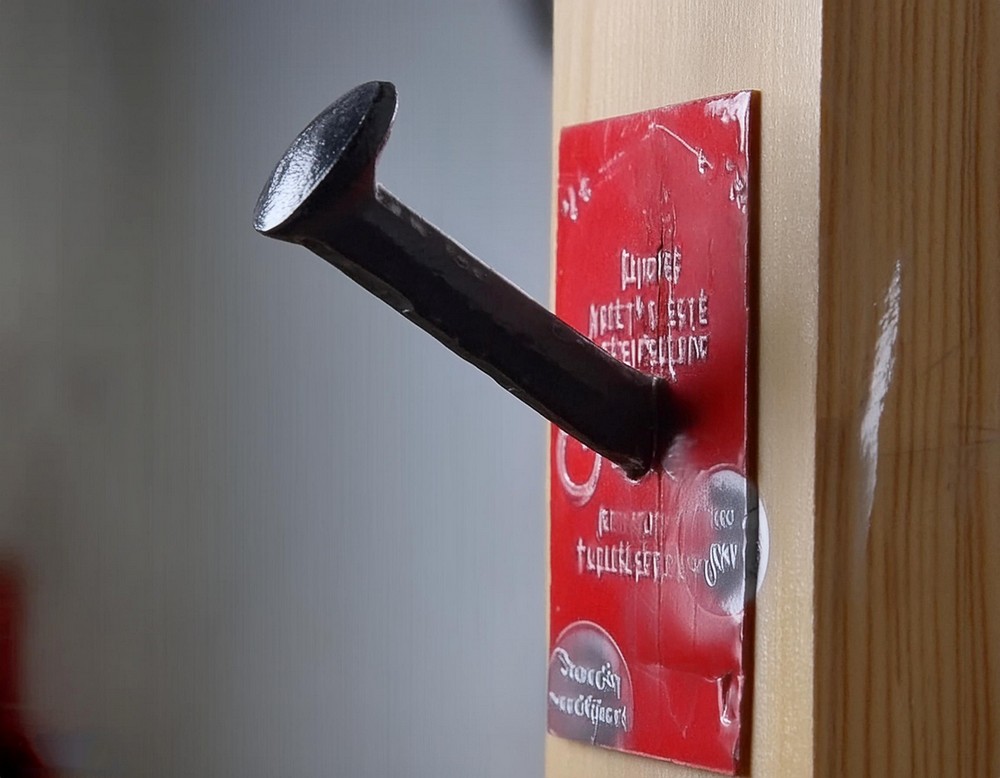
- Secure the Spikes: Position each railroad spike over its respective hole. If you’re using a method that involves screwing or bolting the spikes to the plank, secure them tightly. For a more authentic look, you might choose to weld the spikes in place, requiring additional tools and precautions.
Final Touches
- Mounting: Decide on the location for your coat rack. Attach mounting brackets to the back of the wood plank, ensure it’s level, and then secure it to the wall with appropriate hardware for your wall type.
- Cleanup and Placement: Give the entire coat rack a final inspection, clean any residue from the installation process, and it’s ready to use.
Conclusion
Creating a coat rack from railroad spikes is not just a craft; it’s an adventure into the past. As you select each spike, consider the miles of track it once held together, the trains it supported, and the stories it could tell. This project is your opportunity to hold a piece of history in your hands and turn it into a functional piece of decor that sparks conversation and admiration.

Leave a Reply