
Transform simple scraps of wood into a stunning, functional masterpiece for your dining table following this simple project. It will be best presenting you an opportunity to create not just a utensil but an emblem of sophistication with your own hands. This DIY project is more than a weekend pursuit as an artistic journey towards making a wooden napkin holder that brings a piece of nature right to your dining space. With the right materials, a bit of patience, and a sprinkle of creativity, you’re all set to fashion a beautiful napkin holder that could rival any store-bought counterpart.
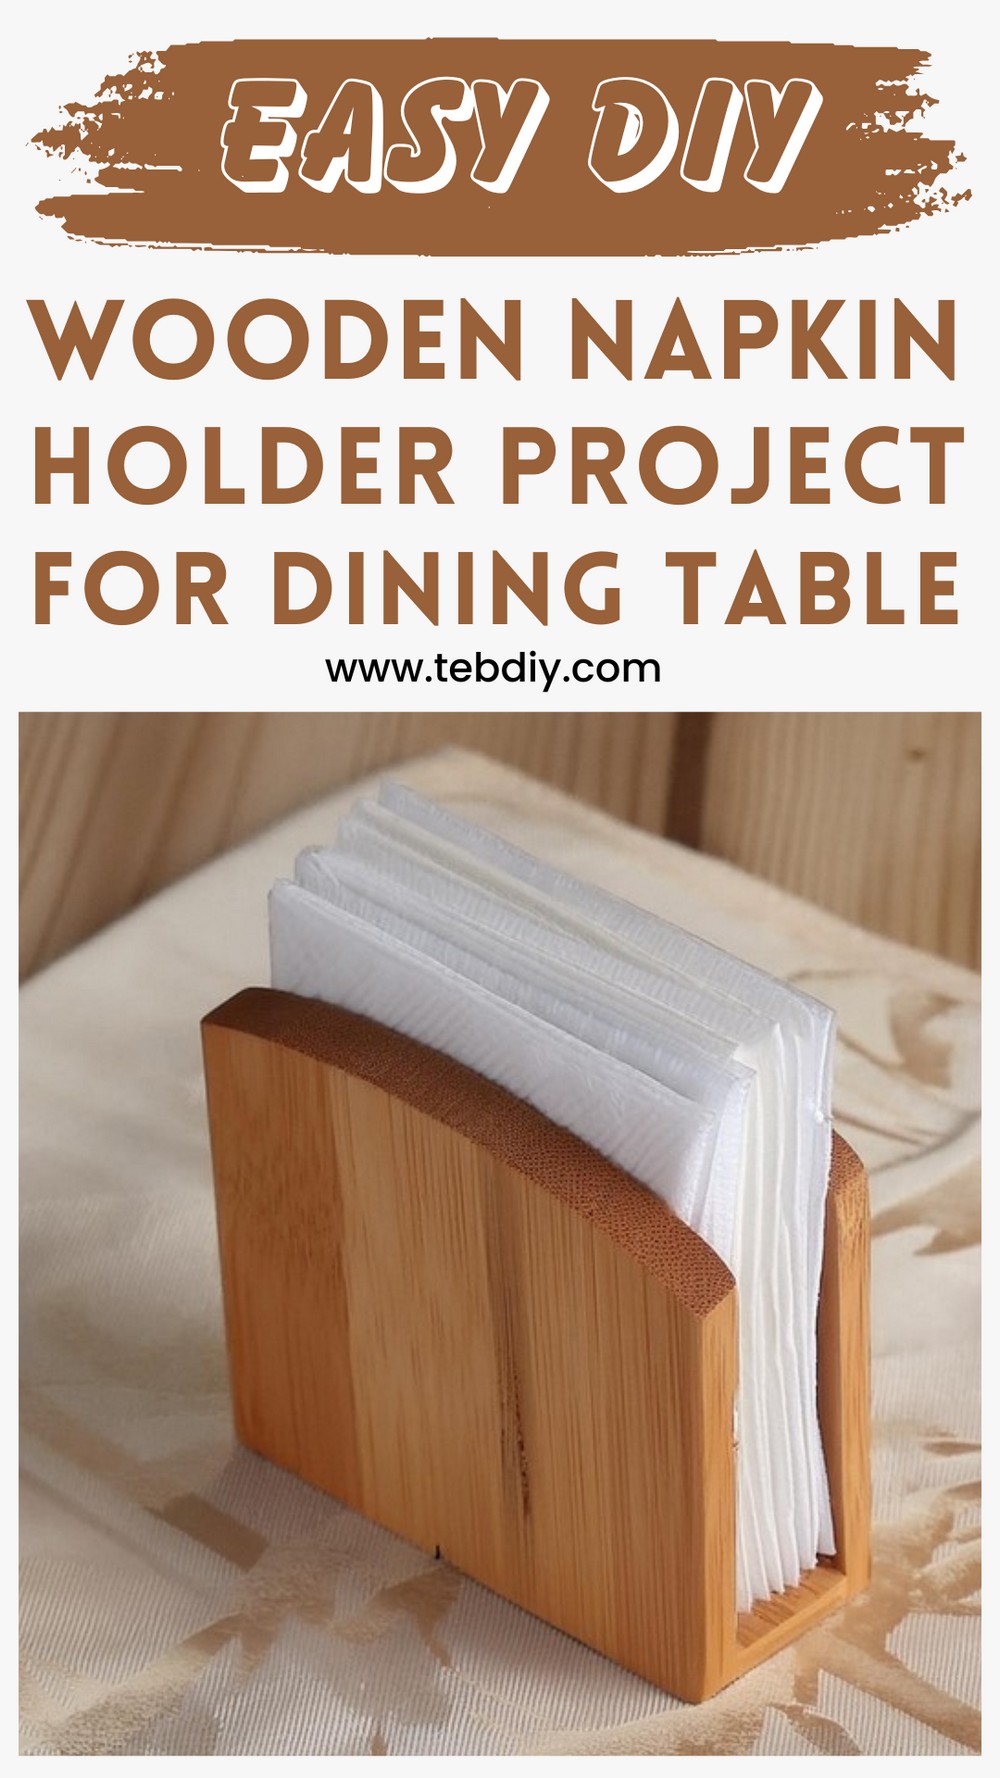
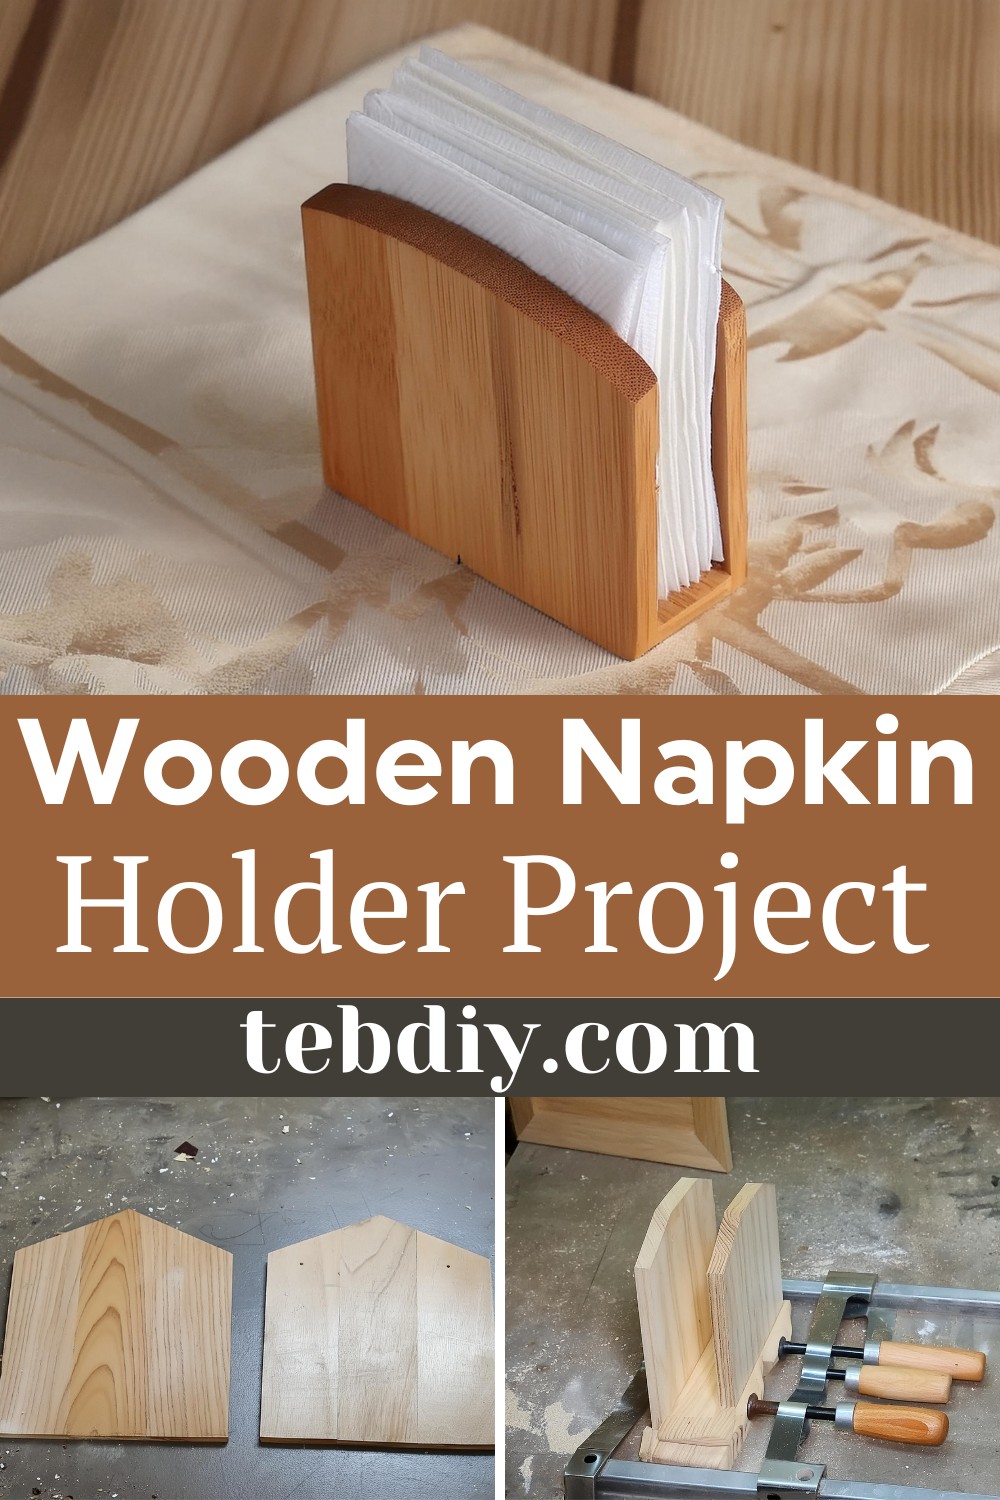
DIY Wooden Napkin Holder
Materials List
- Wood scraps, at least 13 inches in length
- Wood glue
- Varnish
- Thin felt pads
Tools Required
- Clamps
- Saw (for cutting wood)
- Router or plane (for beveling)
- Sander or sandpaper (ranging from 80 to 320 grit)
The Crafting Process
Cutting and Gluing the Stock
Begin your project by gathering wooden scraps, ensuring they’re at least 13 inches long and can be trimmed down to a thickness of 1/2 inch. Opt for a mix of different wood types for an eclectic look. Arrange the pieces to a combined width slightly over six inches. Apply a bead of glue between each piece and even out using either your finger or a glue spreader. Ensure the tops and bottoms align flawlessly before clamping them firmly. This assembly needs to sit untouched for at least an hour, allowing the glue to set properly.
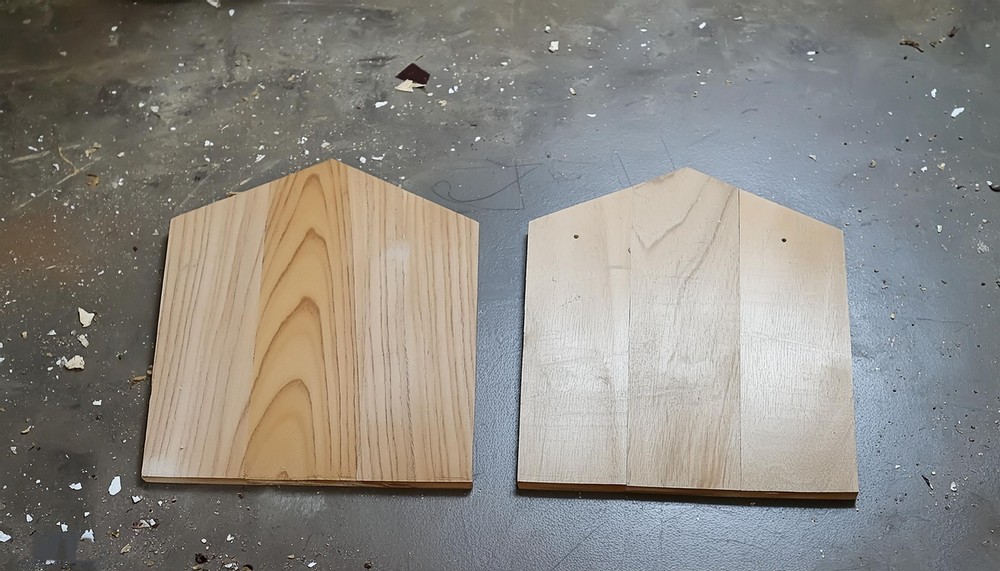
Cutting the Pieces
Now that your glued board is ready, slice it into two pieces, each measuring six inches in height. Add an aesthetic touch by cutting symmetrical slants on each side at the top. Next, prepare another piece of wood—this time measuring 1 1/2 inches wide by slightly more than six inches long. Employ a router or plane to craft a beveled edge on the external faces of the six-by-six pieces. The final touch before assembly involves planing and sanding all surfaces progressively from 80 grit up to 220 grit for smoothness.
Combining the Pieces
Accuracy is paramount in this step to ensure your napkin holder stands perfectly. The bottom piece’s sides should form exact 90-degree angles to its base. If executed right, the side pieces of the napkin holder will align without tilting. Glue the bottom slab between the two side pieces, carefully ensuring the bottom edges are flush. Clamp this setup firmly and wait another hour for the glue to solidify.

Varnish and Felt Pads
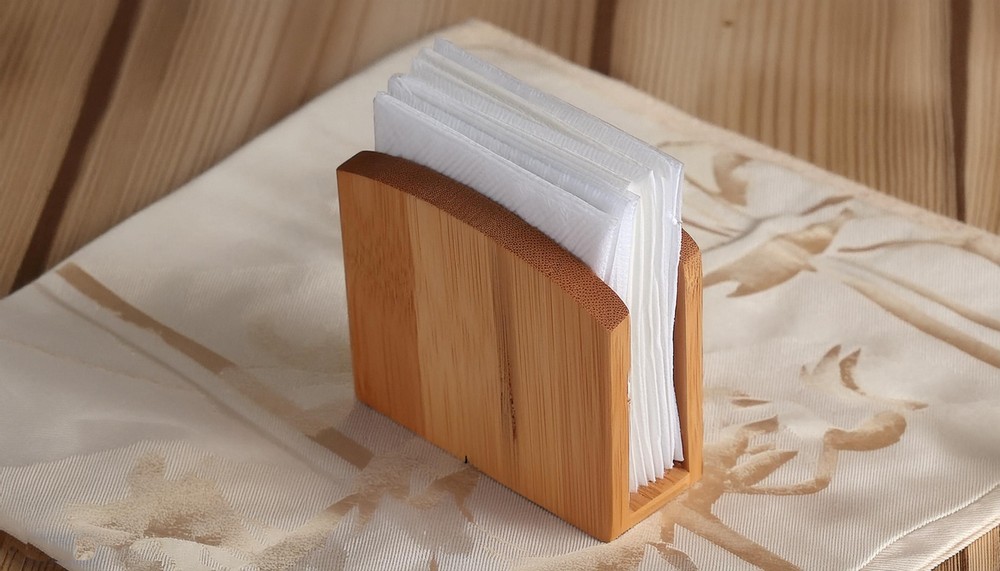
Bring your creation to life with the glow of varnish. Apply two coats, allowing each to dry completely before proceeding. After the second coat is dry, smooth the surface with 320 grit sandpaper, prepping it for the final varnish coat. The concluding step involves sticking four thin felt pads to the underside, ensuring your beautiful napkin holder doesn’t scratch any surfaces it graces.
Conclusion
Your exquisite wooden napkin holder is now a reality, ready to elevate your dining experience or serve as a cherished gift. This project not only leaves you with a tangible token of craftsmanship but also imbues a sense of achievement only DIY endeavours can provide. Enjoy your mealtime with a side of pride, knowing you’ve created a splendid piece of functional art from scratch.
Leave a Reply