
Relax in your garden with the gentle breeze caressing your face and a symphony of soothing sounds dancing through the air. This is the delightful ambience that homemade wind chimes can bring to your outdoor space. Making this elegant and harmonious outdoor decoration is not only a treat for the senses but also an engaging DIY Outdoor EMT Wind Chimes project that infuses personality and charm into your haven. Whether it’s the delight of creating something by hand or the final product’s serene melodies, building your wind chimes is a rewarding option that can elevate the spirit of any outdoor area.
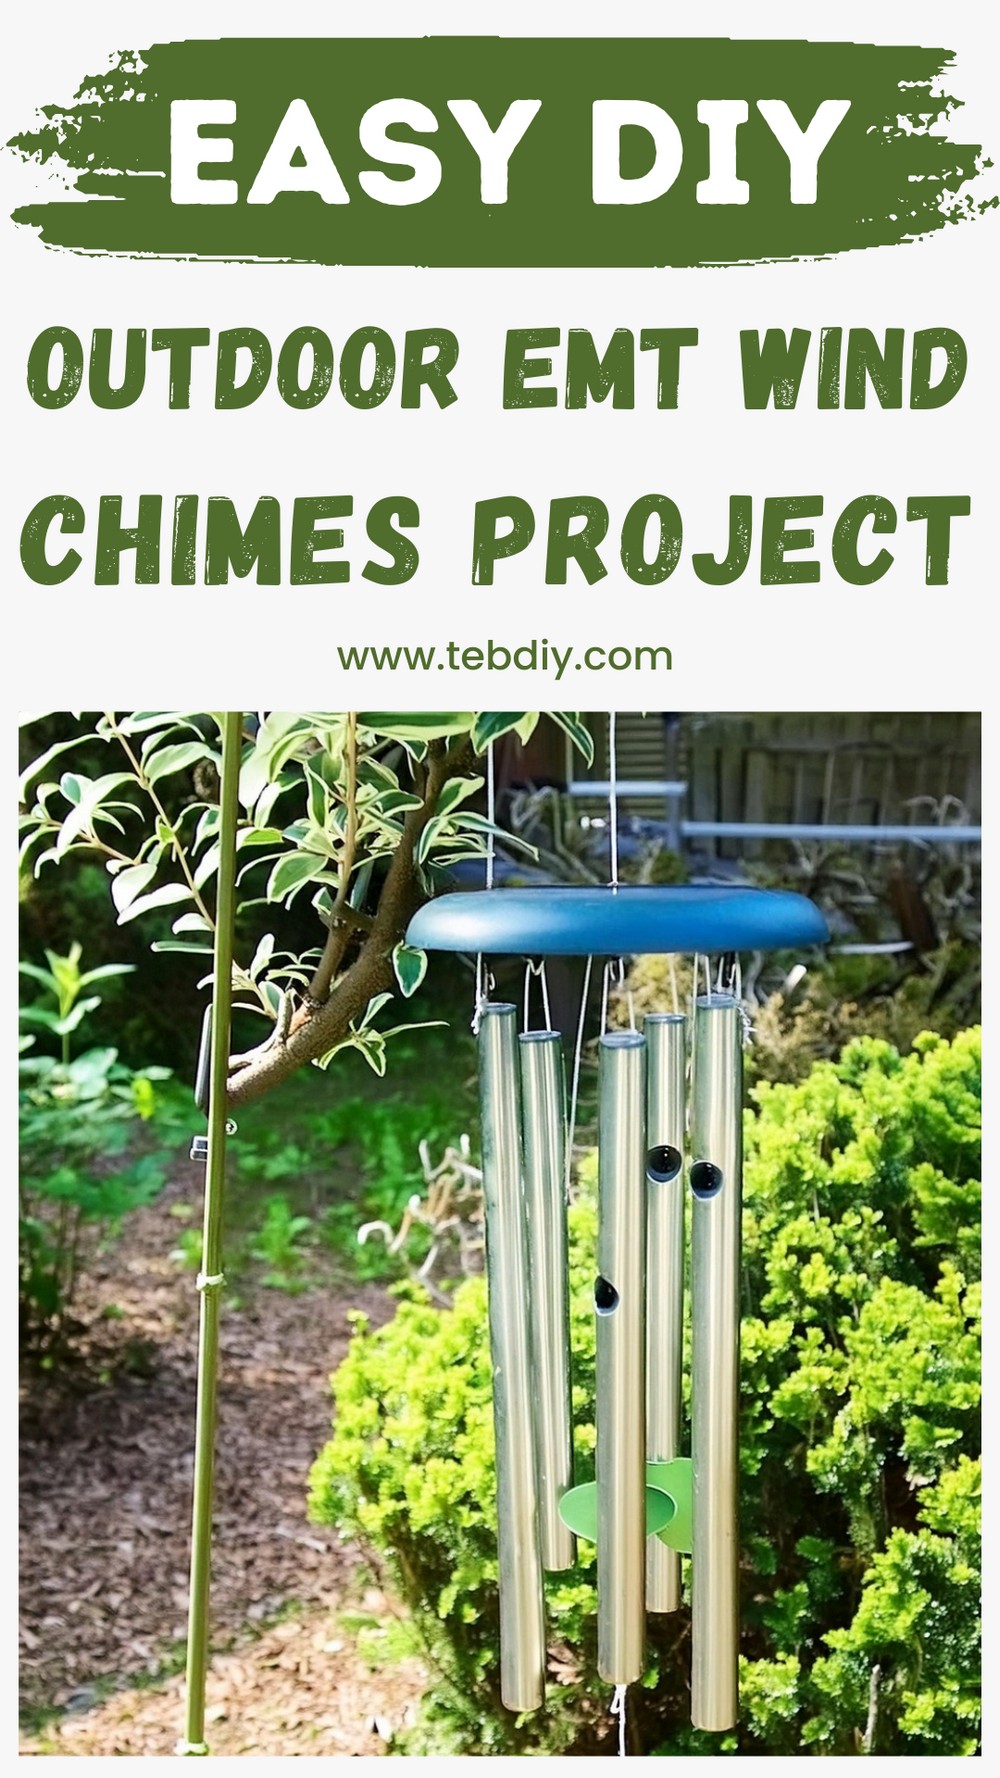
DIY Outdoor EMT Wind Chimes Project
Materials Needed
- 3/4″ EMT (steel electrical conduit)
- Twine, rope, or fishing line
- Wooden disks or boards
- Heat shrink tube
- Eyelet screws
- Wood stain
- Sanding sealer
- Acrylic paint
- Clear coat
Tools Required
- Writing utensils (Pen, pencil, or marker)
- Cutting tools (Scissors or Xacto knife)
- Measuring tools (Tape measure, ruler, or calipers)
- Cutting tool for conduit (Pipe cutter, hacksaw, or Dremel)
- Sandpaper (150 & 180 grits)
- Center punch (Or a hammer and nail as an alternative)
- Drill & ⅛” drill bit
- Clamps
- Paper Towels
- Paint brushes
- Disposable gloves
- Rags
- Respirator

Step-by-Step Guide
Gathering the Materials
Select EMT as the chime material. We found ¾” diameter EMT due to its affordable price and durability against the elements. Source additional materials like twine and wooden pieces from local craft stores. As for the wood treatment supplies and other minor components, check if they are available at home.
Making the Chimes
Determine the length of each chime based on the desired musical notes and corresponding frequency, as informed by expert advice, like the chart on Lee Hite’s website. Cut the EMT to size with suitable tools (pipe cutter, hacksaw, Dremel, etc.). Accurately drill the hanging holes as per the specified locations from the same chart. Sand and shine the chimes, preparing them for their symphonic duties.

Crafting the Top Support, Striker & Wind Sail
Opt for pre-cut wooden shapes for the top support and wind sail components. Stain them for aesthetic appeal and use a sanding sealer for weather protection—however, do consider materials like pressure-treated wood for enhanced durability.
The Art of Painting
Once sealed, sand the wooden pieces to remove raised grains, paint them in your chosen hue, and weather them for an antique finish. Apply a clear coat for protection.
Assembly Challenges
Utilize an Excel spreadsheet or appropriate guides to determine the placement of your chimes and components. Secure all items together, paying attention to the chimes’ order and the usage of heat shrink tubing to safeguard the twine from wear. Rest if necessary during this potentially demanding step.

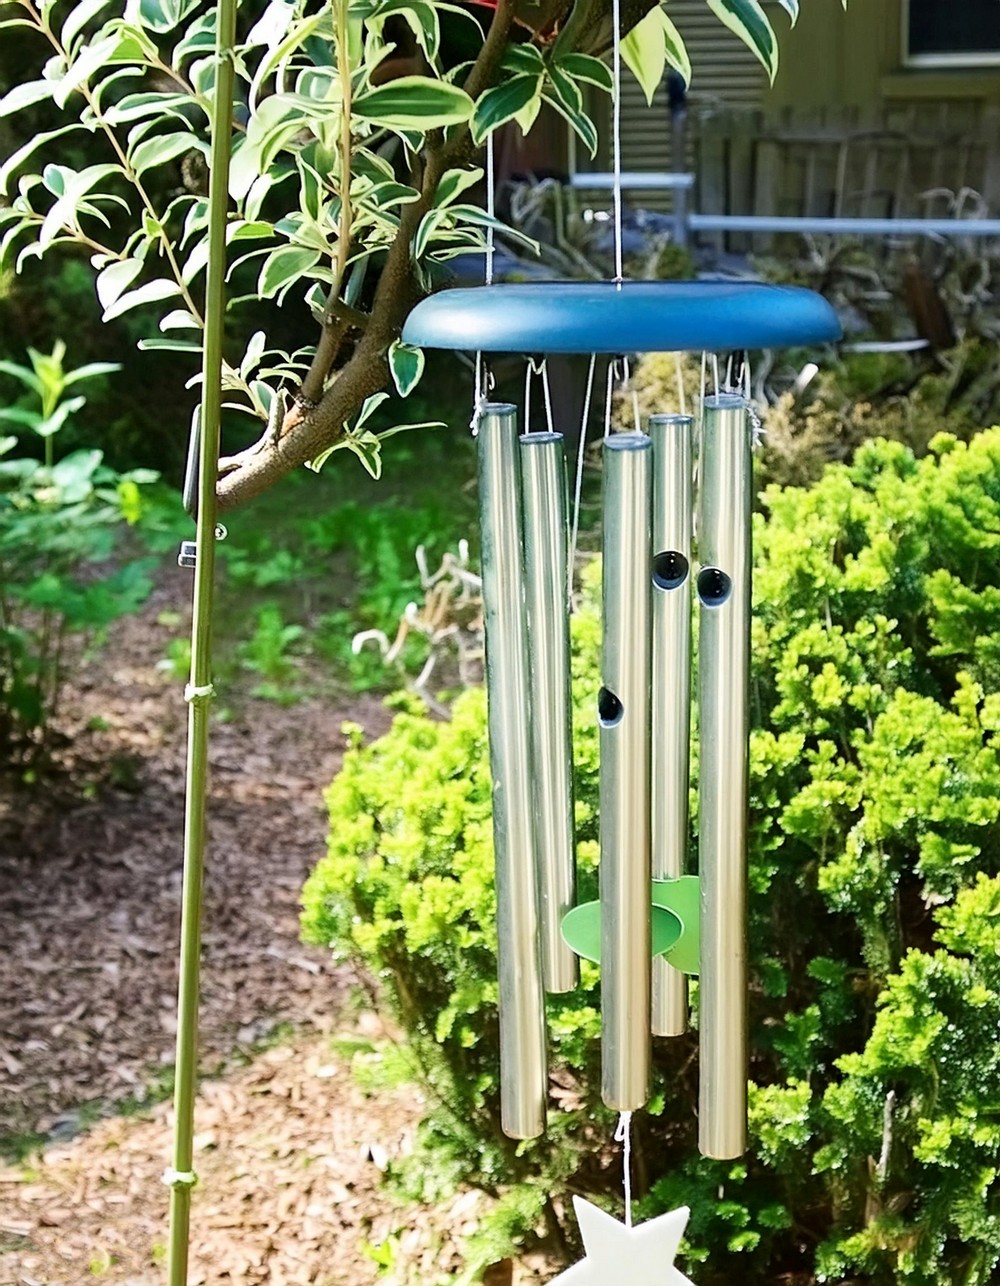
Conclusion and Enjoyment
Once assembled, bask in the enjoyment of your creation, adding a melodious and visual complement to your landscaping. Taking the time to craft these wind chimes is an enriching experience that results in a personalized addition to your outdoor oasis.
Note:
The information for the detailed steps provided follows the structure and specifics laid out in the DIY Outdoor EMT Wind Chimes project by Fadibja on Instructables, and all credit for the original concept and process goes to them.
Leave a Reply