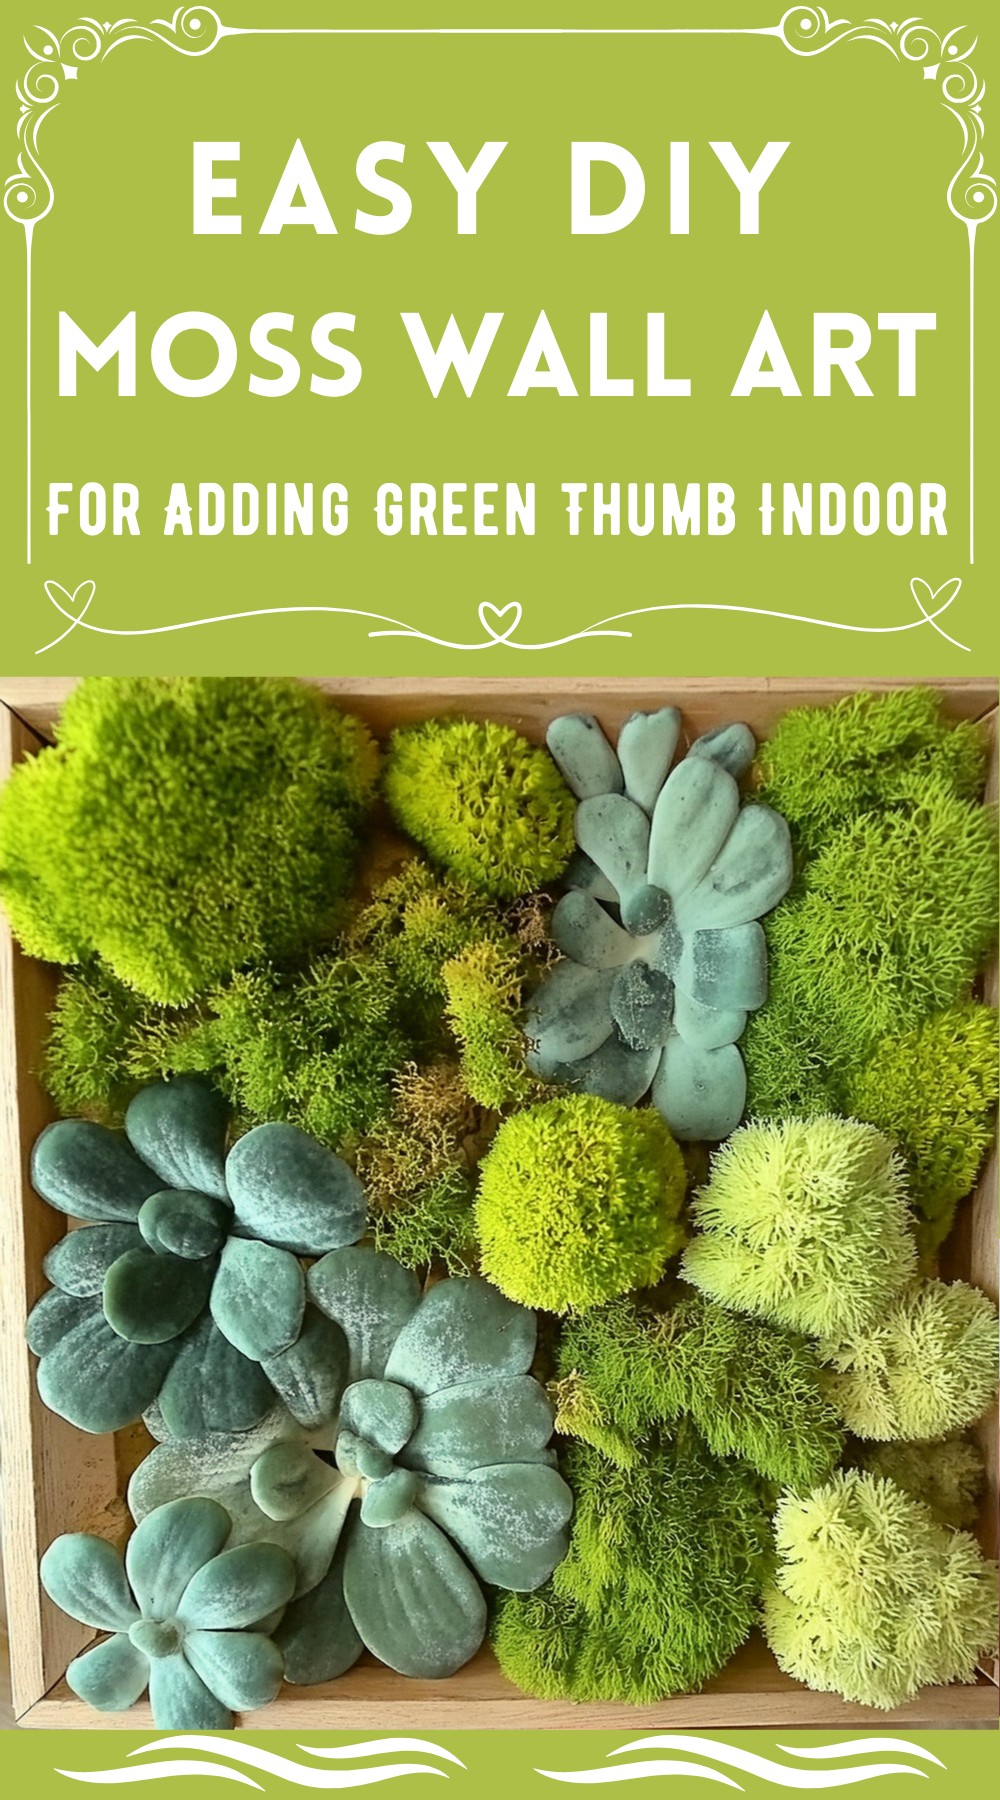
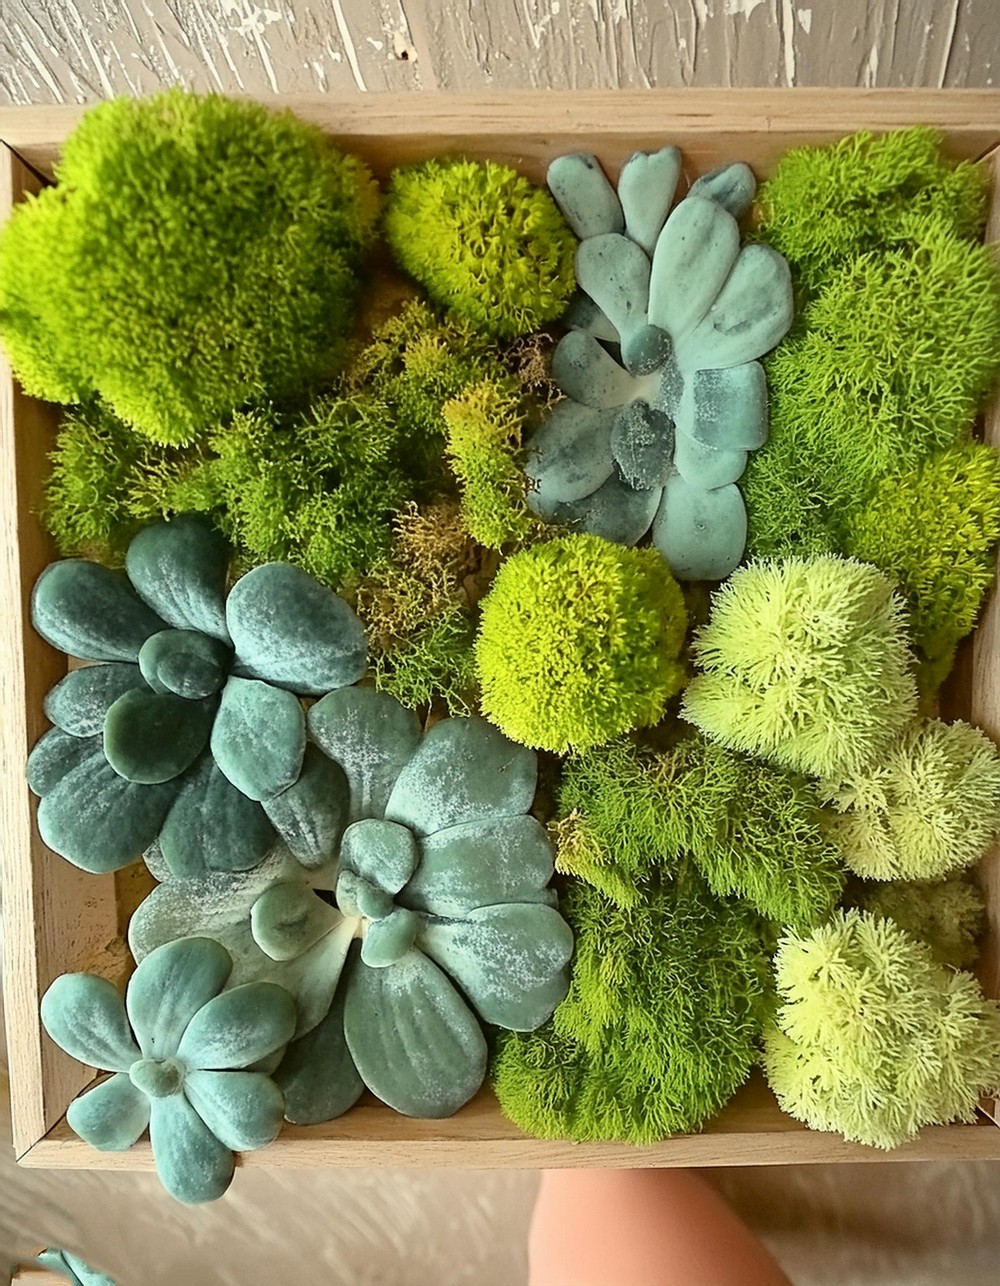
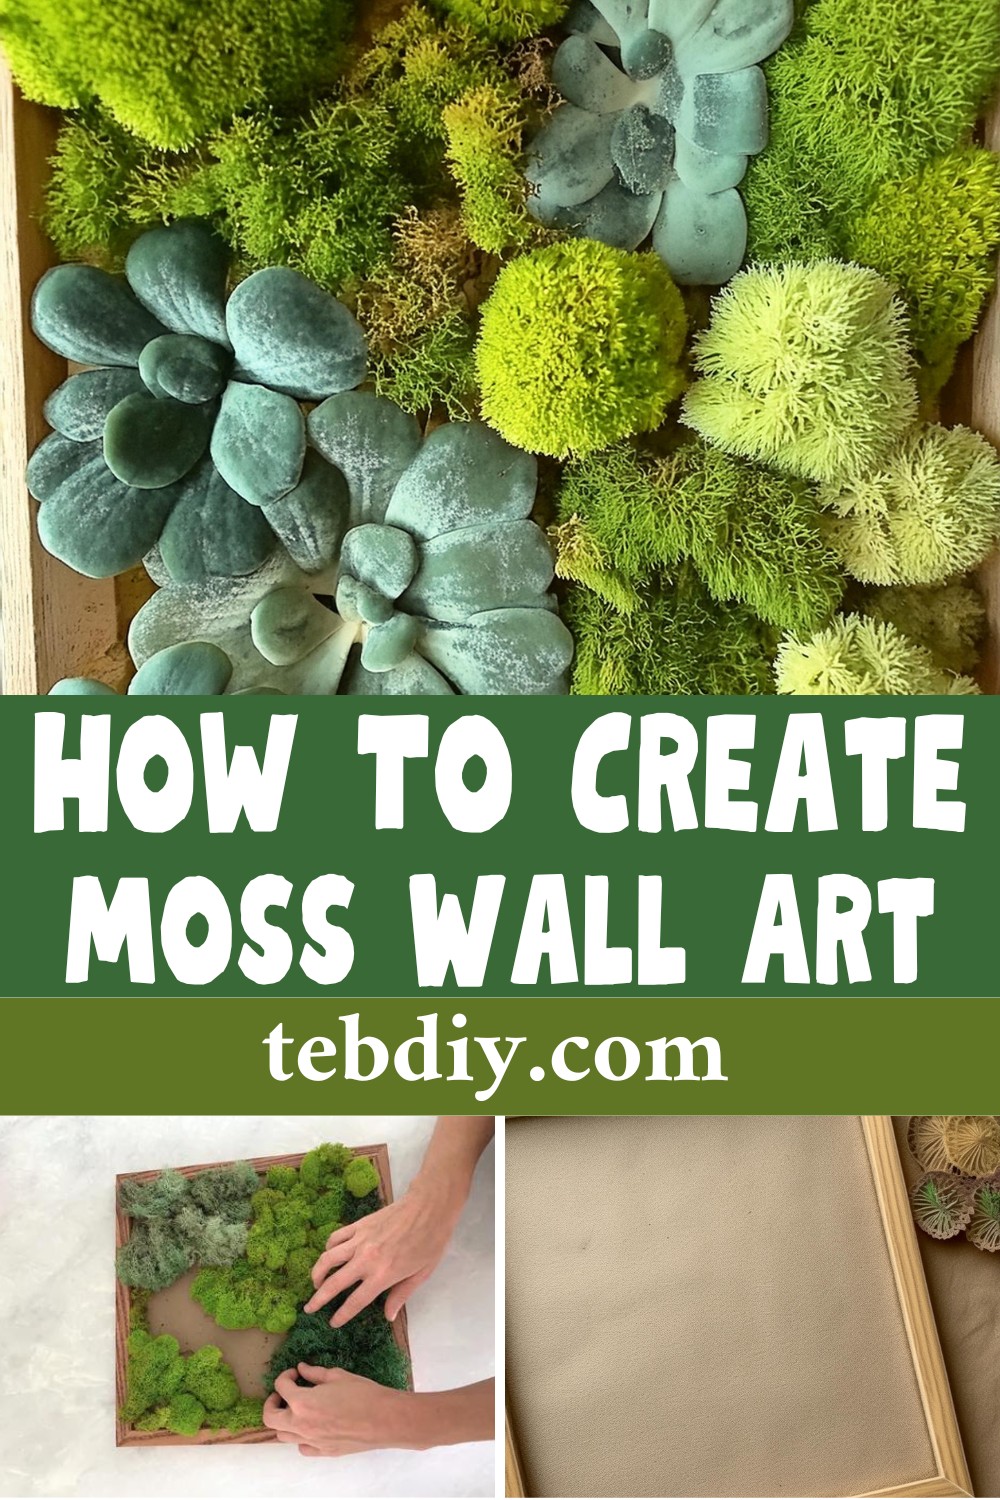
Learn how to build an easy, sturdy, and cost-effective DIY Moss Wall from scratch! The tutorial walks you through creating your personalized moss wall using basic materials like a frame, preserved moss, adhesive, and optional hanging hardware. Ideal for adding a serene, eco-friendly vibe to any room!

DIY Moss Wall Art

Materials and Tools Required:
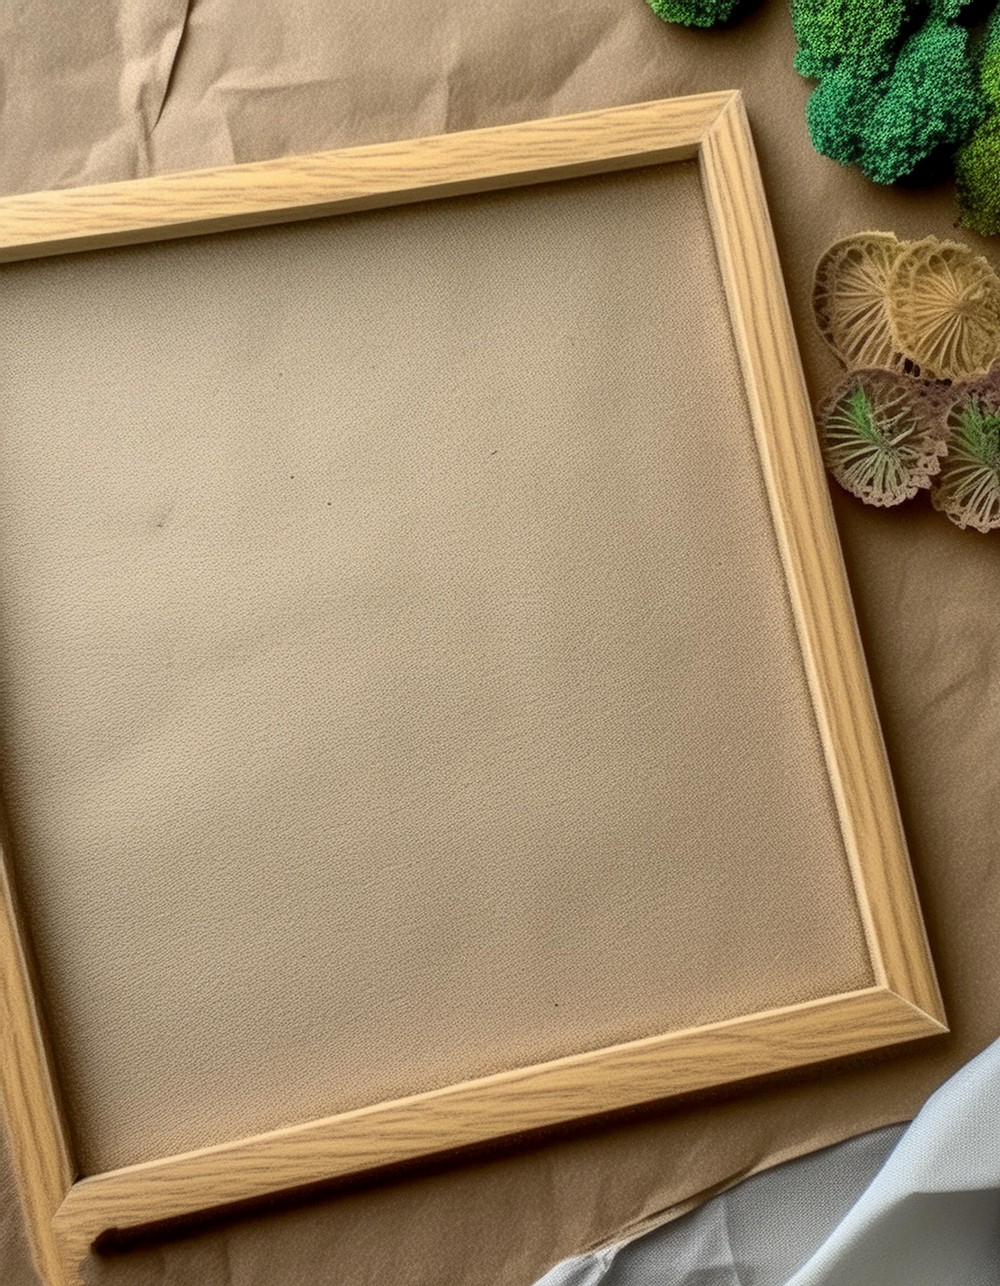
- A Frame
- Frame Backing (usually comes with the frame)
- Preserved Moss
- Adhesive (Such as hot glue)
- Hardware for Hanging (optional)
- Gloves (optional)
Creating Your Masterpiece:
Prepare Your Workspace: Start by setting up a clean, flat surface for your project. Ensure that you have a newspaper or a bag underneath for easy clean-up afterward.

Arrange Your Supplies: Get your hot glue ready, along with your moss and frame. At this point, you can decide whether you want to use gloves to prevent staining your hands.
Plan Your Design: Position your moss strategically on your frame for a dry run. This lets you visualize your design and assemble the moss-like puzzle pieces.
Let’s Get Gluing!: Once you’ve finalized your design, it’s time to start attaching the moss to your frame using hot glue. Be careful to apply gentle pressure to prevent flattening.
Display Your Artwork!: Now that your creation is complete, choose the perfect spot to display your DIY moss frame, either by hanging it on the wall or placing it on a shelf.


Leave a Reply