
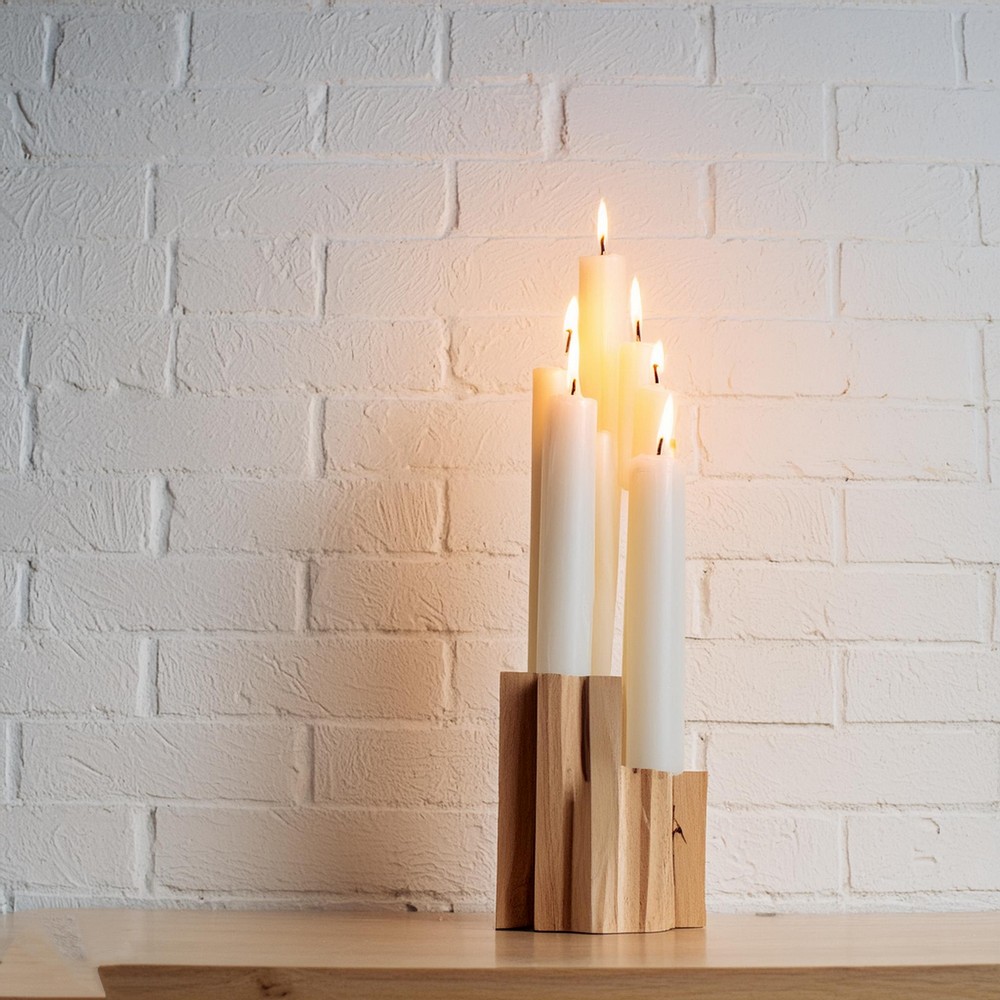
Looking for a way to bring a touch of elegance and a warm, inviting glow to your home? This charming piece is a source of soft lighting and a statement of your creativity for style. Place it on the dining table for a special meal or on the mantelpiece for daily admiration; its rustic charm seamlessly integrates with any decorating theme. It’s practical, scalable for larger designs, and can be customized with paint or stain to match any decor. Perfect for beginners, this project combines style and simplicity, enhancing any room at a low cost.
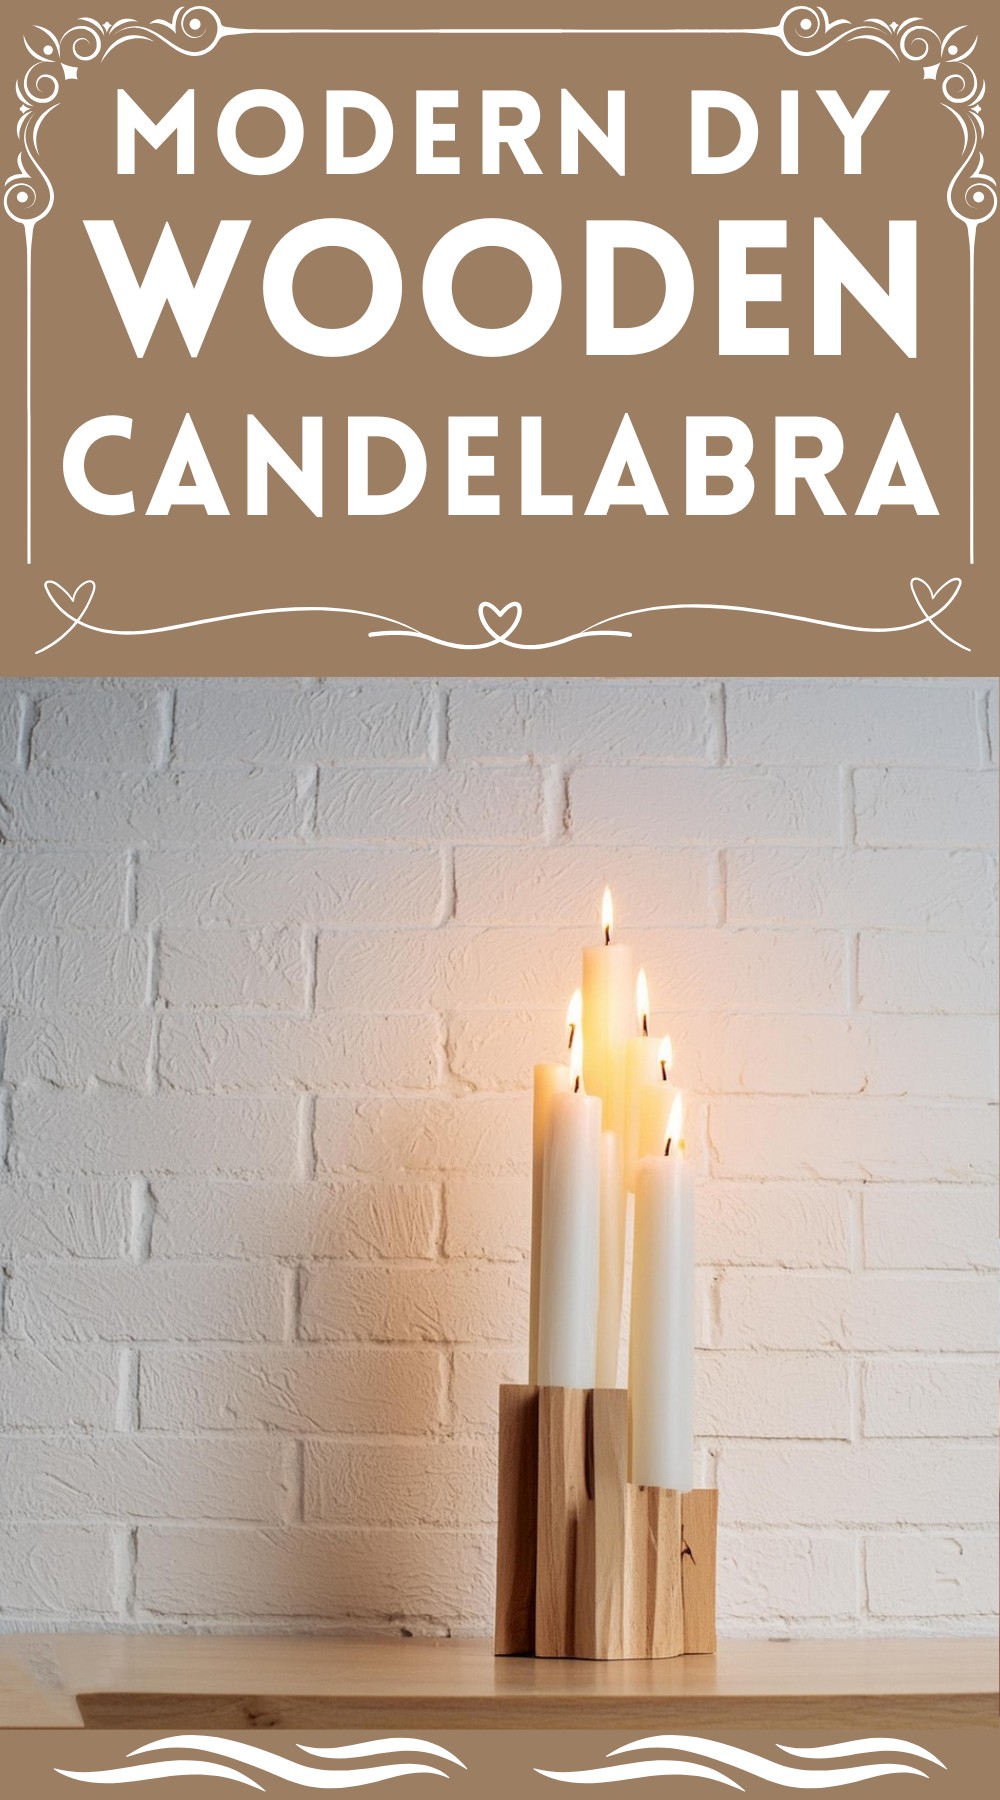
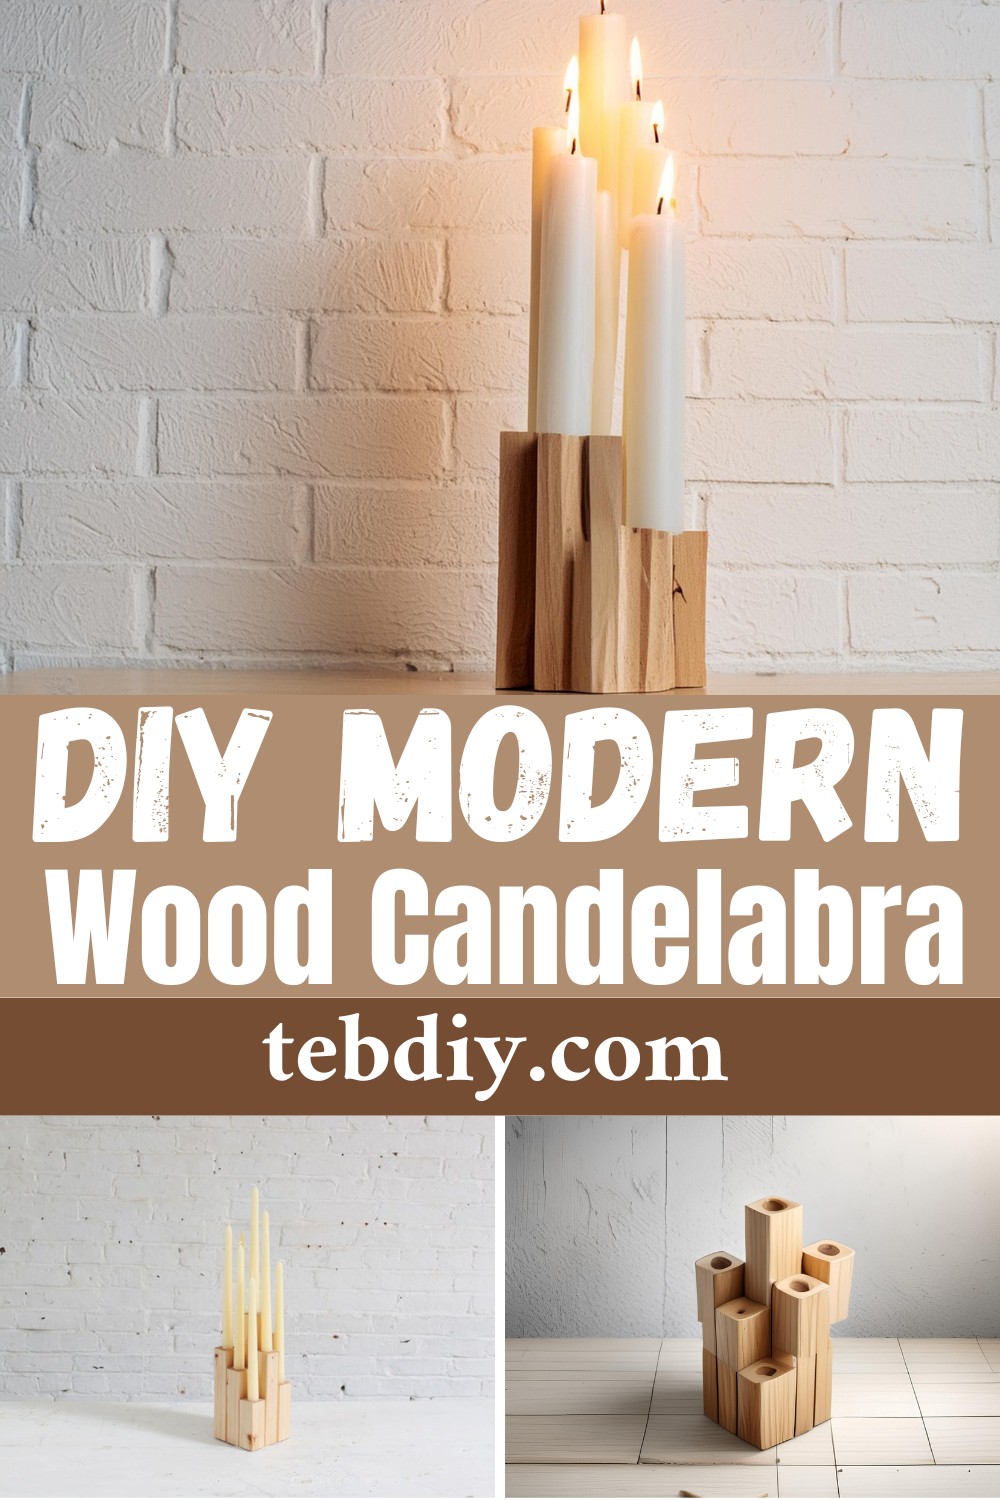
Modern DIY Wood Candelabra
Materials:
- 2” x 2” x 8’ Lumber (cut into various lengths)
- 2” Drywall Screws
- Gorilla® Wood Glue
- Danish Oil
Tools:
- Chop or Circular Saw
- Orbital Sander or Sandpaper
- 18 Volt Cordless Drill
- Drill Press (optional, but helpful)
- Foam Paintbrush
- C Clamps
Step-By-Step Guide to Crafting Your Candelabra
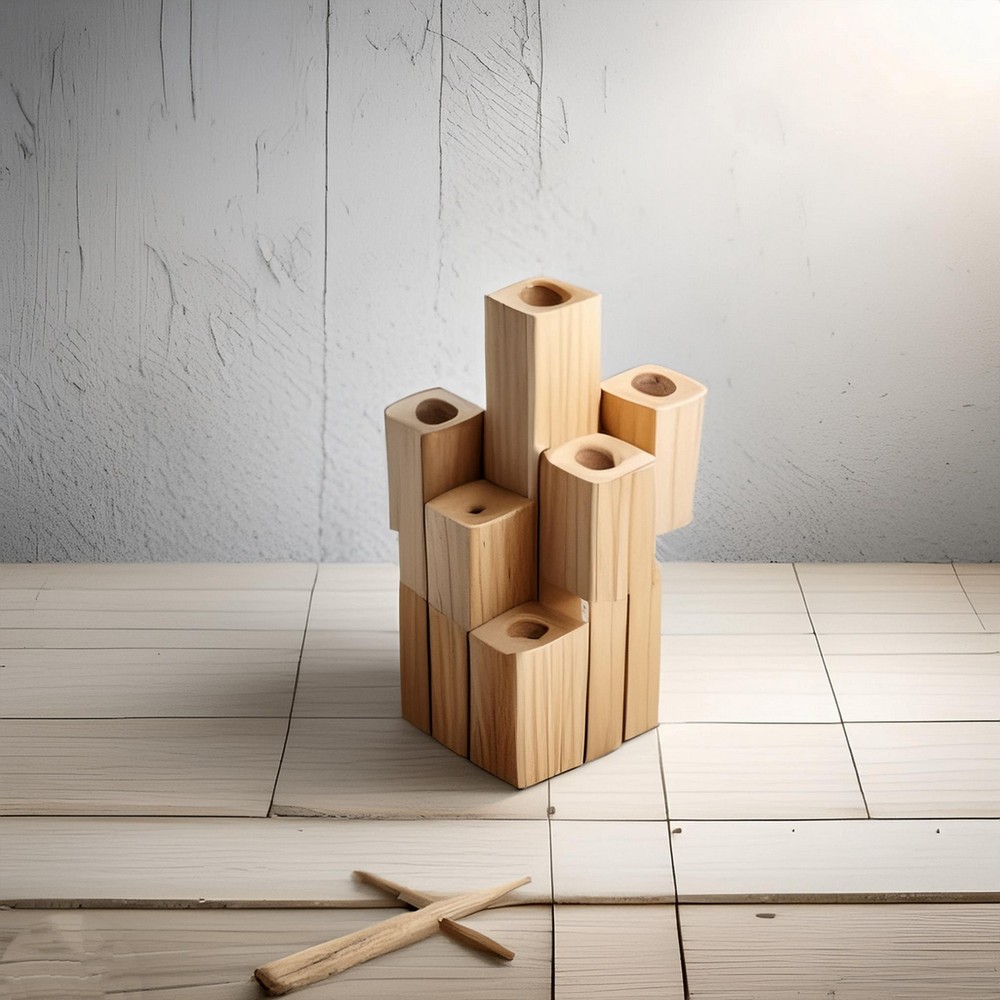
Wood Preparation: Cut the 2×2 lumber into nine pieces of varying lengths, with the tallest piece at 10 ½” and the shortest at 3 ¾”. Ensure the intermediary pieces graduate in size between these two measurements for a harmonious escalation in height.
Sanding for Smoothness: Employ the orbital sander to smooth every surface, rounding off the edges and corners for a soft, pleasant touch. If an orbital sander isn’t available, wrapping sandpaper around a block will also work well.
Creating Candle Holes: Measure the circumference of your taper candles to determine the diameter necessary for the candle holes. Carefully drill into one end of each piece, keeping the drill stable to prevent slippage. Clamping the piece onto a stable surface can add control and safety to this process.
Clean and Coat:
Once the holes are drilled, remove sawdust and debris from the wood. With a foam paintbrush, apply a coat of Danish oil for a refined finish that enhances the wood’s natural beauty.
Assembly: First, put the wood pieces into three sets by attaching them with drywall screws, ensuring none are visible in the final piece. Pre-drilling the holes can prevent the wood from splitting.
Glue and Bond: With the pieces screwed together, apply wood glue to bond the sets into the final candelabra structure. Orient to screws inward to maintain the aesthetic appeal.
Securing the Structure: Use C clamps to hold everything tightly while the glue sets, utilizing scrap wood pieces to protect your candelabra from clamp marks. Although initial bond strength is achieved quickly, allowing the piece to cure overnight ensures durability.
Insert the candles of your choice and find the perfect spot for your new wooden candelabra. Whether you aim for a natural wood aesthetic or customize it with stain or paint, this candelabra will undeniably become a conversation piece.
Leave a Reply