
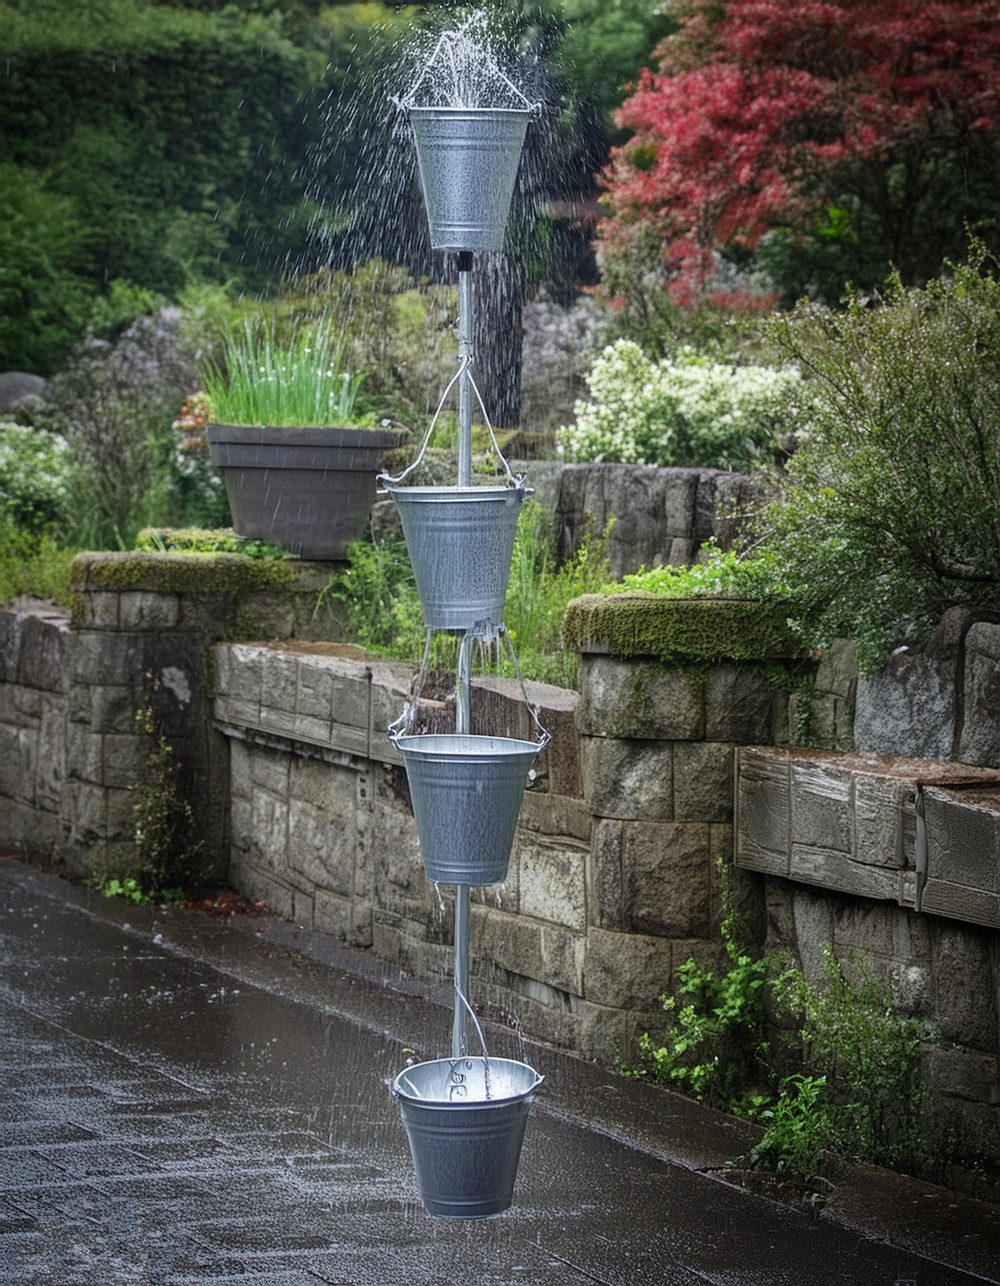
Making your own DIY mini bucket rain chain is a fun and simple project that can add a touch of whimsy to your garden or porch. The little buckets hanging in a line, gently guiding rainwater down in a lovely cascade. It’s not only a charming decoration but also a creative way to deal with rainwater.
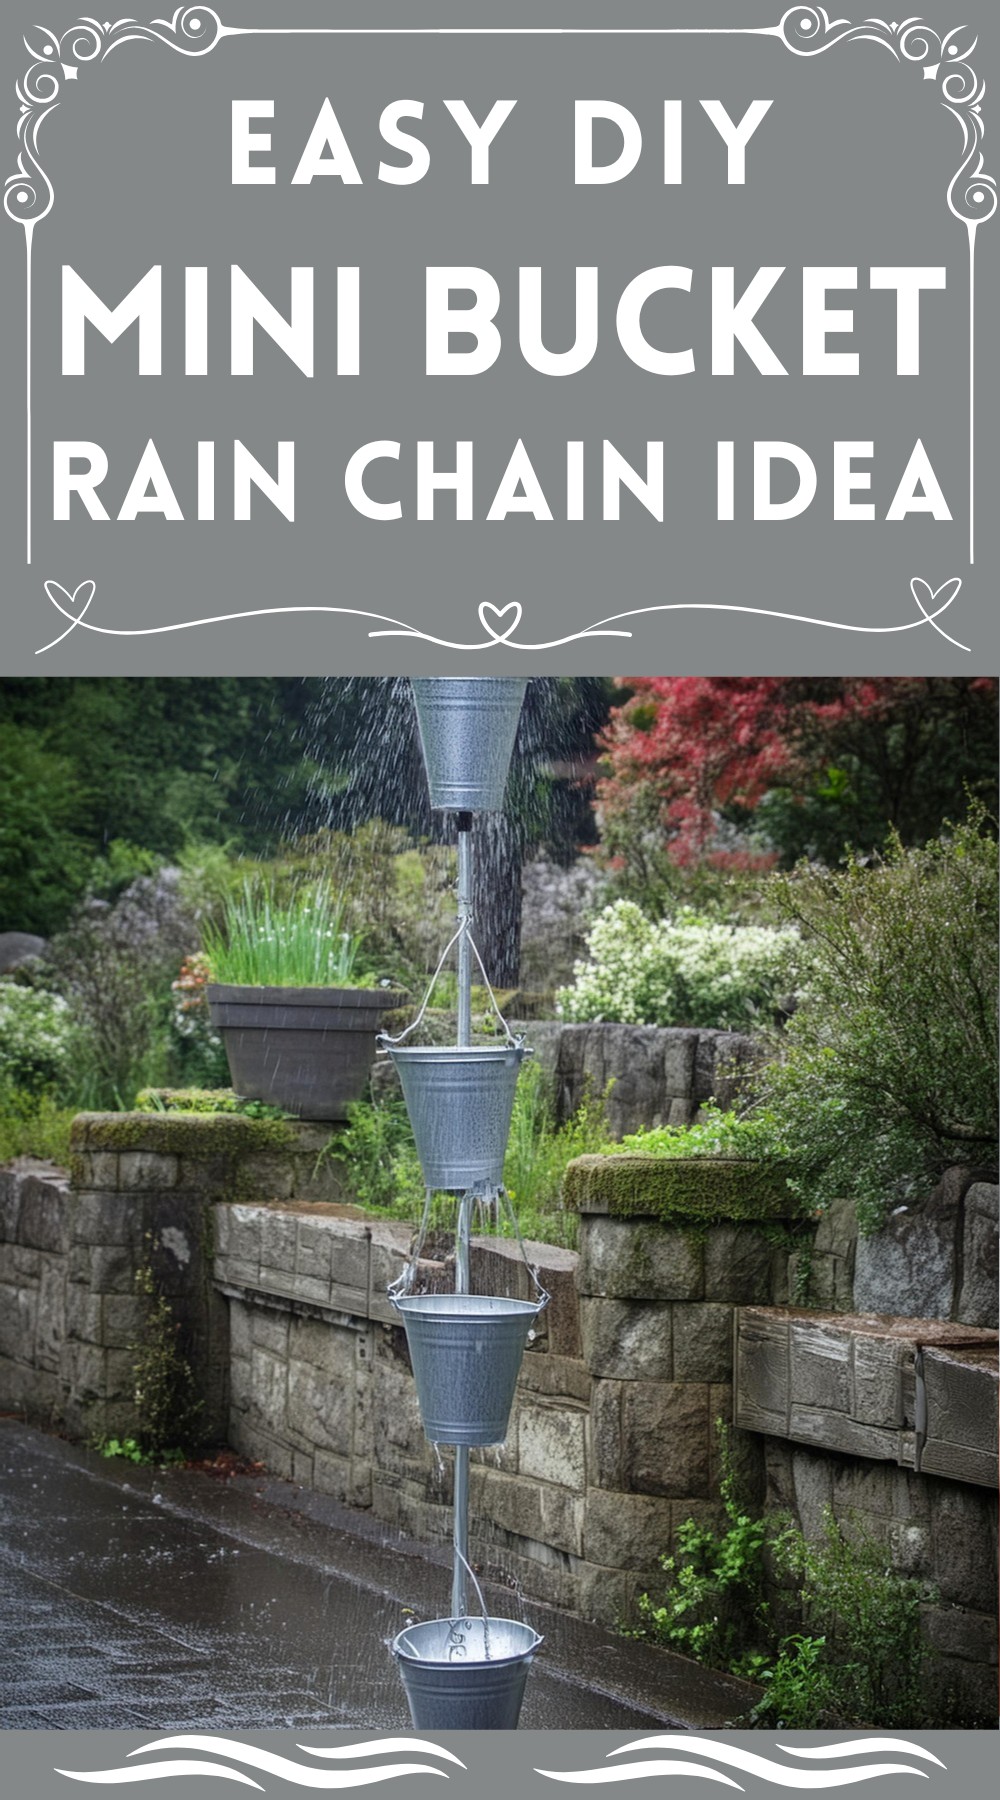
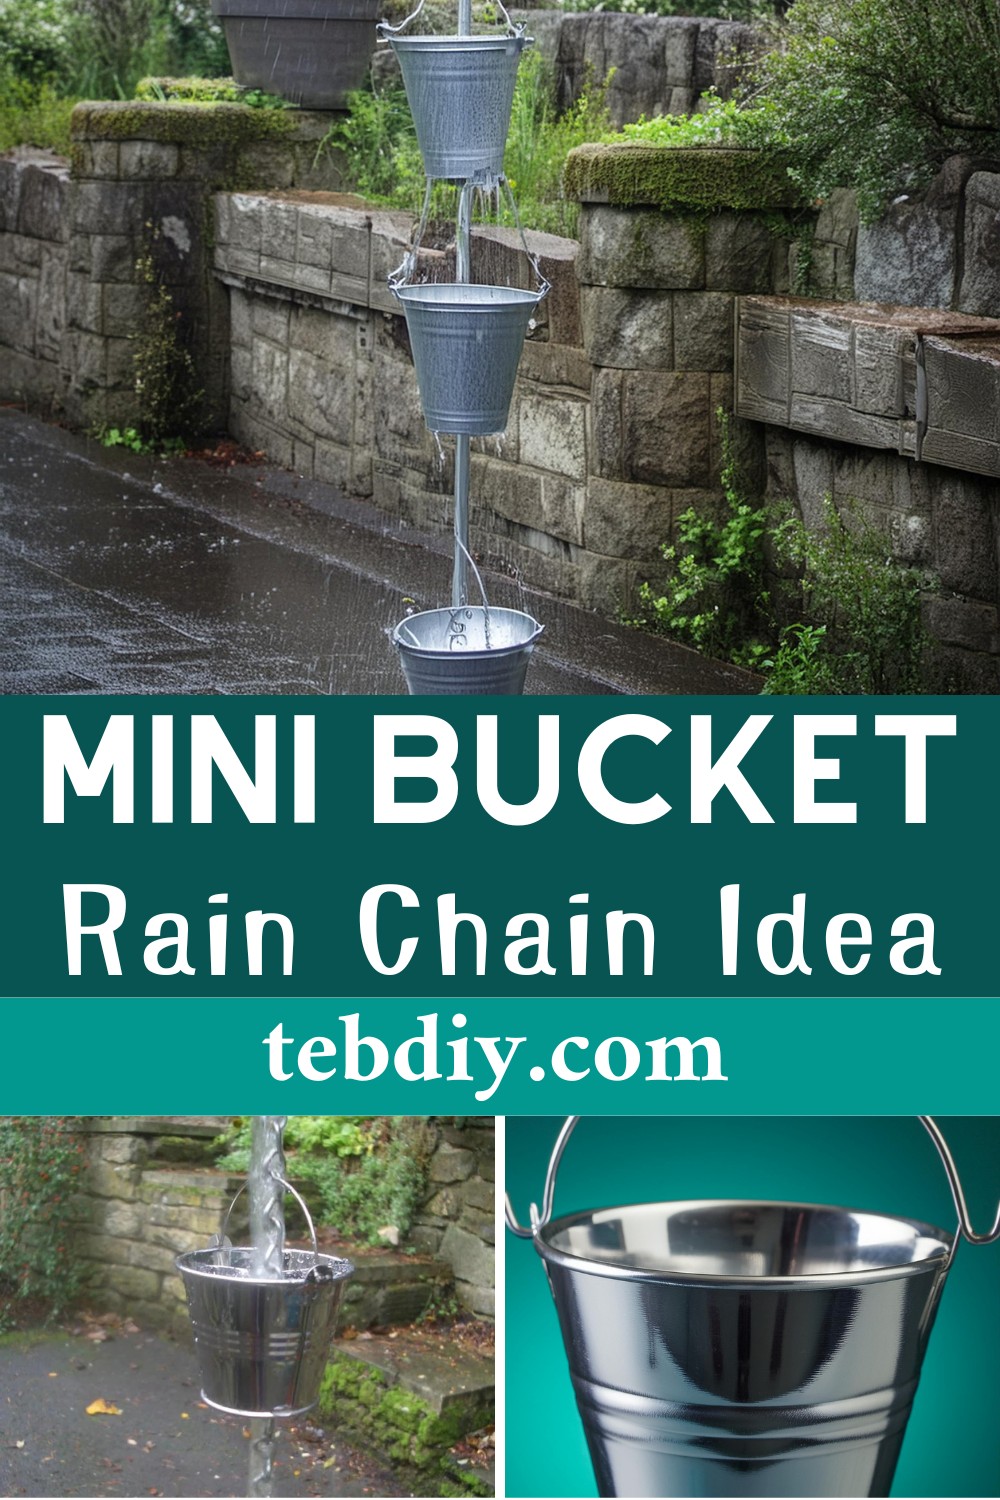
DIY Mini Bucket Rain Chain Idea
Materials List:
- Rust-resistant chain (about 9-10mm wide x 15-20mm long)
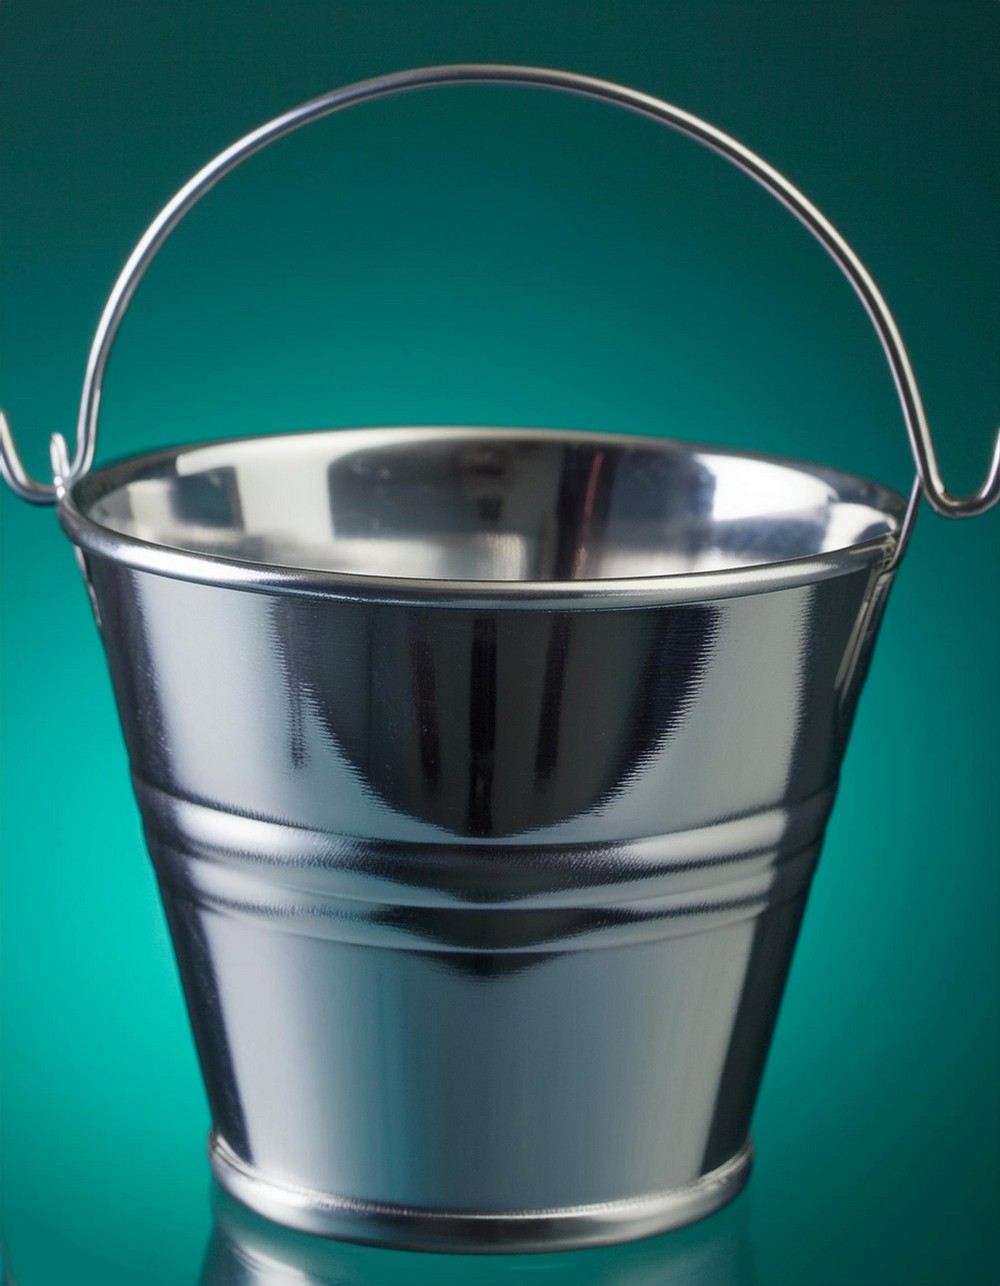
- 15 mini stainless steel presentation buckets
- Heavy gauge rustproof wire (around 150-300mm; a giant paperclip would suffice)
- Tools Required
Make sure these tools are at hand:
- Drill with a 10mm HSS bit and an additional small bit for pilot holes
- Center punch or a small nail
- Hammer
- Round or half-round needle file
- Pliers
- Making Process
Bucket and Chain Selection
Factor in the water your roof will shed to determine the size of the buckets and the chain. Consider the existing downpipe’s diameter as a guide and make sure the finished rain chain isn’t too heavy for the gutter it will hang from. Weigh a filled bucket, include the weight of water on the chain, multiply by the total number of buckets, and verify if your gutter can bear the cumulative load.
Determining Chain Length and Bucket Distance
Decide whether your chain reaches the ground or ends above a water-collecting feature. For aesthetics and minimal splash, equal spacing is recommended, generally around the same as the bucket height, adjusting for the handle’s length. We suggest a trial with a simulated rain chain to choose your optimal distance.
Drilling Bucket Holes
The hole in each bucket bottom must accommodate the flow rate. Starting smaller, drill from outside-in to protect the finish. A folded paper disc helps find the center for a punch mark. Begin with a pilot hole, then the final size. Smooth any sharpness with a needle file for a neat finish and perfect fit to the chain.
Assembling the Buckets on the Chain
Remove the bucket handles to string them on the chain, returning the handle to secure each bucket at the pre-determined intervals. It’s easier if the chain is suspended during this step; adjust as needed for an even cascade of mini buckets. Ensure every bucket hangs straight and securely.
Voilà, you’ve created a captivating cascade of mini buckets, an attractive and practical addition to any outdoor setting. As you watch the rain dance delicately down your new rain chain, you’ll be reminded of the simple pleasures and sweet harmonies of nature.
Leave a Reply