
Making your own DIY Copper Rain Chain is a fun and simple project that’s perfect for adding a special touch to your garden! Copper rain chains are beautiful; they guide rainwater down delicately and make a lovely sound. Our easy-to-follow guide will help you create one step-by-step. You can hang your handmade rain chain and watch it transform raindrops into a waterfall of shimmering copper. It’s a great way to make your garden look and feel magical.
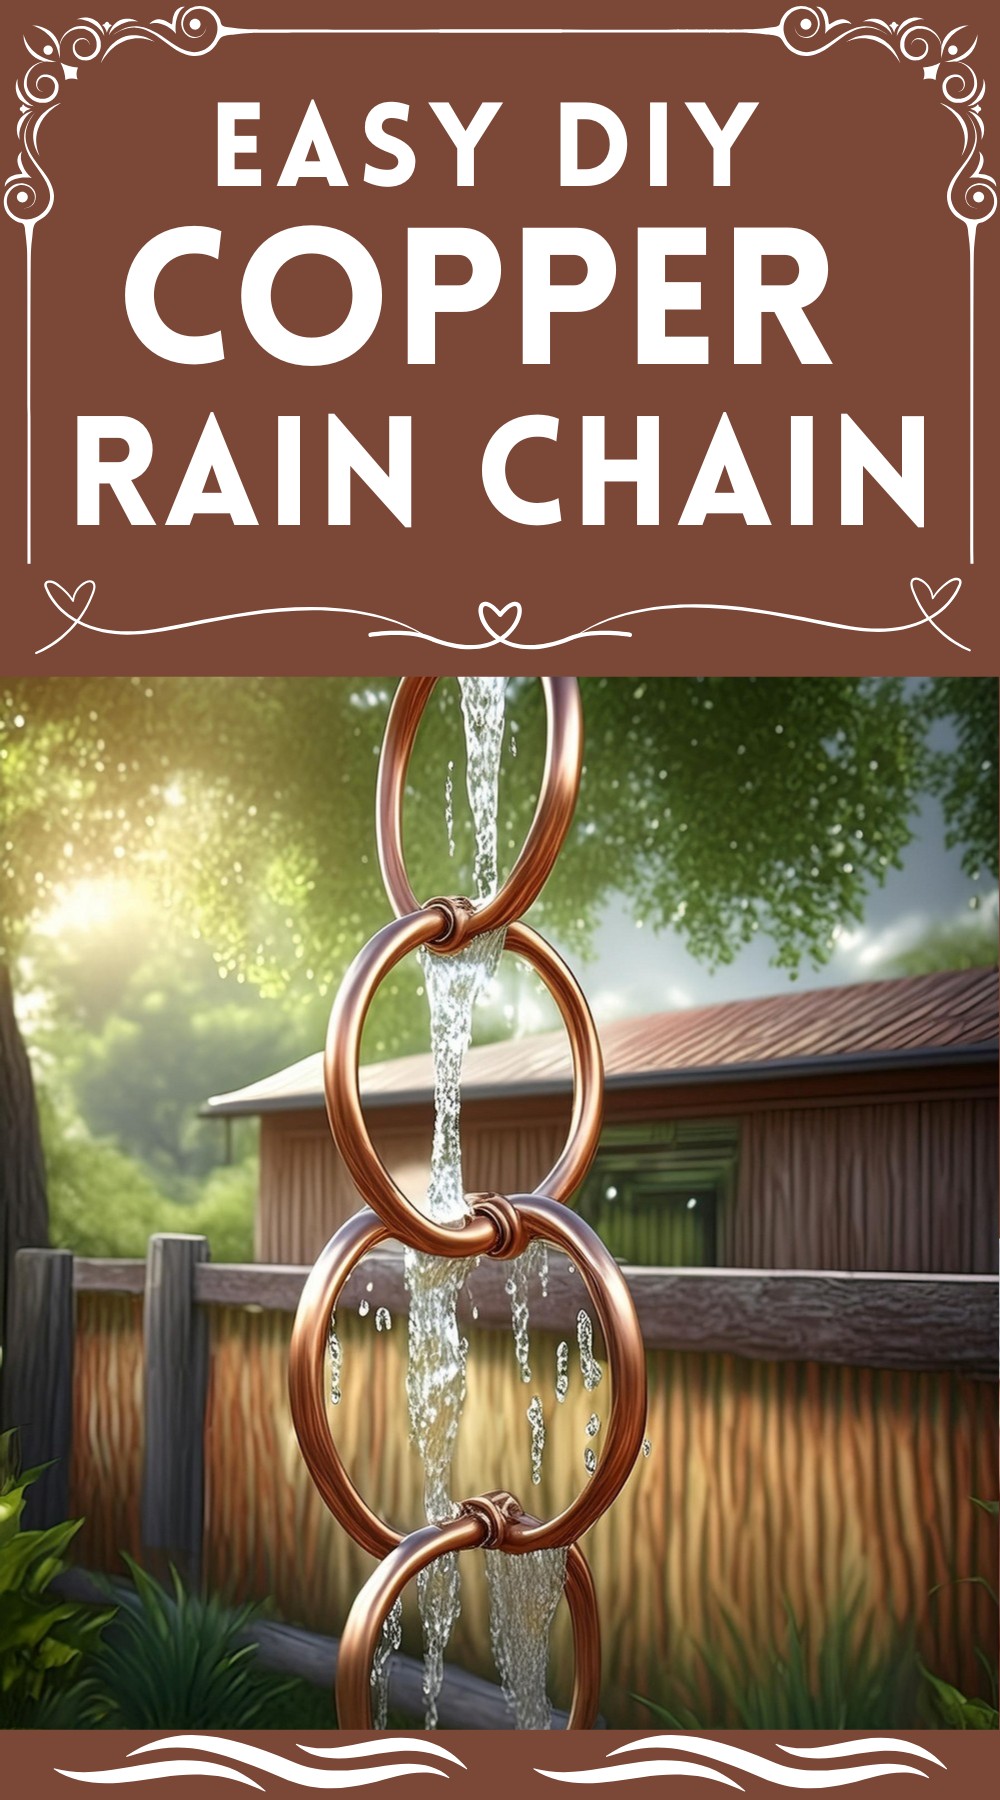
DIY Copper Rain Chain

Materials List
- 1/4″ soft copper tubing (3.5 times as long as your desired chain length)
- 2″ PVC pipe
- Lead-free solder
Tools Needed
- Diagonal cutters
- Blow torch
- Heavy leather gloves
- Soldering flux
- Pliers
Step by Step: Crafting Your Copper Rain Chain
Coiling the Copper
Initiate this project by taking the soft copper tubing in hand, along with your 2″ PVC pipe. Hold them firmly at one end, and start wrapping the copper around the pipe, applying tension to avoid any unsightly kinks. A beautiful coil reminiscent of a moonshiner’s still should be the fruit of your labor here.

Separating the Rings
Now, grab your diagonal cutters and snip through the coil, segmenting it into individual rings. This part of the process
is surprisingly straightforward and satisfying.
Making the Chain
Attention to detail is key in this step. You’ll need to make sure the rings are properly lined up for connection. Didn’t get it quite right the first time? No worries—use pliers for fine-tuning. Once you’ve got your rings arranged neatly, proceed to the next phase—just hold off on any soldering for now.
Link Before Solder
Before you think of permanently bonding the rings together, remember to link them into a chain. Post linkage, apply a dab of soldering flux to each joint to prepare for the fusion that’s to come. Now it’s time to bring the heat with your blowtorch, allowing the solder to flow and seal the deal between each copper ring.
Hanging Your Masterpiece
For the grand finale, it’s a simple swap. Let the old downspout make way for your magnificent rain chain. Guide the uppermost ring through the downspout opening, stabilize it with an additional copper piece, and voilà—your rain chain is ready for its first performance under the rain (or a garden hose if you’re too excited to wait!).

Leave a Reply