
Ever dreamt of harnessing the Force with your very own DIY lightsaber? Whether you align with the stoic Jedi or the formidable Sith, this hands-on project is your first step into a larger world. Made and evolved through the creative minds at Parts and Crafts, this endeavour promises not just a journey into the basics of electronics but an immersive dive into the art of prop making.
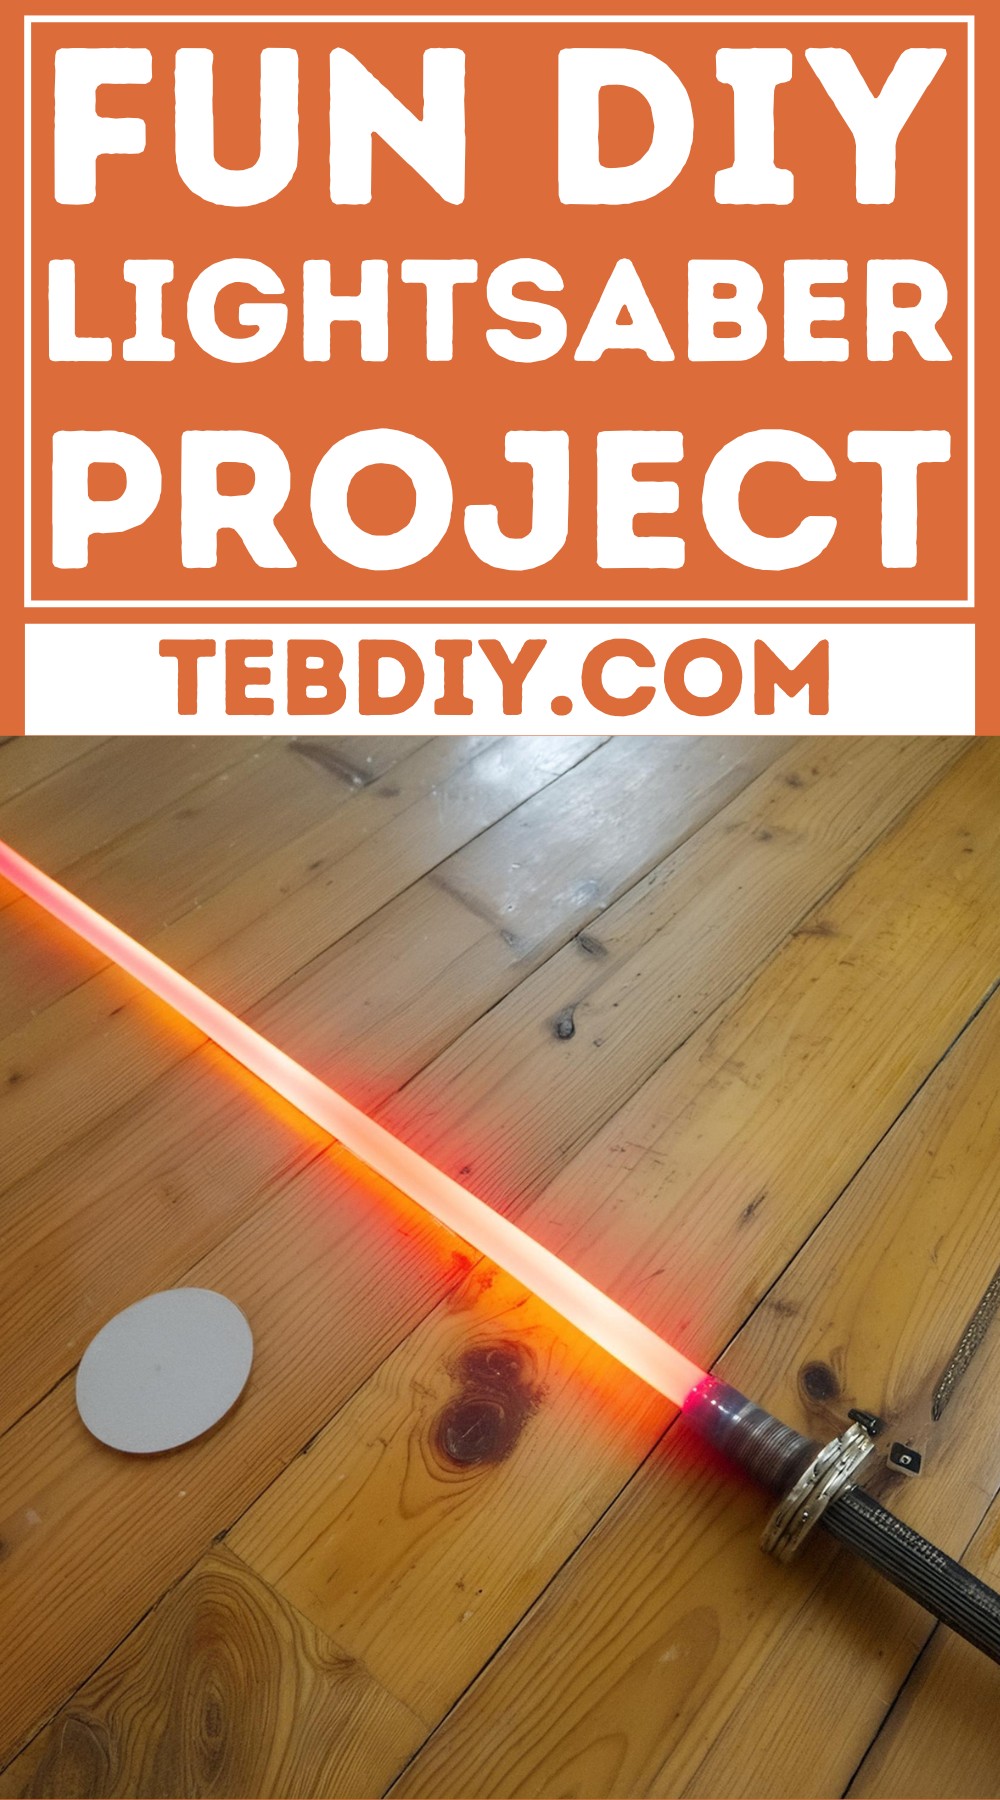
Fun DIY Lightsaber Project
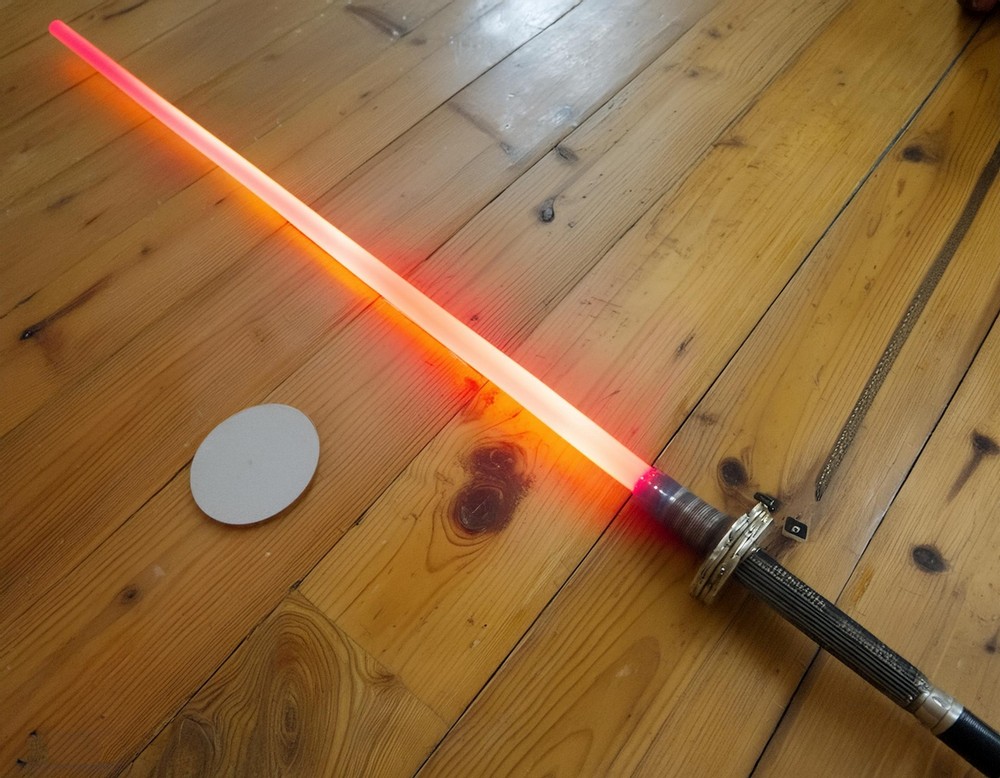
This fun lightsaber is ideal for Halloween or any cosplay event, engaging with this project means crafting not just a piece of iconic film paraphernalia, but a personal artifact of your adventure into the realm of making.
Tools Required:
- PVC Cutter
- Hacksaw
- Drill
- Soldering Setup (While you can manage without it, having one simplifies the electronics part.)
Materials Needed:
For the Handle:
- PVC Pipe, 1.25″ diameter or larger, about 8 – 12 inches in length.
- Push on/off button or switch.
- Battery pack supporting 2 – 4 AA batteries.
- (Optional) Silver spray paint.
- (Optional) Bike inner tubes.
- (Optional) Small motor for vibration and sound effects.
For the Blade:
- Polycarbonate tube, .75″ outer diameter minimum, length approximately 2.5 ft.
- 25 to 35 LEDs of your chosen color.
- Solid wire, 22 gauge (Total length = Handle + Blade length + 3 inches).
Step By Step Construction
Step 1: Crafting the Handle
- Measure and cut your PVC pipe to the desired handle length, typically around 10 inches.
- (Optional) For aesthetics, spray paint your handle any color you wish.
- (Optional) Cut bike inner tubes into desired lengths and fit them over the handle to create grips.
Making Room for Battery Pack
- Determine the placement for your switch or button and drill a hole accordingly.
- If you want, cut a slot at the bottom of the handle for the battery pack. Use the PVC cutter for small slits or the hacksaw for larger ones.

Blade Formation
- Cut your polycarbonate tube to about 2.5 feet or adjust according to your height.
- The blade must be translucent; use sandpaper or wrap it in tissue paper to diffuse light effectively.
- Apply duct tape around one end to thicken it, ensuring a snug fit into the handle.
- (Optional) Improve stability by using a stiff wire or wood as a crossbar at the base of the blade.
- (Optional) Attach tin foil at the tip to reflect light back down the blade.
Assembling the LED String
- Fully strip both wires of their insulation.
- Attach LEDs along one wire, positive side up, spaced evenly.
- Repeat the process for the negative side, ensuring no short circuits occur.
- Fasten the string to a crossbar or tip for stability.
The Electronics
- Test the fit of your button or switch and then solder wires to it as needed.
- Connect the LED string and, if using, the motor to the battery pack through the switch. Make sure all connections are in parallel.
- Insert everything carefully into the handle, arranging wires and components to fit without forcing them.
Final Test
Now, it’s time to see if your creation comes to life. Ensure there are no shorts in your LED string and that the motor (if used) is not obstructed.
Conclusion
Embarking on this project offers more than just the crafting of a lightsaber; it’s a foray into the world of DIY electronics and creative expression. Whether for play, display, or to enhance a costume, the end result is a unique testament to your skills and passion for the Star Wars universe. May the Force be with you in all your making endeavors!
Leave a Reply