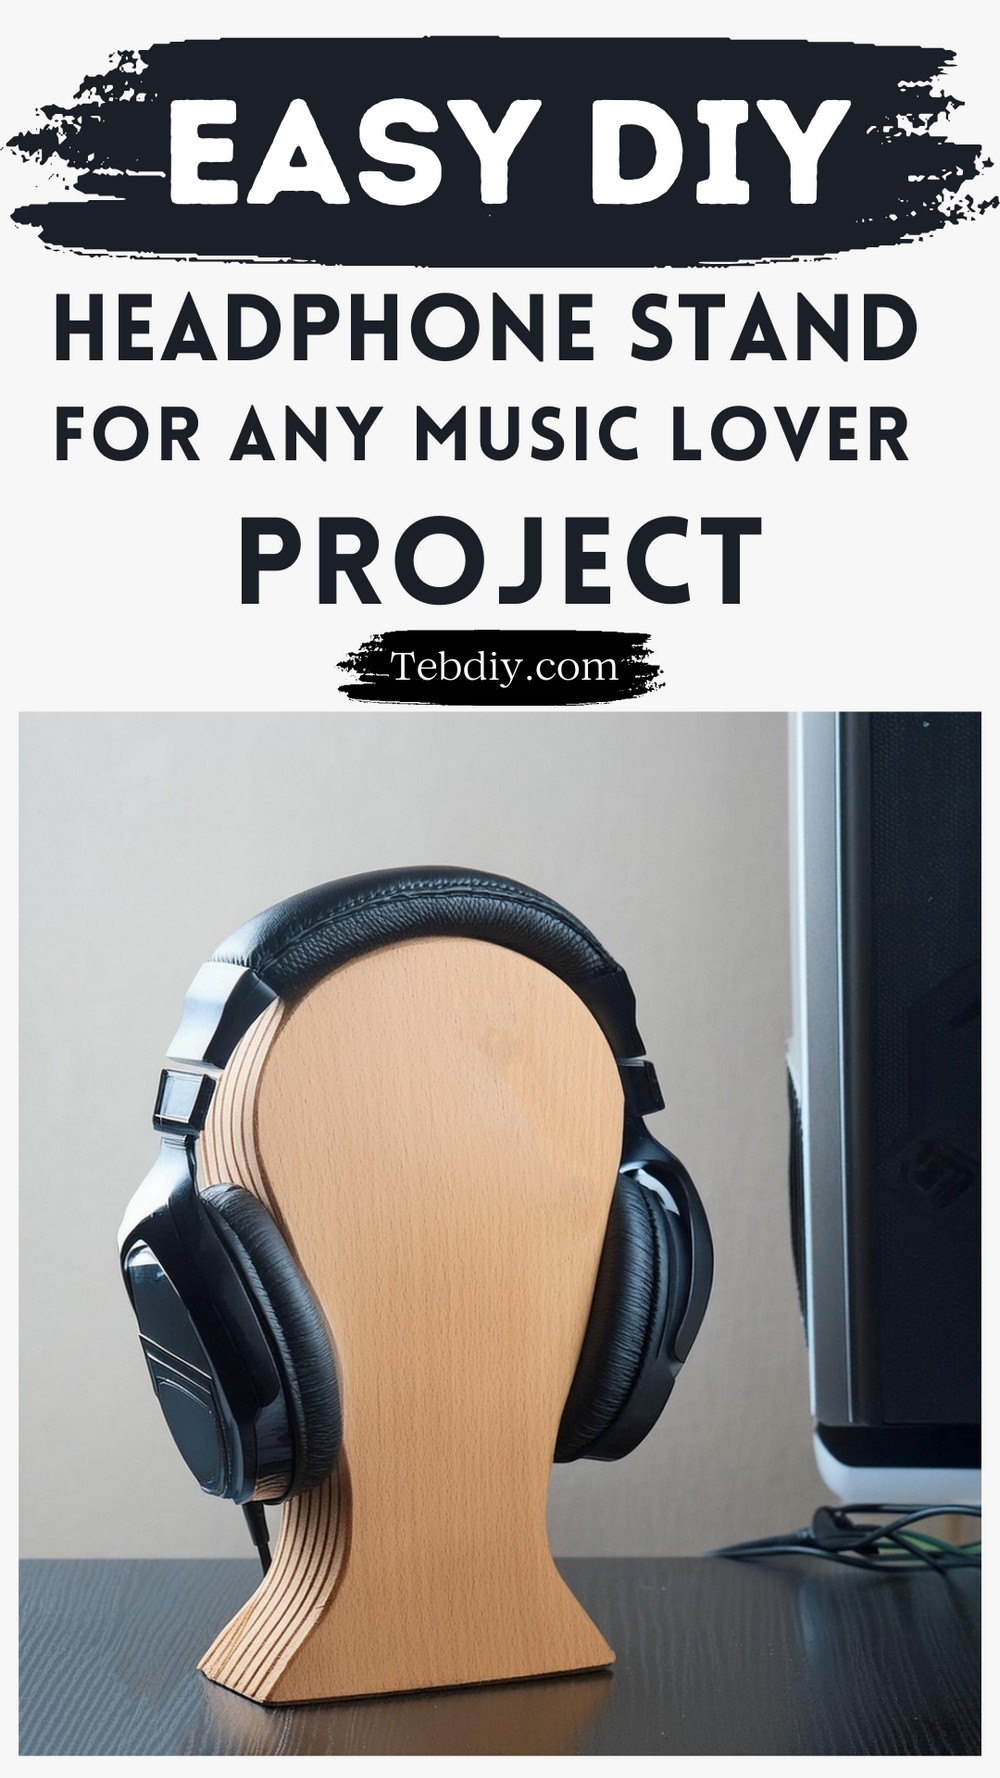
DIY Headphone Stand

Are you searching for that perfect, thoughtful gift for the tech lover in your life? Perhaps you’re aiming for a memorable Christmas present that doesn’t break the bank yet screams thoughtfulness and effort. Get into this simple yet stunning headphone stand project! Whether it’s for a tech-savvy friend, a hard-to-please teenager, or even as a chic addition to your workspace, crafting a handmade stand for headphones can be both rewarding and fun. The act of creating something from scratch, or in this case, possibly from wood scraps lying around, gives a personal touch that no store-bought item can compete with. So, gather your tools and let’s give those headphones a stylish new home.
Tools and Materials Needed
Tools:
- Saw (A table saw or circular saw for plywood, a miter saw for boards)
- Jigsaw
- Bar clamps
- Sander

Materials:
- (3) 10″ x 5 1/2″ scraps of 3/4″ plywood (or 1/2″ plywood scraps, in which case cut 4) OR (3) 10″ long pieces of 1×6 boards
- Wood glue
- 220-grit sandpaper
- Wipe-on polyurethane OR a mix of 1 part polyurethane (not water-based) with 2 parts odourless mineral spirits
Crafting Your Headphone Stand: Step-By-Step
Step 1: Preparing the Wood
Initiate by slicing your plywood scraps or boards to the required size: 10″ in height and 5 1/2″ in width. If aiming for a solid wood look, opt for the 1×6 boards. However, if you possess plywood scraps, using them can add an interesting striped appearance to the sides of your stand.
Step 2: Gluing the Pieces
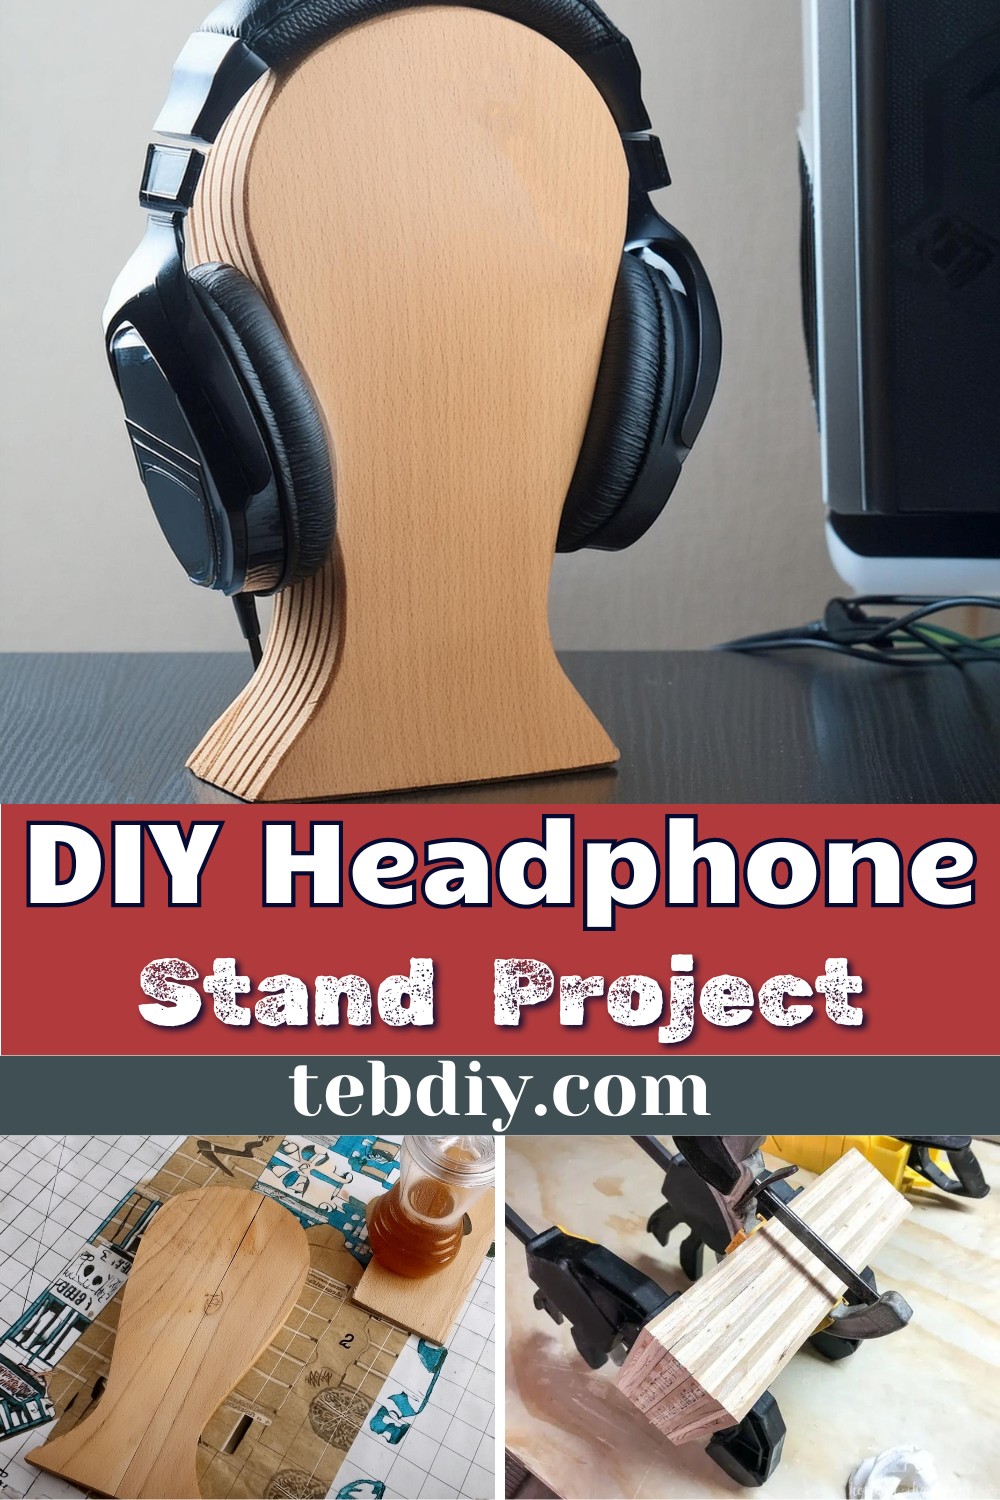
Apply a liberal amount of wood glue on the surface of one wood piece. Stack the next piece on top, rotating it slightly to evenly spread the glue. Repeat the process for all the pieces. Although the wood may slide during this process, it’s indicative of adequate glue application. Align the bottom of the pieces carefully; they’re the base of your stand and the only side not to be cut again.
Step 3: Clamping
Once aligned, clamp the pieces securely together. Employing at least three bar clamps should ensure uniform pressure and prevent the wood from fanning out or misaligning as the glue dries. Let the assembled block sit overnight to ensure the glue sets properly.

Step 4: Shaping the Stand
Post-glue drying, outline your headphone stand design on the block using a template. With a jigsaw, carefully cut along the outlined shape. This process requires patience and attention to keep the cut smooth and the jigsaw blade straight.
Step 5: Sanding
Following the cut, sand down the edges and sides to ensure everything is smooth and ready for finishing touches. You might start with a coarser grit if the edges are particularly rough, but finish with the 220-grit sandpaper for a smooth surface.
Step 6: Finishing the Stand
Finish your headphone stand as desired. If you appreciate the natural look and feel of the wood, sealing it with wipe-on polyurethane will enhance its appearance while protecting it. For a homemade wipe-on poly, mix one part polyurethane with two parts mineral spirits and apply it evenly.
Conclusion
There you have it—an elegantly simple DIY headphone stand that not only serves a practical use but also stands as a beacon of your craftiness and ingenuity. Whether gifting it or gracing your desk, this custom piece is sure to catch eyes and spark conversations.


Leave a Reply