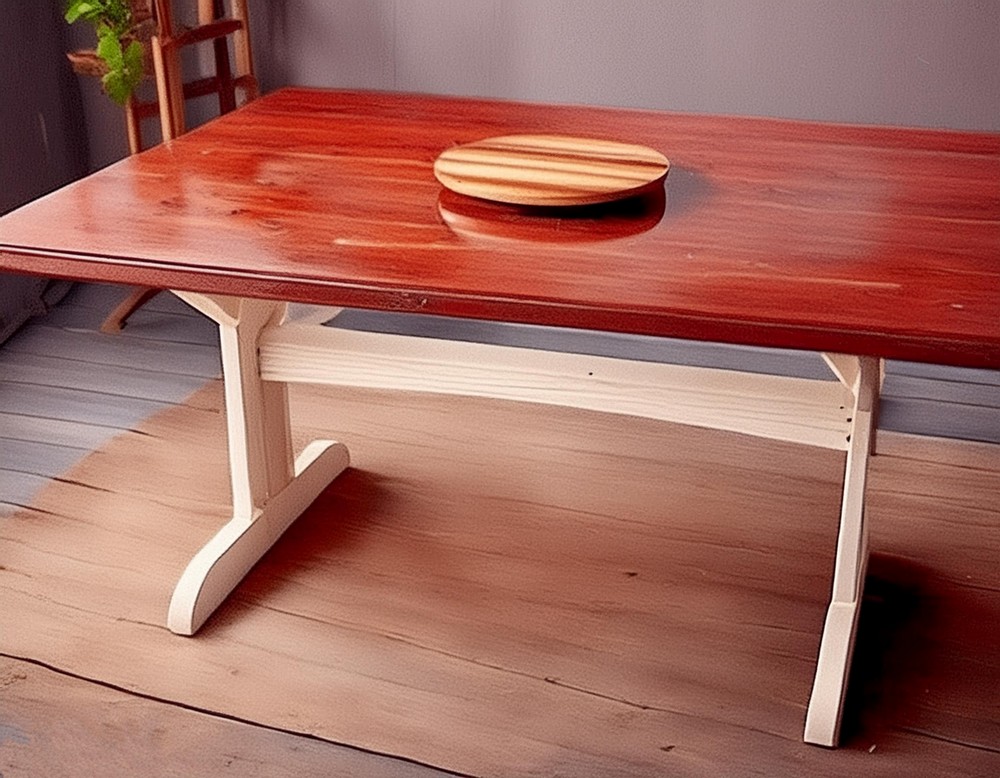
Have you ever been fascinated by the timeless elegance of trestle tables? Our journey through the art of crafting such an iconic piece of furniture promises not only to fill your space with beauty but also to imbue it with the satisfaction of DIY accomplishment. Trestle tables, with their unique blend of classic aesthetic and robust stability, make an ideal choice for anyone looking to create a dining table with character and strength. Follow along with the details of each step, ensuring you have the guidance to create your masterpiece.

Sturdy and Stylish DIY Trestle Table
Materials List
- Top Material: 8/4 African Mahogany (or your lumber of choice)
- Base Material: 8/4 Poplar (or your lumber of choice)
- Hardware: Figure 8 Fasteners (6), Dominos (Optional for joint strength)
- Finish: Potassium Dichromate, Amber Dewaxed Shellac, Burnt Umber Glaze, Rubio Monocoat Pure, General Finishes Milk Paint (colors of choice), General Finishes Glaze (colors of choice), General Finishes High Performance
Tools Required
- Jointer
- Planer
- Table Saw
- Bandsaw
- Miter Saw
- Router
- Track Saw
- Hand Held Power Planer
- Clamps
- Sanders
- Hollow Chisel Mortiser (Optional)
- Festool Domino (Optional)
- Oscillating Spindle Sander (Optional)
- HVLP (Optional for finishing)
Step-by-Step Guide
Step 1: Gather Your Resources
Start by securing the plans and videos provided. These resources are essential as they offer visual aids and detailed blueprints to guide your project from start to finish.

Step 2: Milling Lumber
Accuracy in milling your lumber is crucial. Begin by rough cutting your pieces, then proceed to jointing and planing to ensure each piece is perfectly flat and square. Remember to leave your lumber slightly oversized to accommodate any movement or adjustments later.
Step 3: Crafting the Legs
The legs of your table consist of three parts assembled using mortise and tenon joinery for robustness.
The Legs (Center Section)
- Begin with milling the stock for the center section of the legs. Ensure it’s correctly sized and includes mortises, tenons, and curves that all contribute to both aesthetics and structural integrity.
- Create a mortise by dividing the stock and inserting blocks. This will form the foundation of your joinery.
- Shape the leg using a template to ensure uniform curvature and apply finishing touches with a router for soft edges.
The Legs (Feet)
- Prepare your lumber to the required dimensions, focusing on maintaining thickness for aesthetic reveals.
- Insert a centered mortise for joining with the center section and shape the feet, adding a customized edge profile as desired.
The Legs (Upper Table Support)
- Mill the stock akin to the feet, ensuring consistent thickness for a cohesive look.
- Similar to the feet, incorporate a centered mortise for joining. Finalize by shaping and adding edge profiles to enhance appearance.

Step 4: Assembling the Legs
With all parts of the legs prepared, proceed with gluing and clamping to ensure a strong and gap-free bond.
Step 5: Crafting the Center Rail
- Mill the stock for the center rail, keeping it oversized to allow for tenon creation and eventual mortises for tusks.
- Detail the rail with tenons at either end, ensuring they fit the leg mortises snugly.
Step 6: Finalizing the Center Rail
- With the legs dry assembled, position the center rail to mark the placements for tusk mortises accurately.
- Carefully create the mortises, ensuring they align perfectly with your marks. This step may require a variety of tools based on your preference.
- Conclude by cutting the decorative curve into the center rail, refining with sanding and edge profiling for a polished finish.
Conclusion
By carefully following each of these detailed steps, you are not just crafting a piece of furniture; you’re creating a timeless centerpiece that exudes both style and history. The trestle table, with its sturdy base and classic design, promises to be a project that not only challenges your woodworking skills but also rewards you with a beautiful, lasting addition to your home.


Leave a Reply