
Creating your very own hanging herb garden is not only fun but super easy! You’ll admire having fresh herbs right at your fingertips, ready to make your meals taste amazing. With some simple tools and a step-by-step guide, you’ll be on your way to growing basil, mint, or any of your favorite herbs in no time.

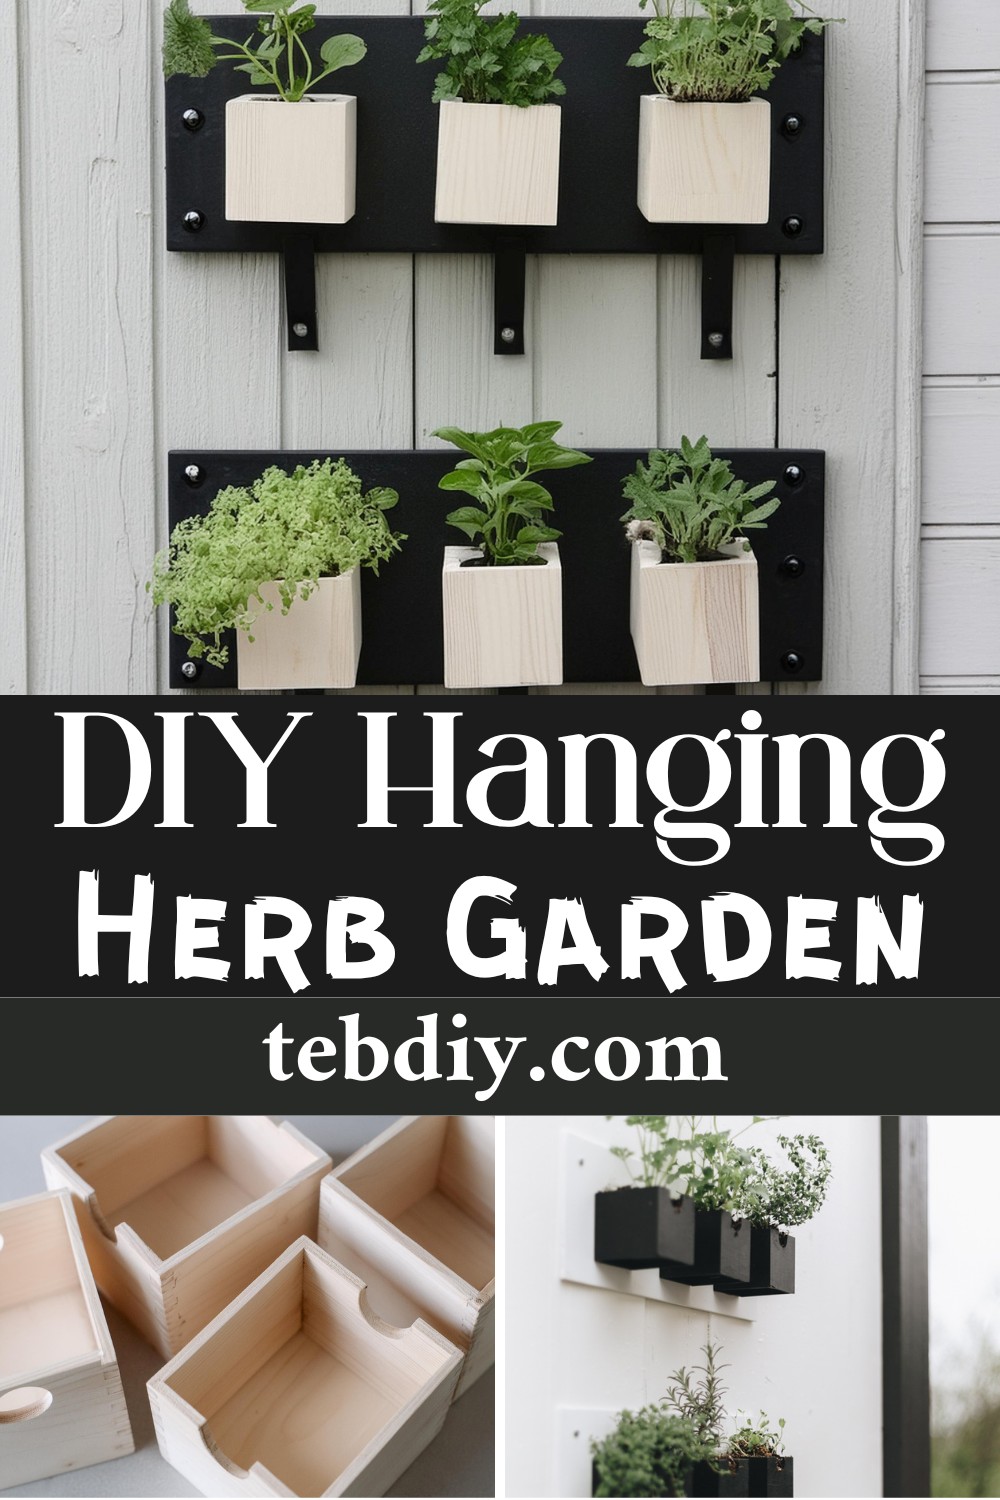
DIY Hanging Herb Garden
This DIY project is perfect for anyone looking to add a bit of green to their space, even if you don’t have a big garden. Plus, it’s a great feeling to know you made it all by yourself! So, let’s get started and bring your dream of a hanging herb garden to life.
Materials Required for the Hanging Herb Garden
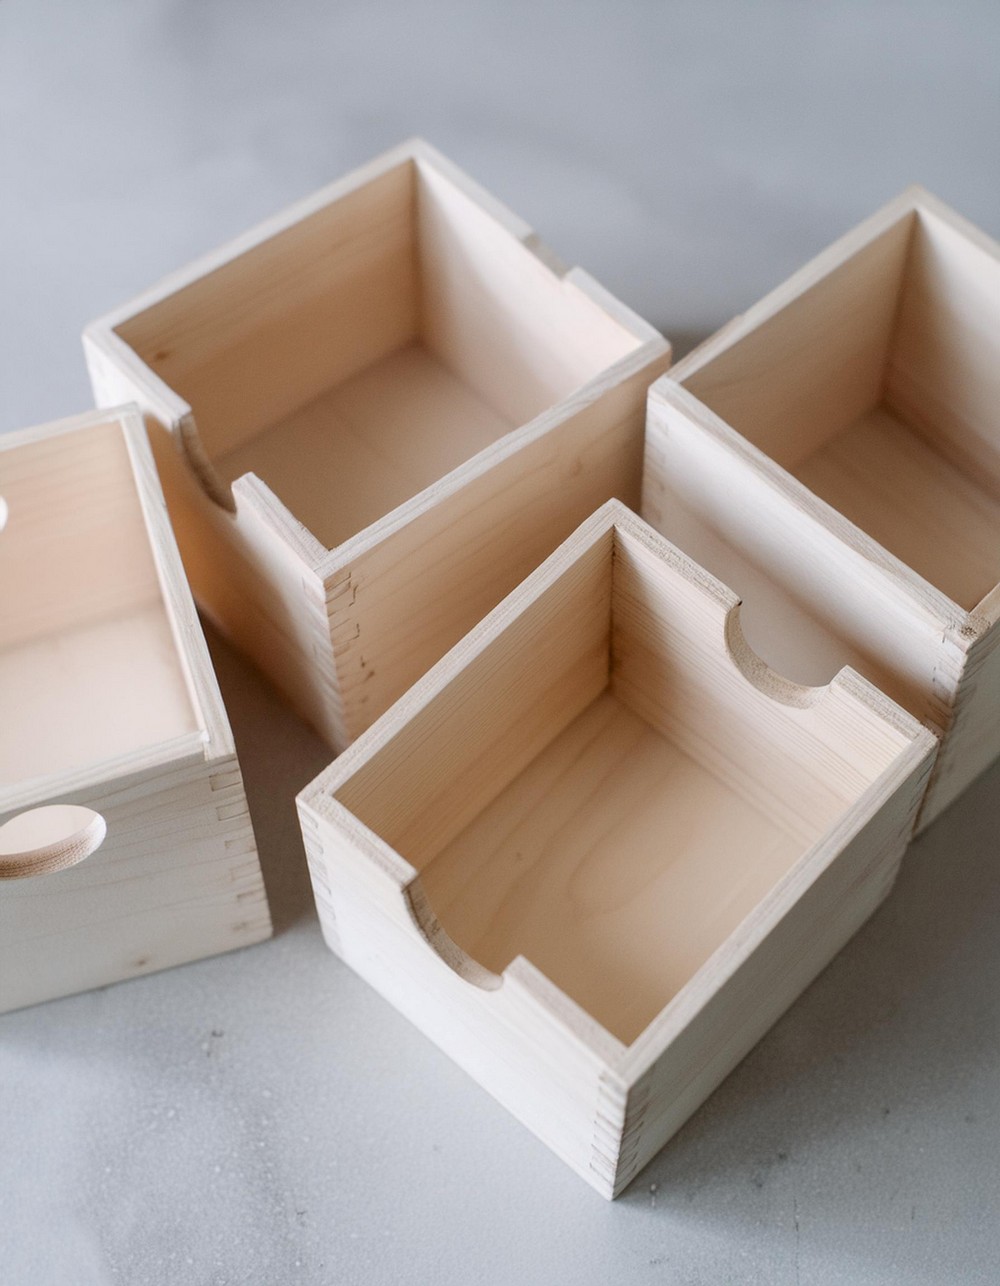
- Organizer boxes purchased from a Dollar Store
- Wood Stain
- Clear Coat Finish
- Spray Paint
- Construction Adhesive
- 1/4″ Plywood
Tools Required
- Drill
- Saw (a table saw would do, but any type should work)
Recipe for Crafting Your DIY Hanging Herb Garden
Preparing Your Wooden Boxes
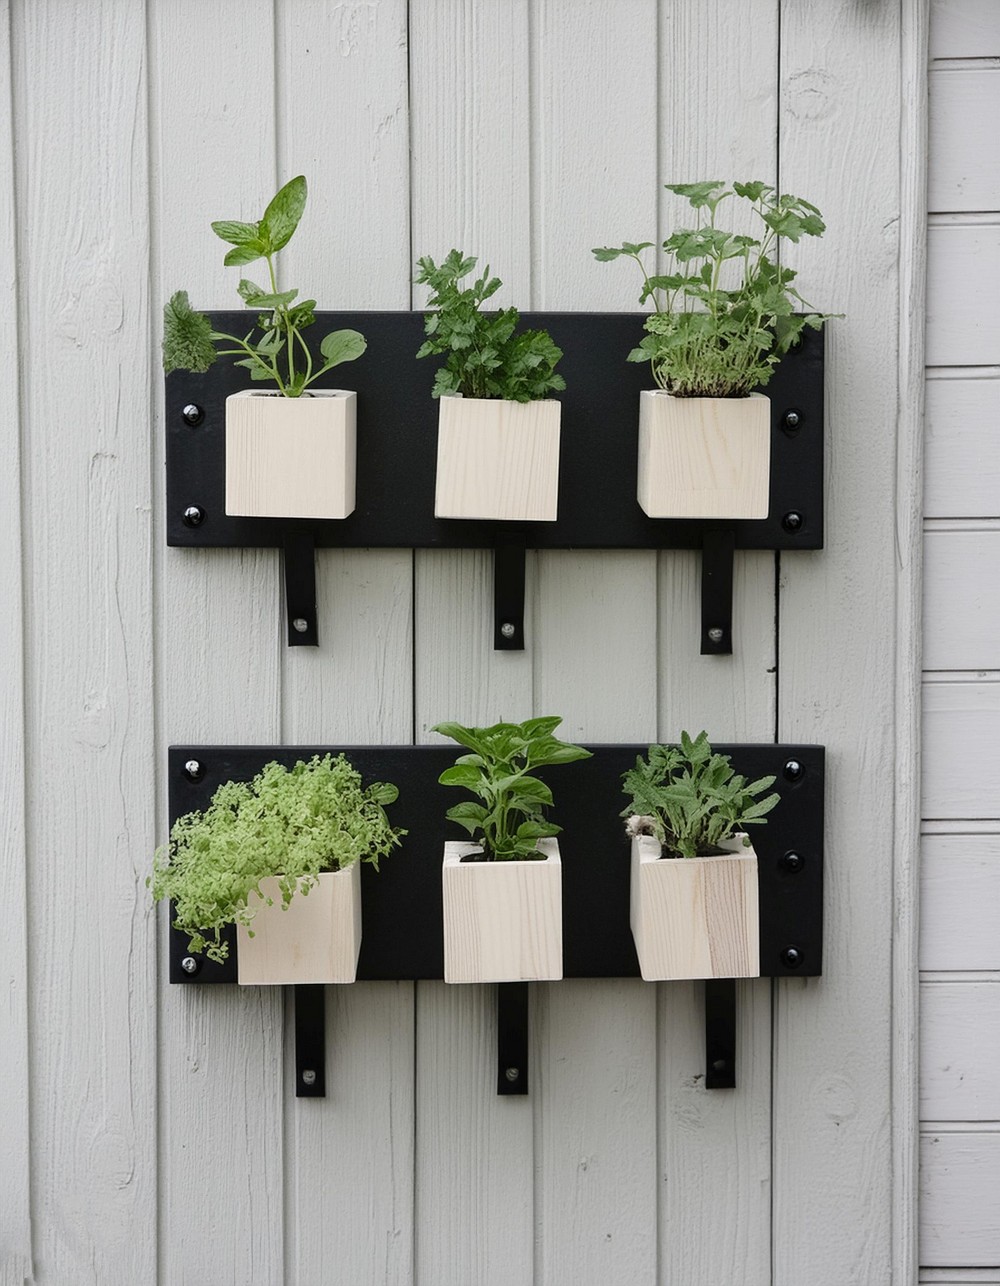
Layout Planning: Start by pulling out six-dollar store boxes. Decide on your planter’s layout. Possibilities include arranging them all on one large board or a skinny vertical board. We decided to place them on two small boards, each carrying three boxes.
Perfect Spacing: After determining the spacing, we cut the boards to 6″ by 16″. This is provided two inches above each box and on each side.
Enhancing the Appearance
Drilling and Staining: We drilled holes in the bottom of the boxes (for drainage purposes when filled with plants) and stained them with an aesthetically appealing white stain.
Varnishing the Boxes: Once the stain was perfectly dry, we moved on to further shield the boxes with several layers of polyacrylic for added protection.
Coloring the Plywood: As for the plywood boards behind the boxes, opting for a contrasting white finish seemed ideal. To ensure outdoor safety, a suitable white primer was used.
Final Touches
Attaching the Boxes to the Board: Due to the thinness of our backing board, using screws wasn’t an option. For those choosing a thicker backing board, you could simply screw the boxes in. We went with a robust construction adhesive to anchor the boxes to the backboard.
Ready to Hang: Lastly, we drilled holes into the top corners of the backing boards, readying them for hanging. Once everything was securely set, the herb planters were hung on a fence for a charming outdoor display.
Leave a Reply